Distribution Configuration
- Users - Distribution Admin Options
- Alerts - Distribution
- Departments
- Search for a User
- Actions - Distribution
- Status - Distribution
- Warnings - Distribution
Users - Distribution Admin Options
- Under Admin Options, hover over Distribution, then click Users.

2. You will be redirected to the Distribution User Admin page.
Complete the required fields, (marked with a red *). Select the checkbox to allow the user to log in and manage Distribution Reports.
Select YES if this user can view Private Details, or select NO to not allow this function.
Once you are finished, click Add New to save.

Alerts - Distribution
-
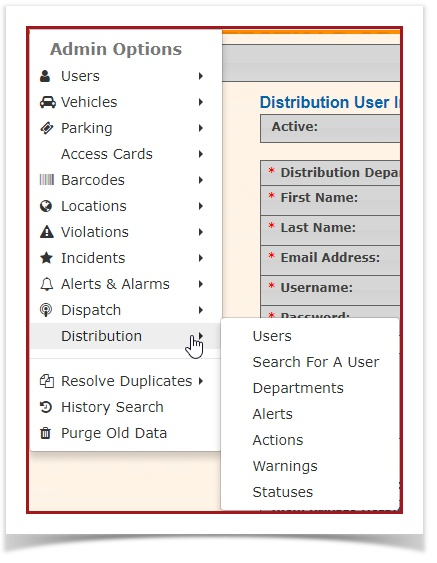
Click Admin Options, Distribution then Alerts.
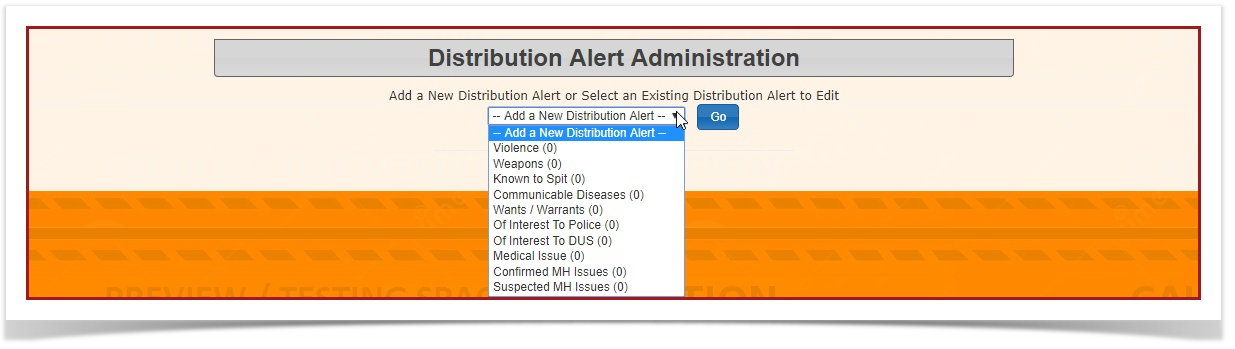
2. The Distribution Alert Administration page displays. To see a list of existing Distribution Alerts, click on the drop-down menu. If you would like to add a new Distribution Alert, click on the drop-down menu, and select "Add a New Distribution Alert".
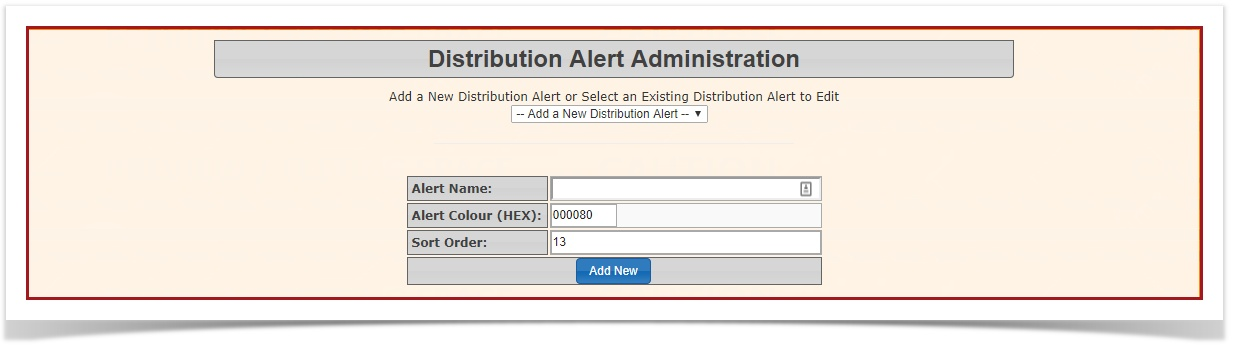
3. The Distribution Alert Administration page will refresh, with detail-options for your new Distribution Alert. Fill out the required information fields, and click "Add New".
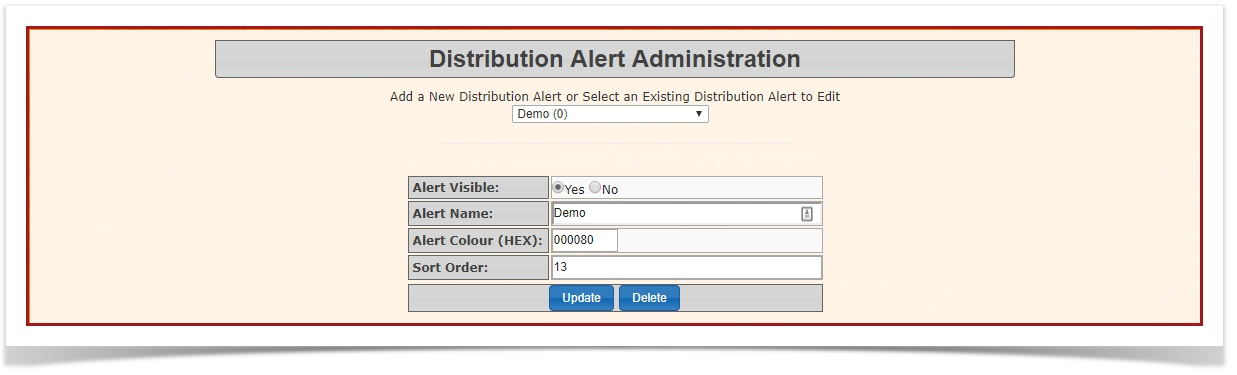
4. To edit your distribution alert, click on the dropdown menu, select the alert that you want to edit and click "Go".
- If you want to have the Alert visible, enable "Yes". If you do not want the Alert visible, enable"No". To edit the Alert Name, click on the current alert name to edit it.
- If you want to change the Alert Colour (HEX) click on the text box beside "Alert Colour (HEX)".
- To change the sort order, click the box beside "Sort Order".
- If you would like to delete/archive an alert, click on the dropdown menu, select the item you want to delete and click "Delete".
Departments
- Under Admin Options, hover over Distribution, then click Departments.

2. You will be redirected to the Distribution Department Administration page.
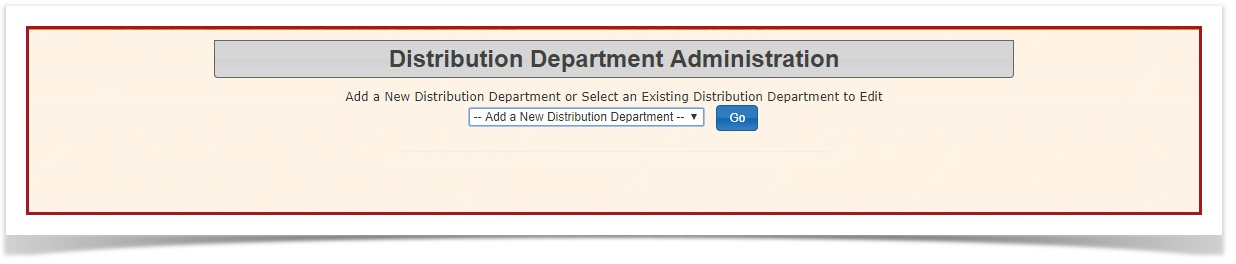
3. To add a new Department:
Click on the drop-down menu, and select "Add a New Distribution Department", then click "Go".
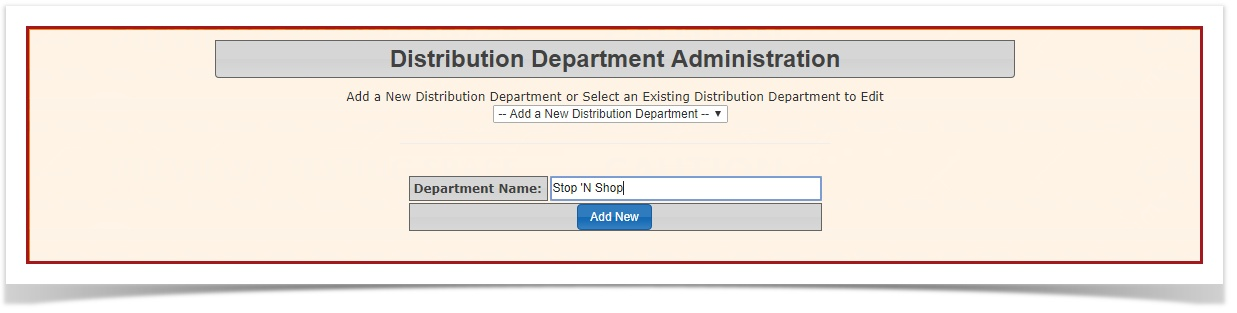
Type in the name you'd like for the department, then click "Add New".
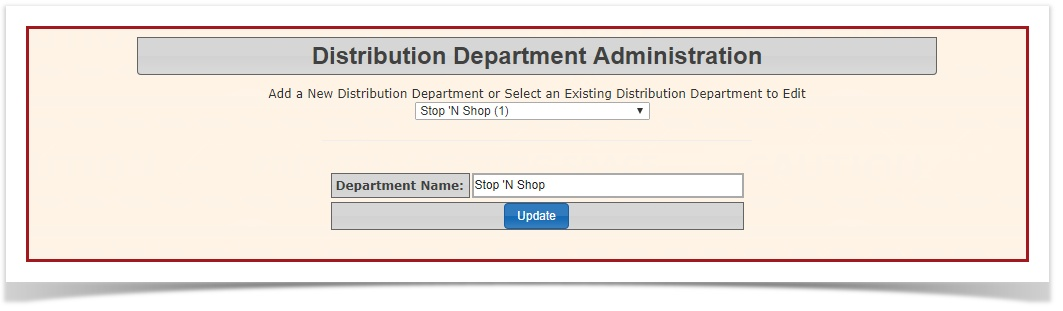
4. To edit a Department:
Select the department you wish to edit from the drop-down menu, and click Go.
Make the desired changes to the department name in the textbox, and click Update to save.
Search for a User
- To get to this page, click on Admin Options, hover over Distribution, then click Search by a User.

2. You will be redirected to the Distribution User Search page. To search for a user, fill out the form provided, then click "Search".

Actions - Distribution
- Click Admin Options, Distribution then Actions.

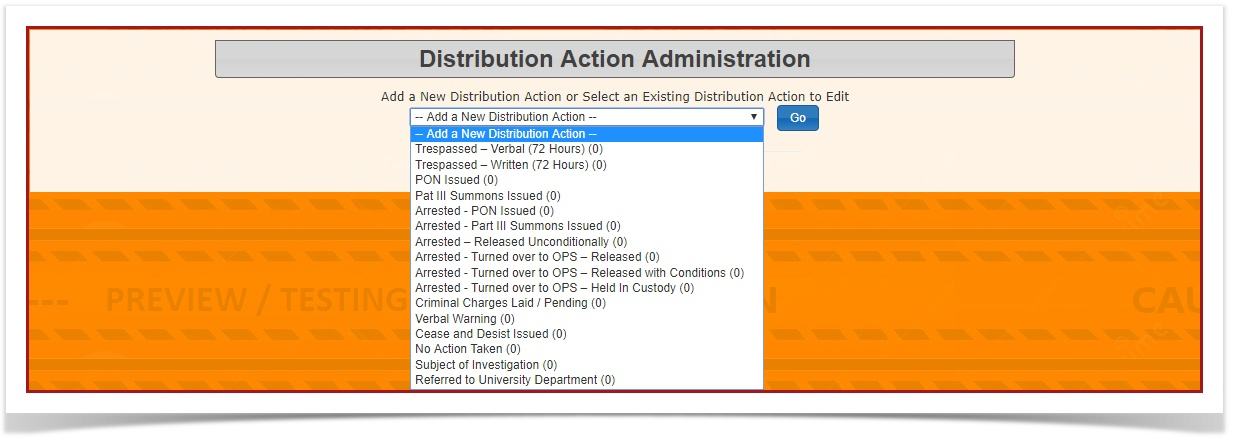
2. The Distribution Action Administration page will display. To see your current "Actions", click on the dropdown menu. To add a new action click on "Add a New Distribution Action", and click "Go".
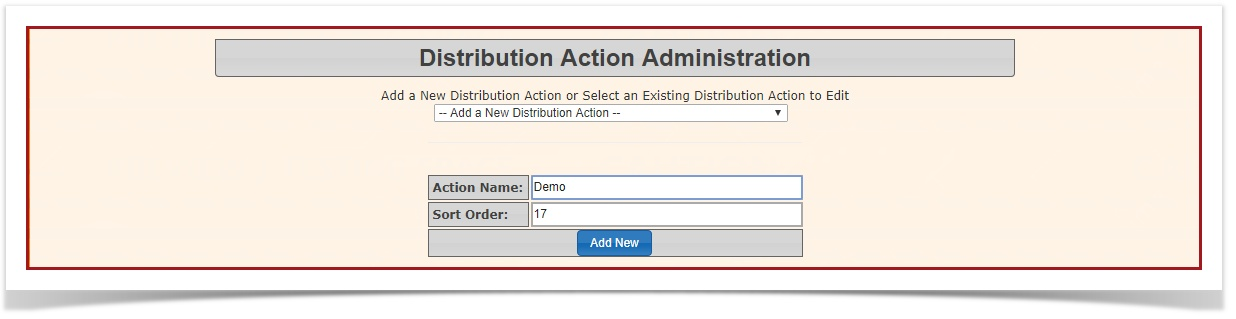
3. Fill out the fields below and click "Add New". If you want to delete this Action, repeat step 2 and click "Delete".
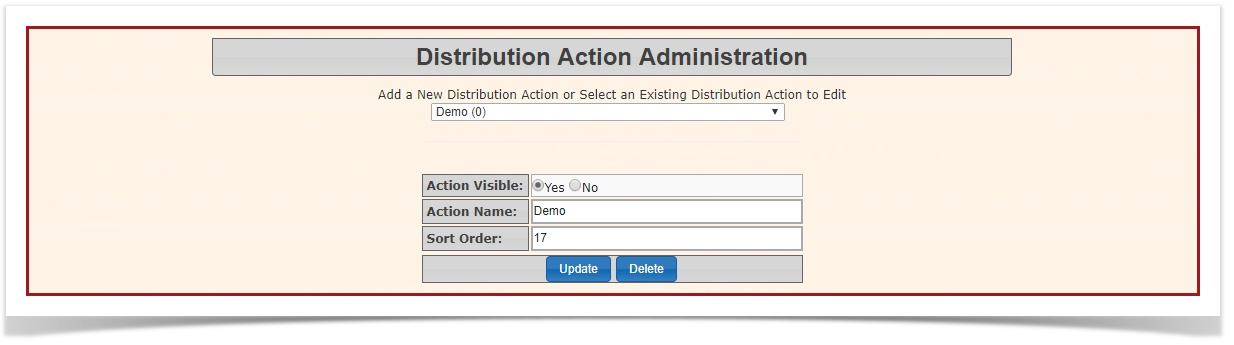
4. To edit this action, repeat step 2. When the screen refreshes you can edit the Action name by clicking on the name and changing it. To change the sort order click on the box beside "Sort Order". If you want to keep the action visible, enable either "Yes" or "No" beside "Action Visible".
Status - Distribution
- Click Admin Options, Distribution and "Status".

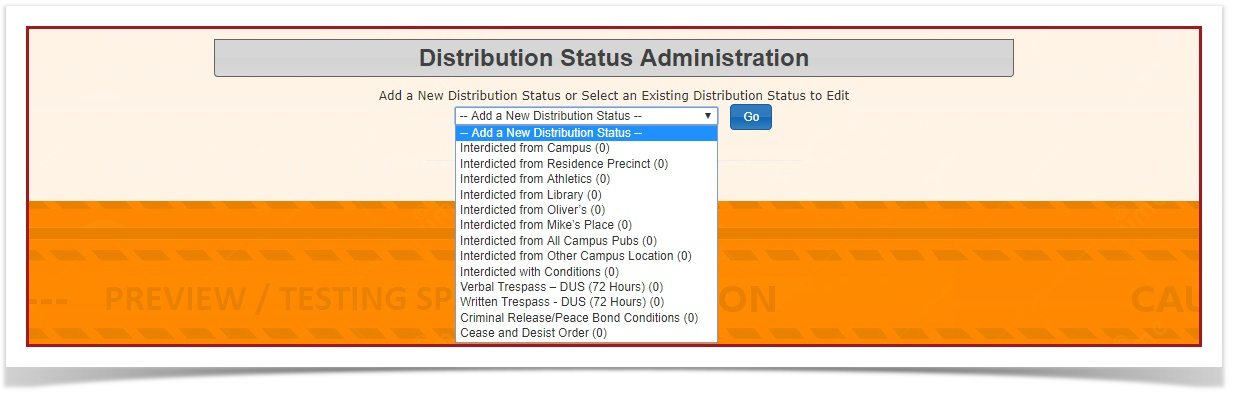
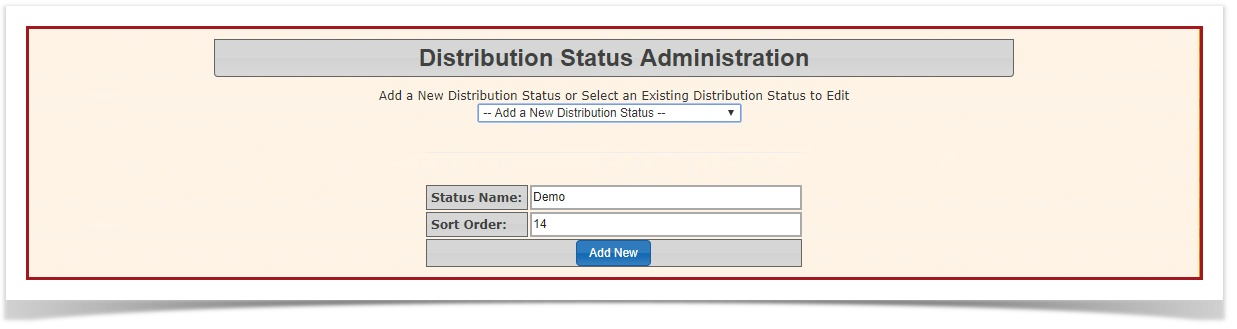
2. The Distribution Status Administration page displays. To add a new Status, click on the drop-down menu . Select "Add new Distribution Status" from the listed options and click "Go".
3. The page will refresh and you can fill out the form to add a new status. Click "Add New" to save the information.
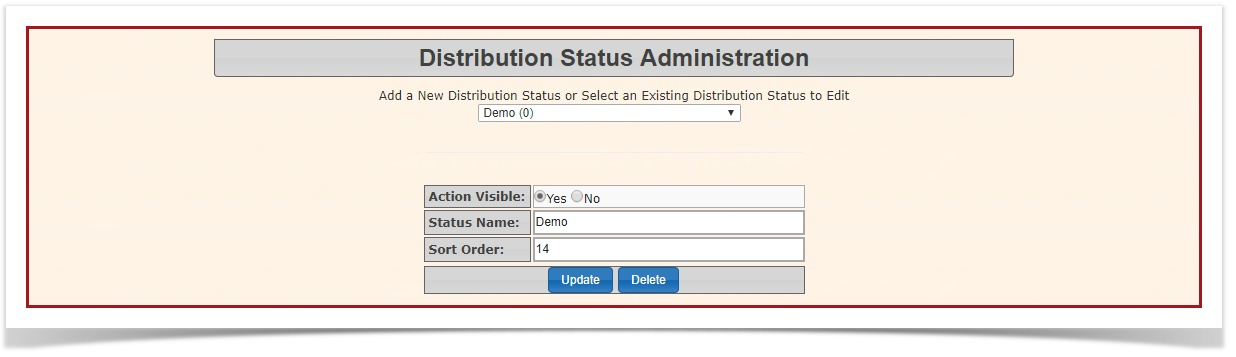
- To edit a status, choose a status from the dropdown menu. When the page refreshes, fill in the required information fields and click"Update".
- To delete a status, choose a status from the dropdown menu. When the page refreshes, click "Delete".
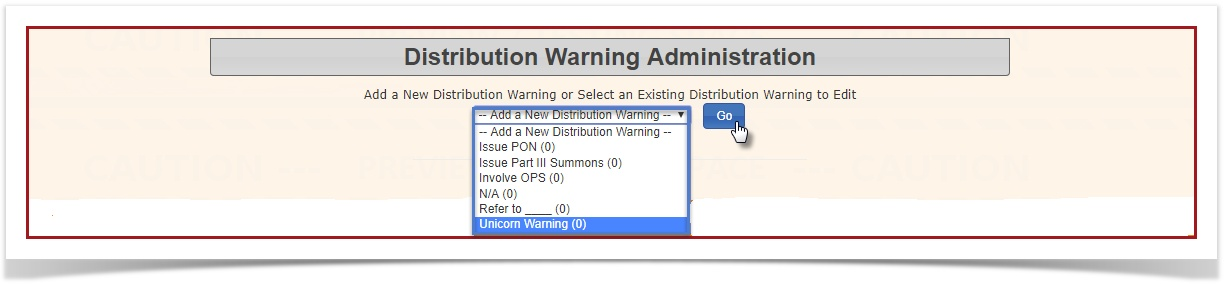
Warnings - Distribution
- Click Admin Options, Distribution and "Warnings".

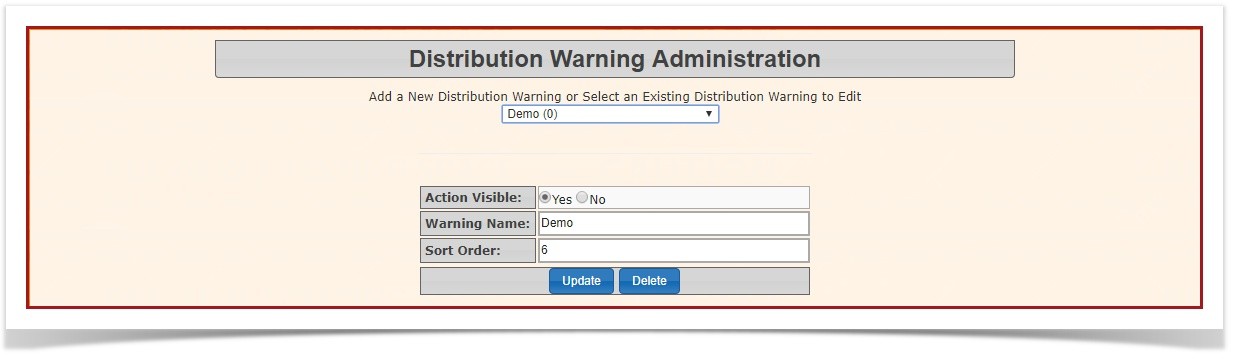
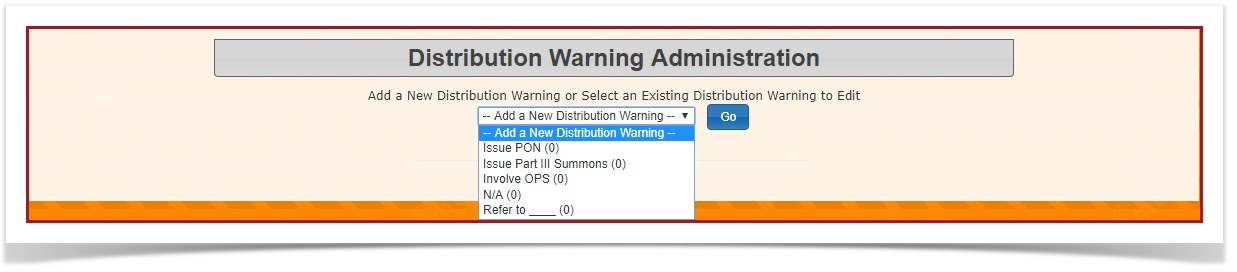
2. The Distribution Warning Administration page displays. To add a new warning, click "Add a New Distribution Warning" and click "Go".
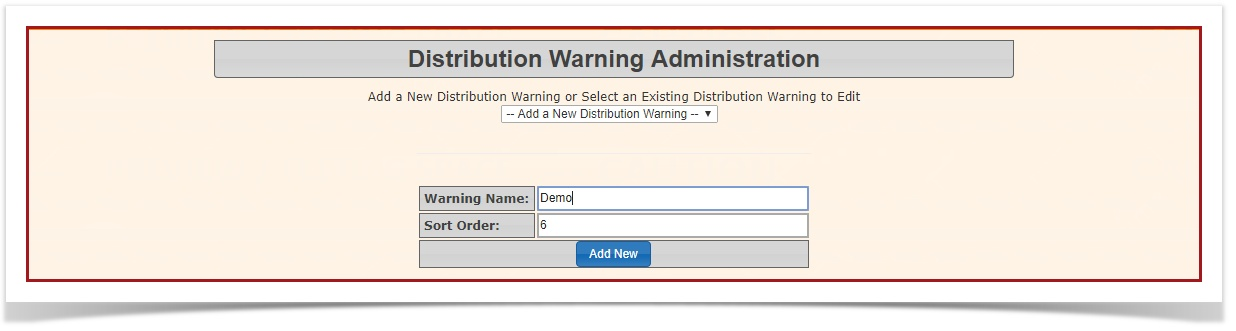
3. Once the page has refreshed, fill out the required information fields and click "Add New".
4. To edit an existing Distribution Warning, click the dropdown menu and choose the warning you want to edit. Click "Go". Once the page has refreshed, edit the items that you want to change on this warning and click "Update".
5. To delete/archive your selected warning, click "Delete".