System Settings
- System Settings
- Setting Device to Auto-Update
- Reset Settings for OPS-COM for Android
- Displaying Towing Charges on a Violation
- OPS-COM for Android Admin System Settings
- Categories
System Settings
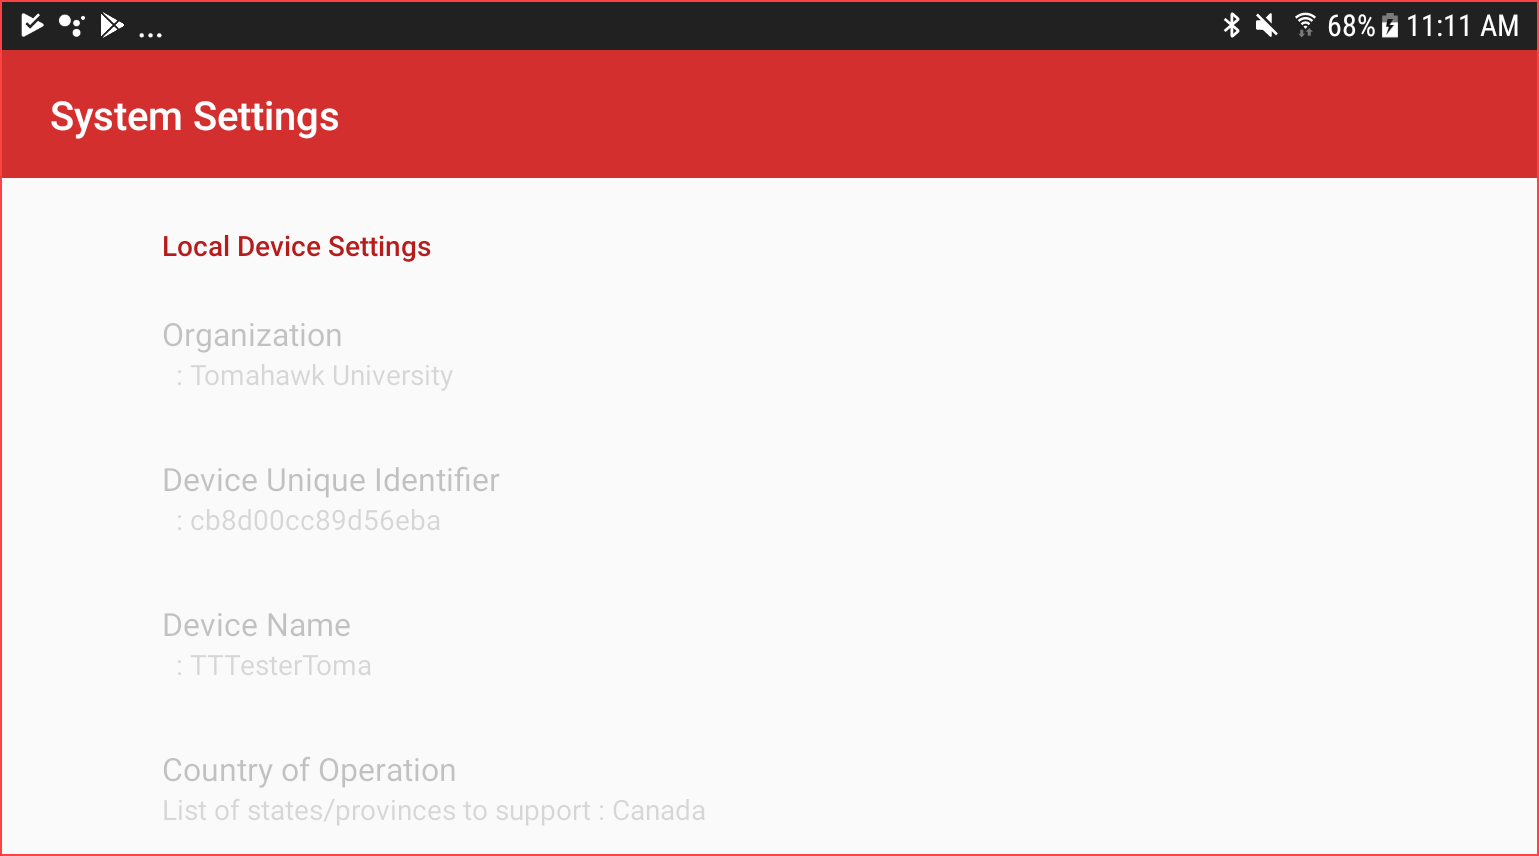
Local Device Settings
The first section of the System Settings screen contains device information under the Local Device Settings. All of these items are set on the admin side.
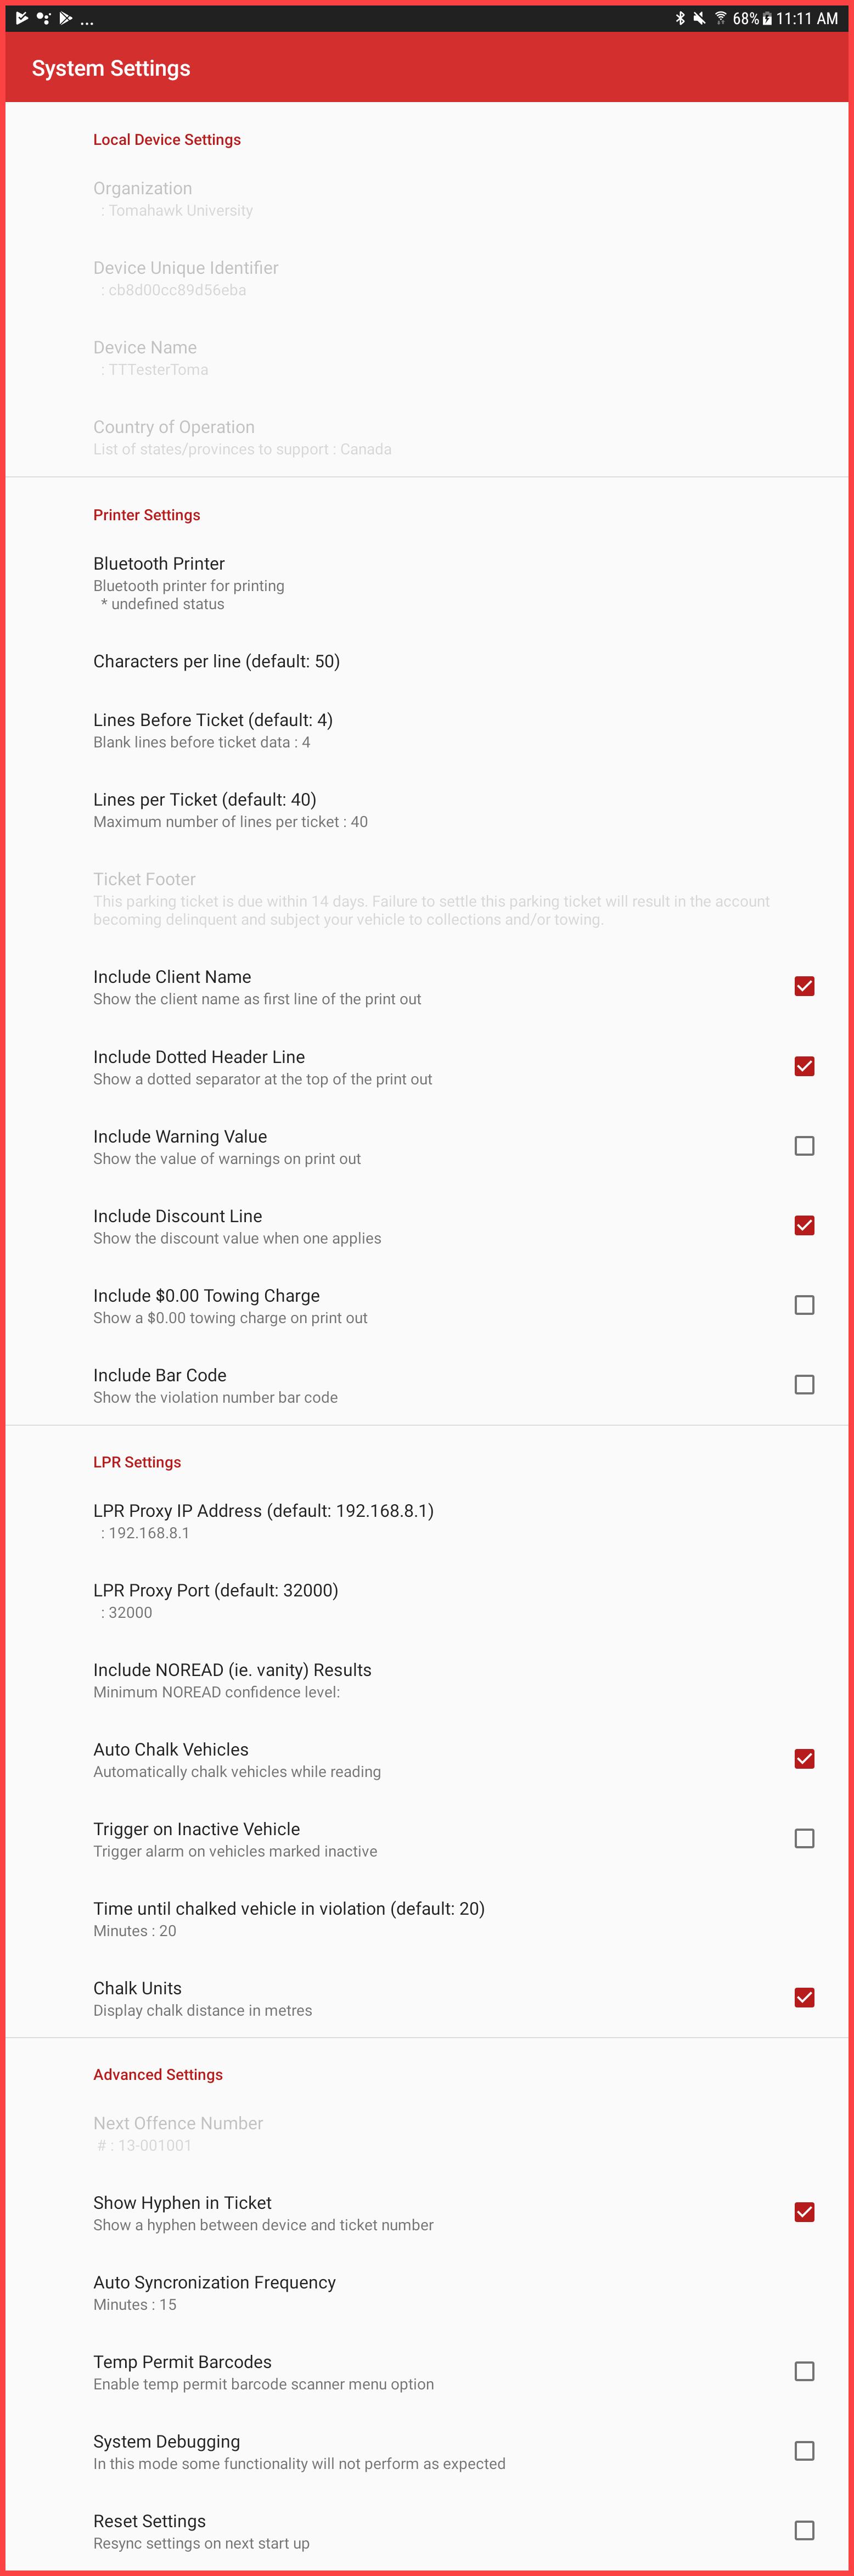
Printer Settings
The next section is directed at Printer Settings: This section sets what printer is used and offers several options as to what prints on the ticket.
Tap on each item to edit it's settings.
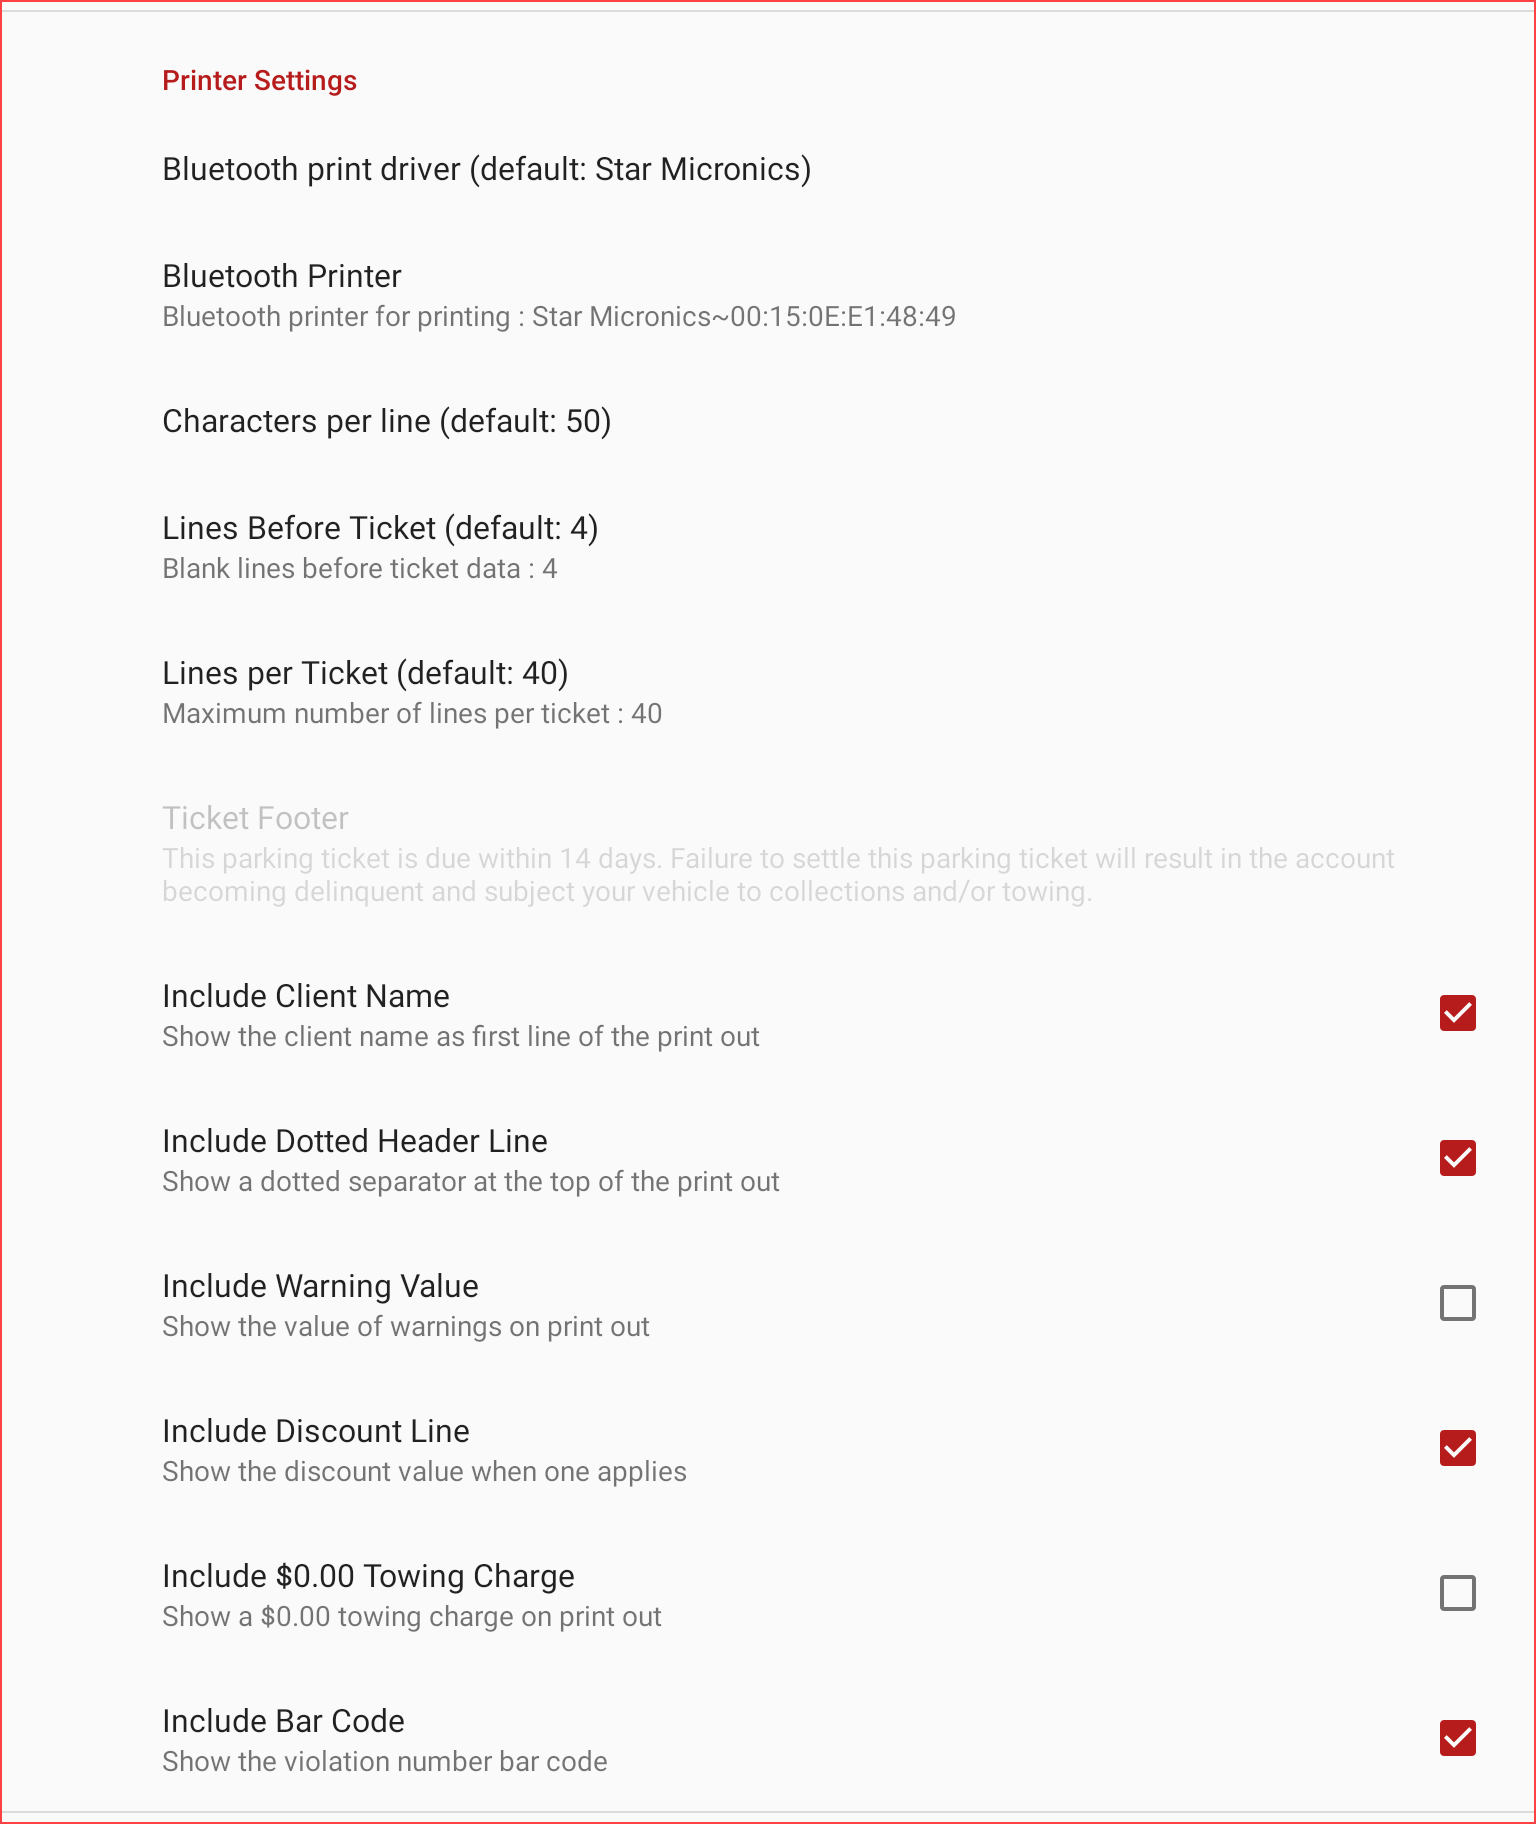
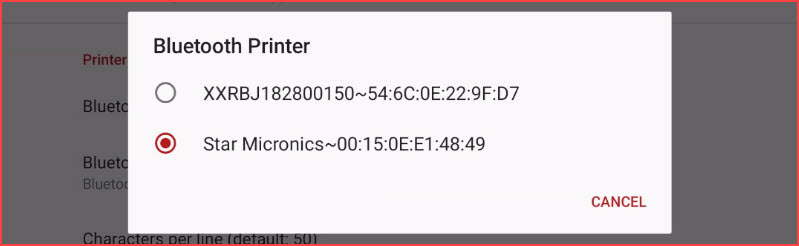
Bluetooth print driver (default: Star Micronics): Select the printer model you plan to use. (This must match what is selected in the Bluetooth Printer setting.)
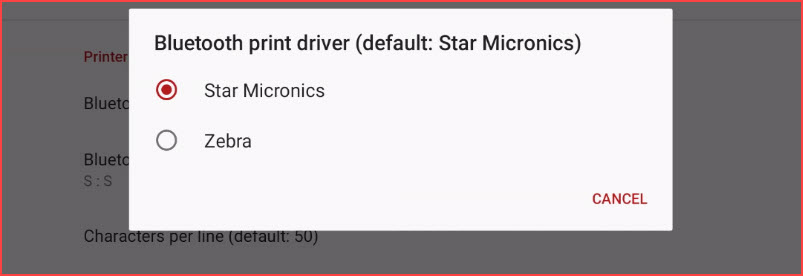
Bluetooth Printer: Select the printer model you plan to use. (This must match what is selected in the Bluetooth printer driver setting.)
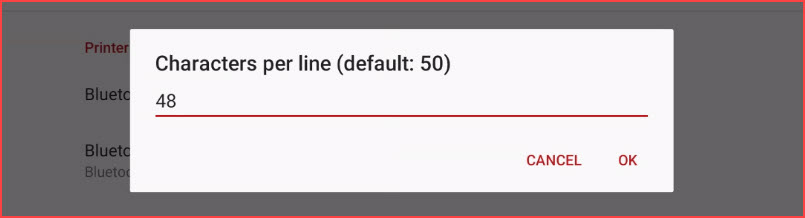
Characters per line: Indicates the number of characters across the width of a printed ticket.
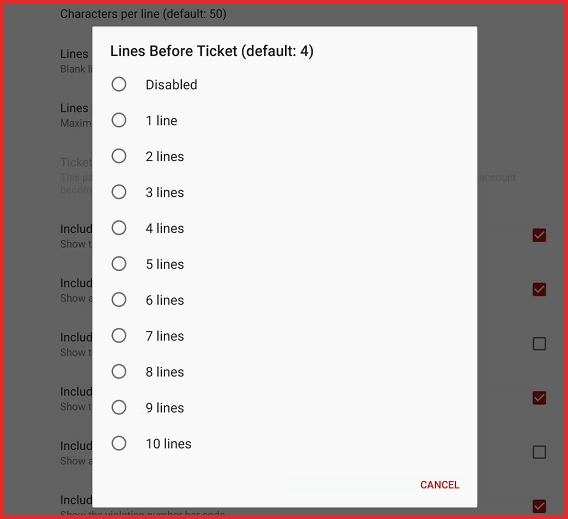
Lines Before Ticket: Indicates the number of blank lines before the first line of text is printed on the ticket.
There is already a buffer zone where the company logo is printed which allows further adjustment to this buffer zone.
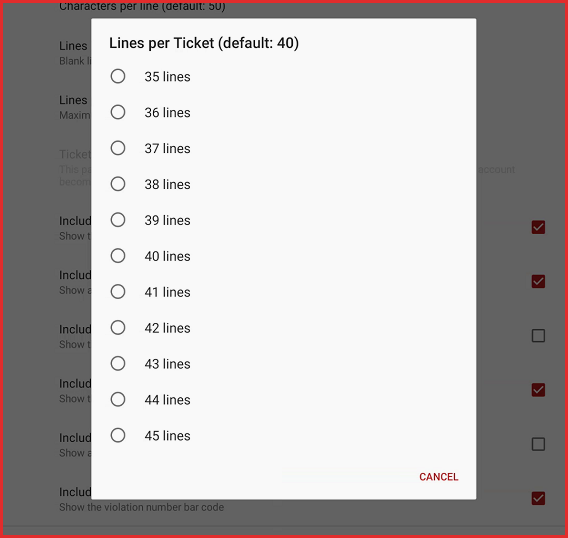
Lines per Ticket: Sets the maximum number of printed lines on the ticket.
LPR Settings
LPR Settings are used to set up a camera, enable chalking, and other chalking information related to the LPR device connected.
Important Note
To be able to use LPR on a handheld unit you must first toggle the functionality on in System Settings on the Admin Portal.
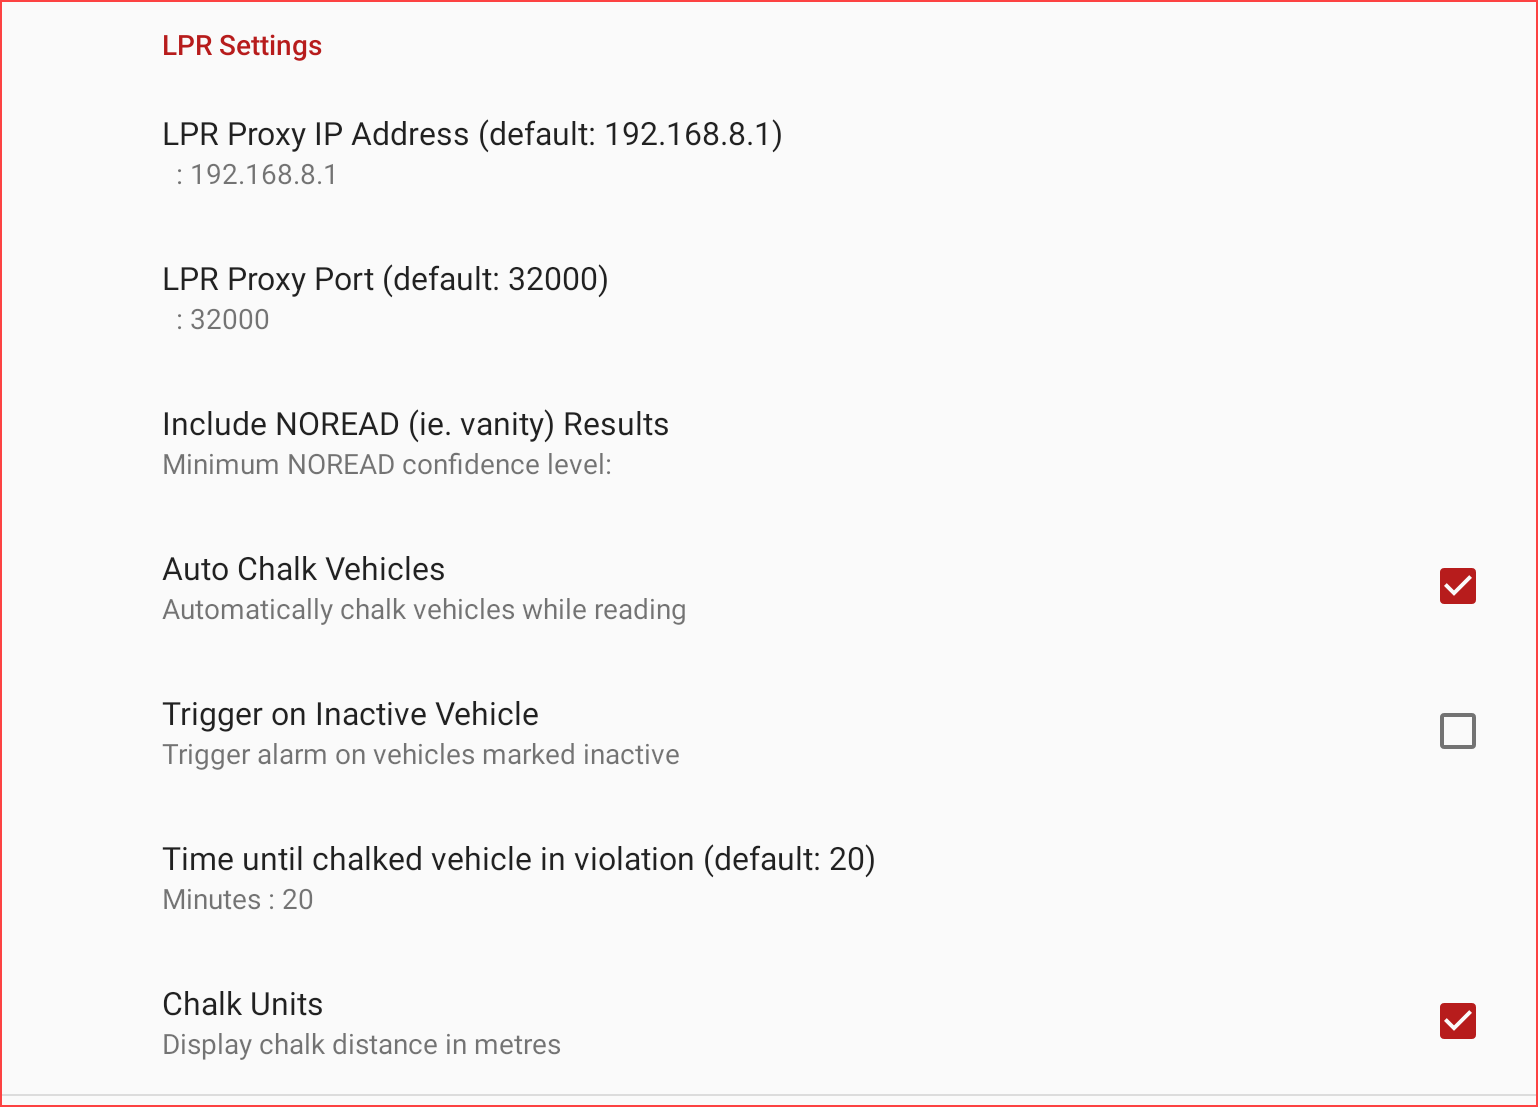
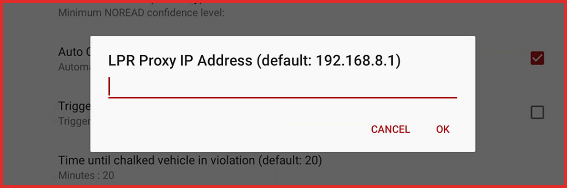
LPR Proxy IP Address: Enter the LPR Proxy IP Address (The default IP is 192.18.8.1 which is used to connect to a PL8RDR)
LPR Proxy Port: Enter the port number for the LPR Proxy Port (The default proxy port is 32000)

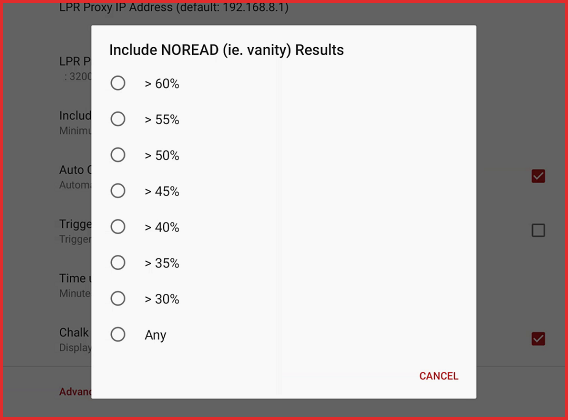
Include NOREAD Results: Set the level of NOREADS that you wish to include.
For example setting the level greater than 50% would only include reads with a 50% or greater read score.
Auto Chalk Vehicles: Toggles auto chalking of vehicles while reading plates.
Trigger on Inactive Vehicle: Toggle whether or not you are sent an alarm when you scan a vehicle marked as inactive.
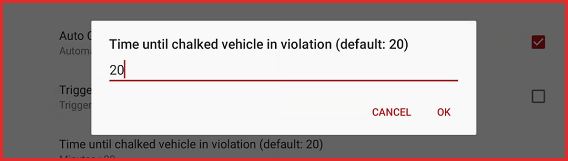
Time until chalked vehicle in violation: This feature allows you to set the amount of time in which it takes for a vehicle that is parked illegally to be flagged as a violation.
Chalk Units: Toggles whether or not you display the virtual chalking information in meters.
Advanced Settings
Advanced settings are used to adjust ticket formatting, offence details and add barcodes.
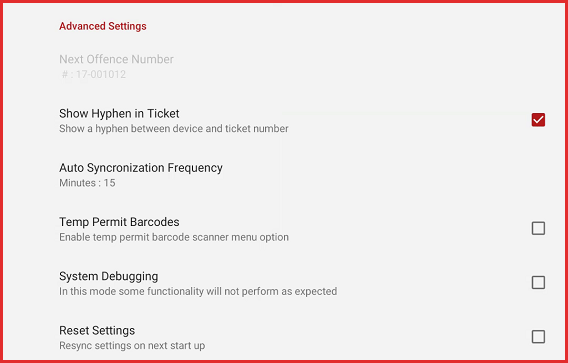
Next Offence Number: This number is set on the admin side. It would be set to the next ticket number you wish to apply to the next offence written. (Next ticket number)
Show Hyphen in Ticket: Toggles the option of whether or not there is a hyphen between the device ID and ticket number.
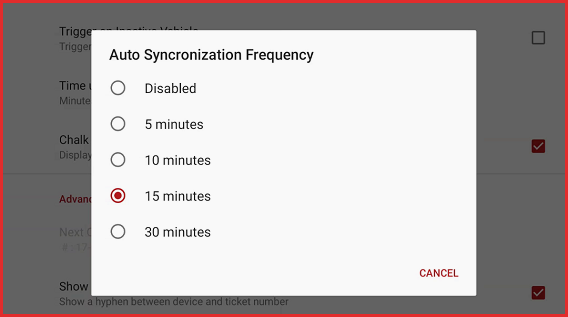
Auto Synchronization Frequency: This sub-menu allows you to change the amount of time between each auto synchronization of data from the handheld and the database.
Temp Permit Barcodes: Toggles on or off the Temporary Parking Barcode Scanning Function.
System Debugging: Toggle on to put the device into debug mode for testing.
Reset Settings: Re-syncs the settings with information on the Operations Commander in order for you to return to default settings.
Preference settings: added to hide multi menus for chalking and evidence photo
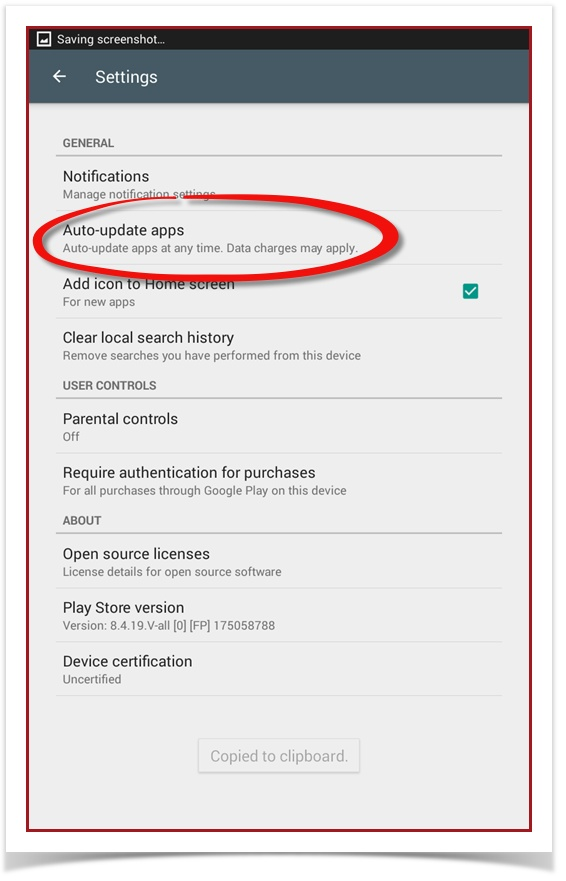
Setting Device to Auto-Update
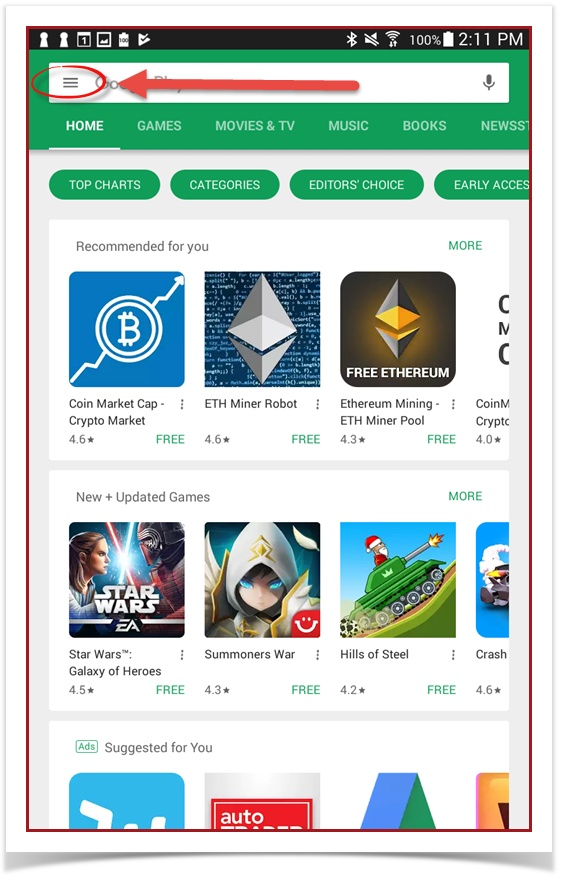
- Open Google Play Store.

- Tap the hamburger icon (three horizontal lines) on the top-left.

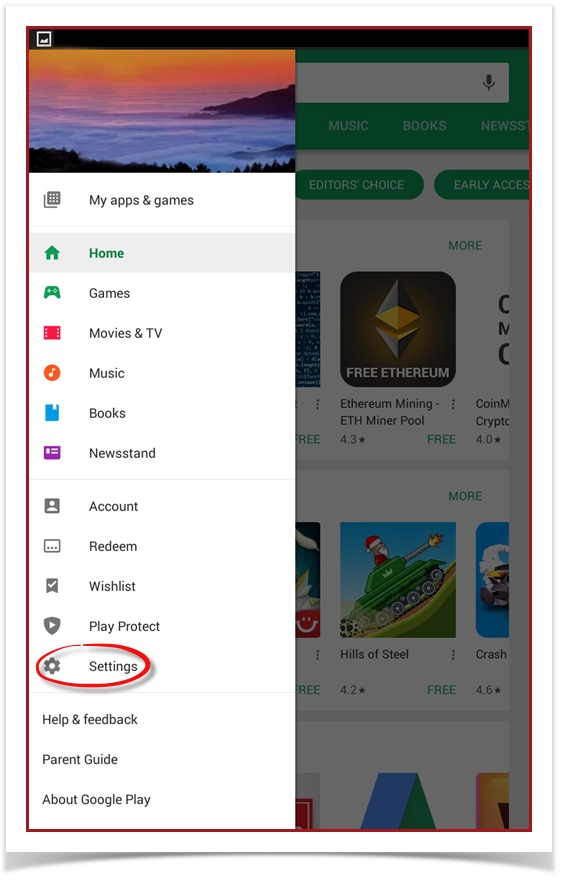
- Tap Settings.

- Tap Auto-update apps.

- To enable automatic app updates, select Auto-update apps at any time. Data charges may apply.
To disable automatic app updates, select Do not auto-update apps.


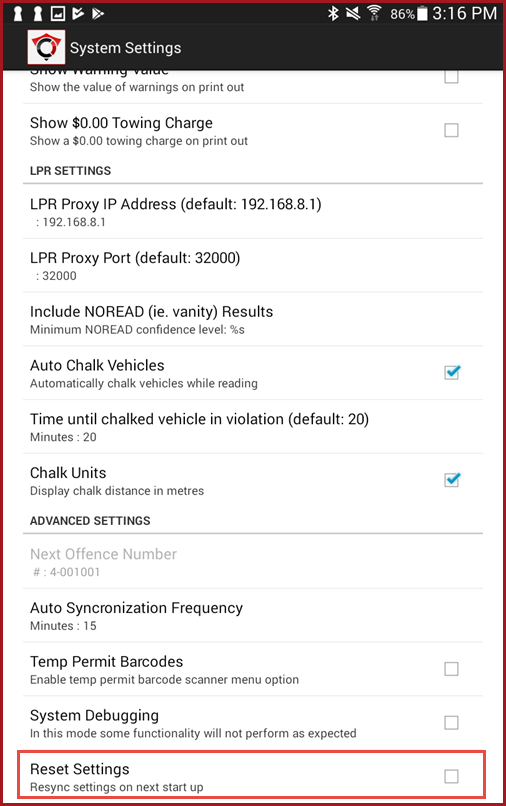
Reset Settings for OPS-COM for Android
From time to time you may be told to perform the Reset Settings function in the OPS-COM for Android app. Said setting can be found in the system settings area of the OPS-COM for android app.
The reset settings function should only be performed if you have been told to do so by us.
Step-by-step guide
-
Log in to the OPS-COM App.
-
Click System Settings.
-
Scroll down and check Reset Settings.
-
Log out of the app (back, logout).
-
Fully close the OPS-COM application.
- Restart the tablet/handheld.
-
When you next log in to the app, it will re-download all system settings related data.

Displaying Towing Charges on a Violation
Depending on your policy, some institutions tow vehicles and some do not. If you do charge a fee for towing, this can be shown on the violation you give to the parker. Even though a towing cost may not apply in all cases, some organizations have it display a $0.00 value just as a reminder that a vehicle could possibly be towed. This is a setting that can be enabled on the handheld unit. This article will walk through the process of enabling Tow Charges to print on a Violation.
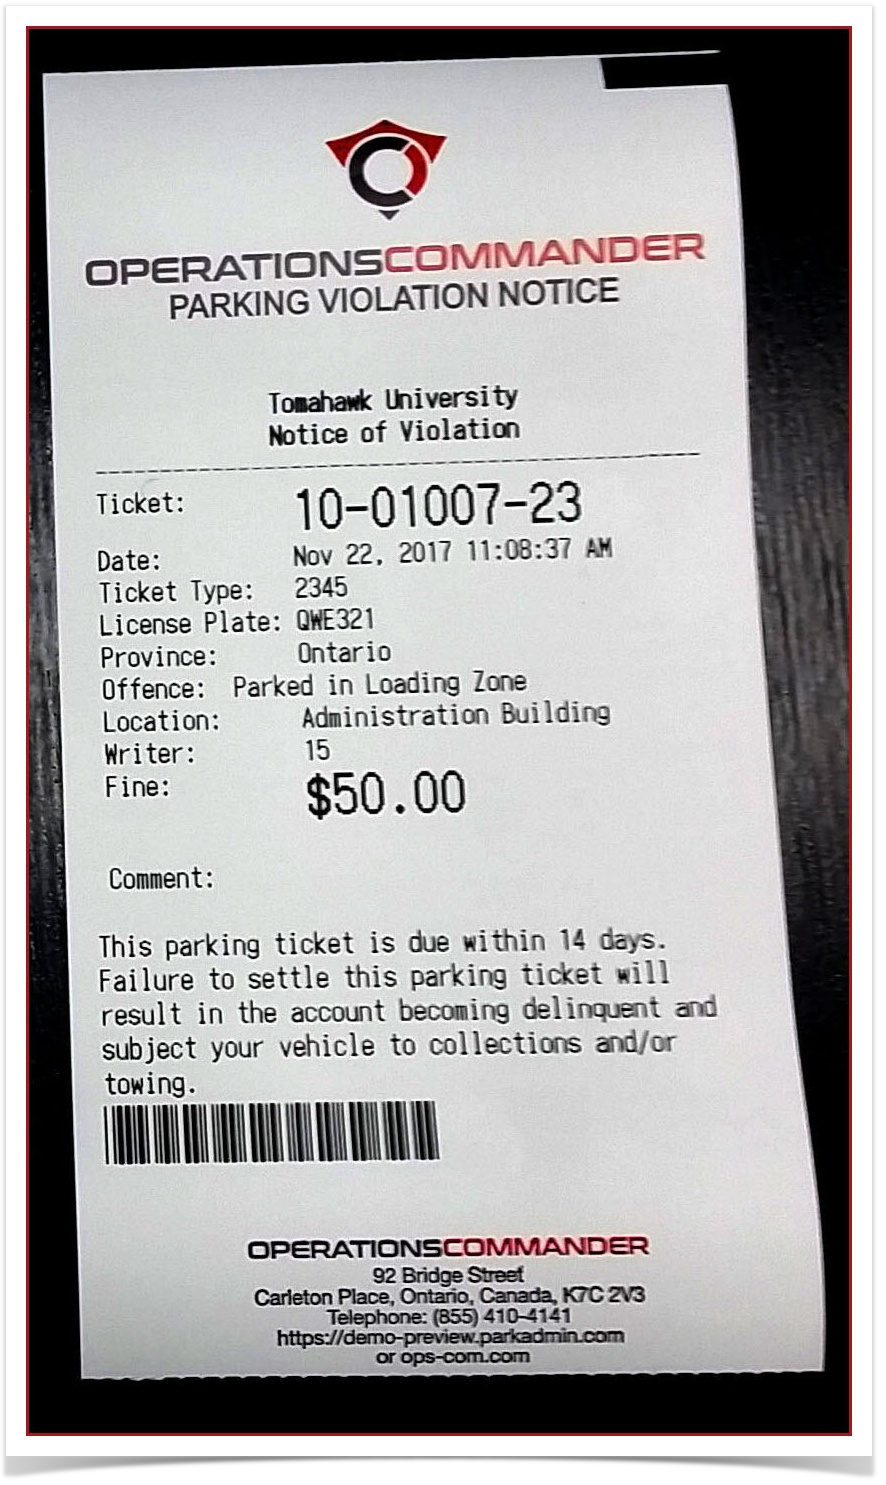
- To enable this setting, go to System Settings on the handheld units. By default, the setting is disabled. This means that no Towing charges would print.

This is an example of the Violation with no Towing Charge:
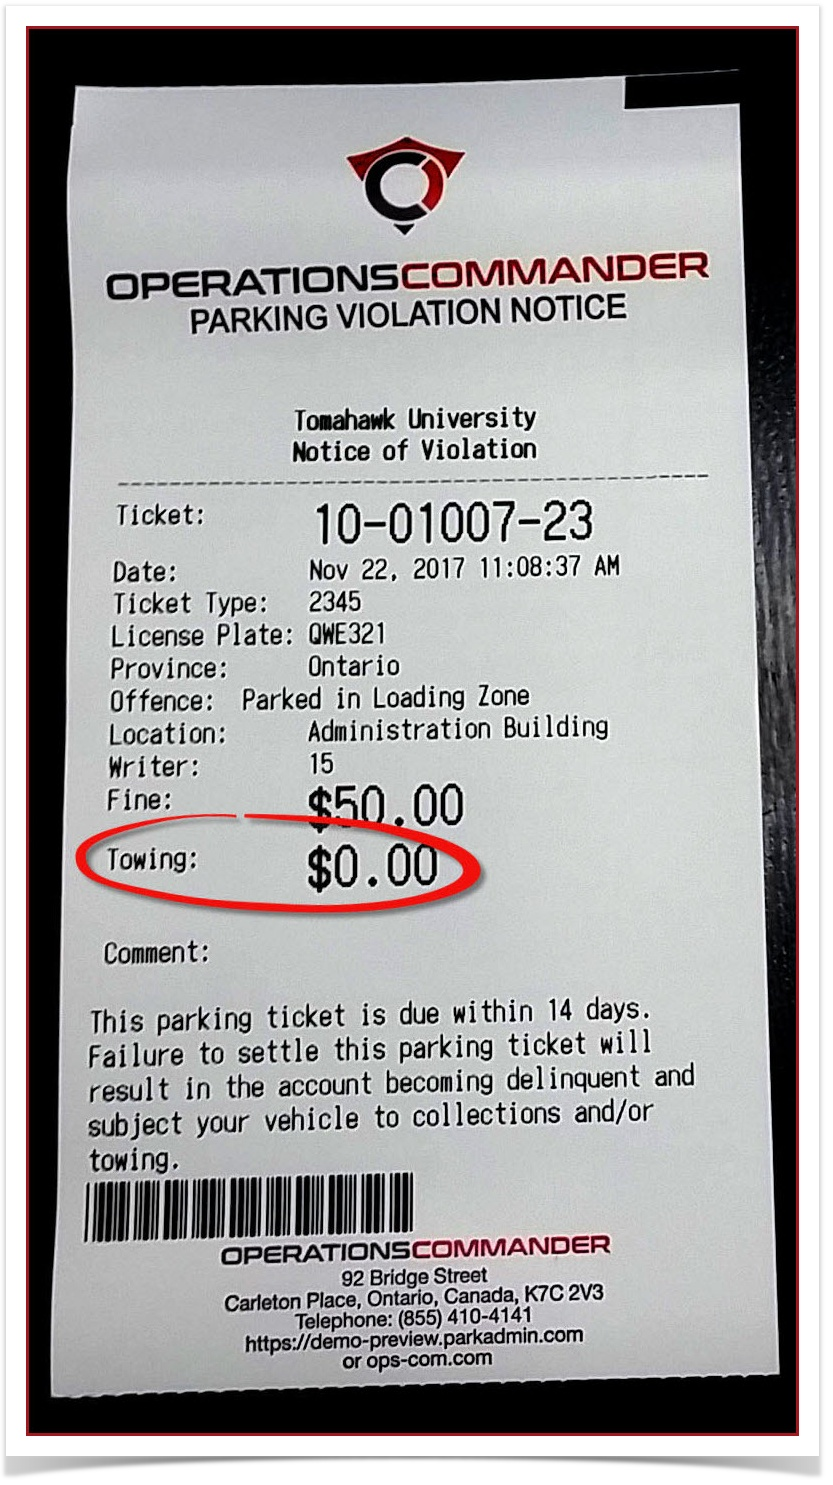
2. Enable the Show $0.00 Towing Charge checkbox and the $0.00 cost will appear on the ticket.

This is an example of the Violation with a $0.00 Towing Charge:
Please Note:
It is important to note that if a towing charge was actually applied to the violation, in all cases, the towing charge would appear regardless of this setting.
OPS-COM for Android Admin System Settings
Administrator System Settings
There are settings that will need to be populated in order to have the handheld units work with common core settings.
There settings include:
- Organization Name
- Country
- Ticket footer
Setting the Organization Name and Country
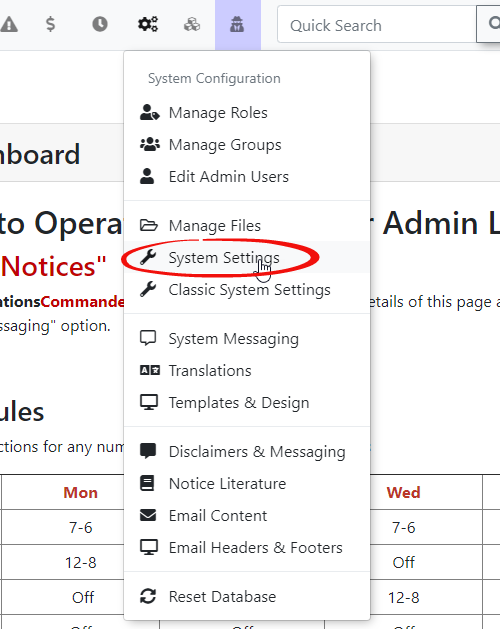
To access the settings go to the System Configuration and click on System Settings.
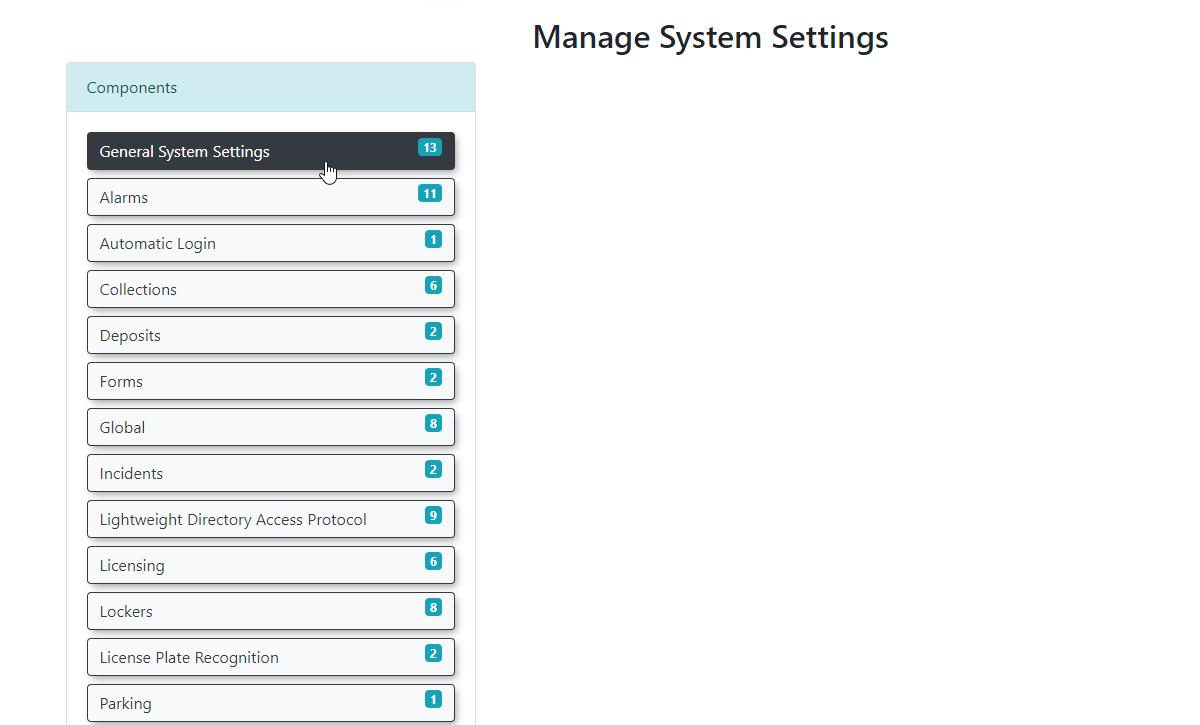
Once in system settings click on General System Settings in the list of components.
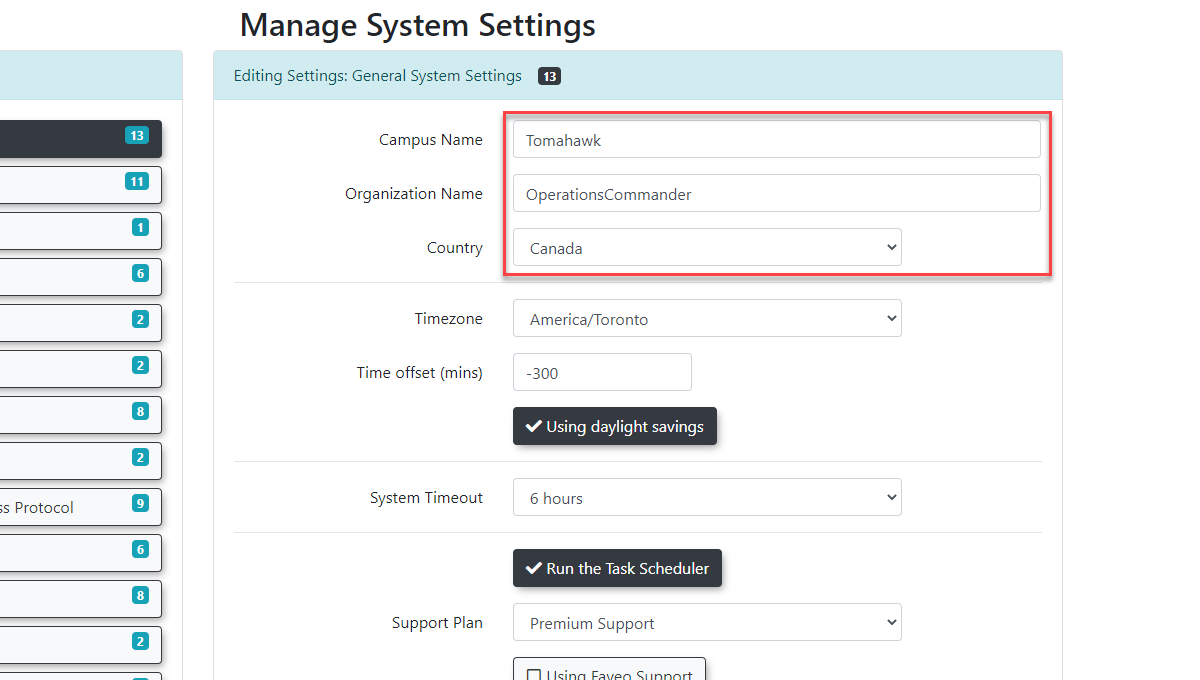
Edit the Organization Name and Country to reflect your specific location.
Click Save Settings to proceed.
Editing the Handheld Footer
Click on Violations in the list of Components.

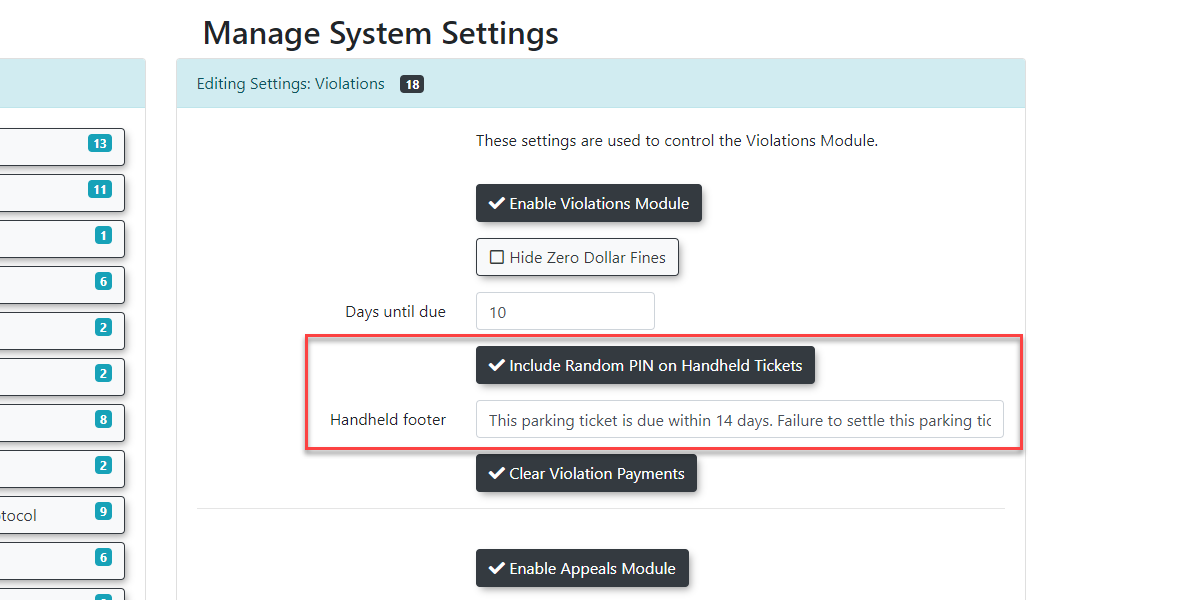
In the top portion of the form you will see a field labeled Handheld Footer. Edit this field to display what you would like printed in the ticket footer area.
The message should look something like this:
This parking ticket is due within 14 days. Failure to settle this parking ticket will result in the account becoming delinquent and subject your vehicle to collections and/or towing.
Note: You can also toggle the appearance of the pin numbers on the violation in this area as well.
Handheld Settings
The settings that you setup for your device are pushed to the preview or production site you used to setup. This means that if you setup your device on production, it will not be configured for preview and if you setup your device on preview it will not be configured for production. The proper method for adding devices would be to first add the device through preview. And then setup your device on production which will add the settings to both the production and preview PA_Common tables.
Categories
How to Get to Categorize to Create or Edit
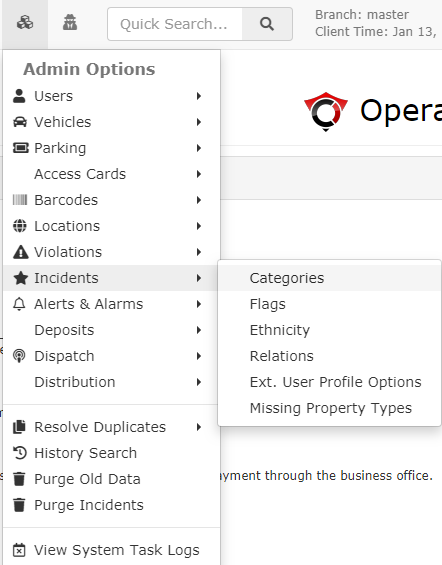
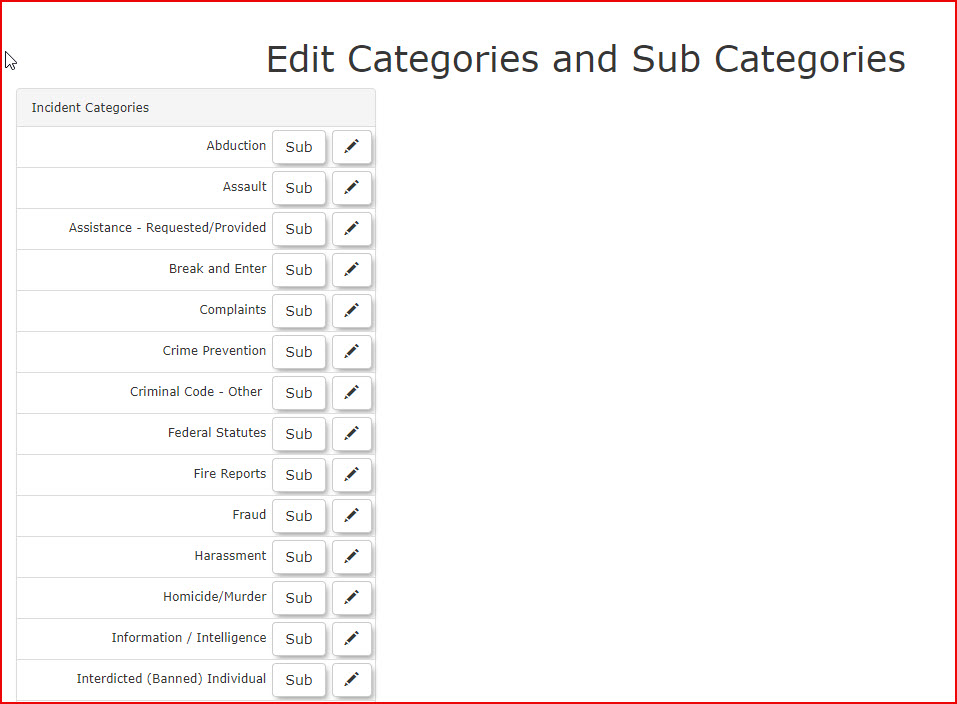
The Edit Categories and Sub Categories main page will display. To edit a Category, select the desired category from the listed items and click the pencil icon to edit.
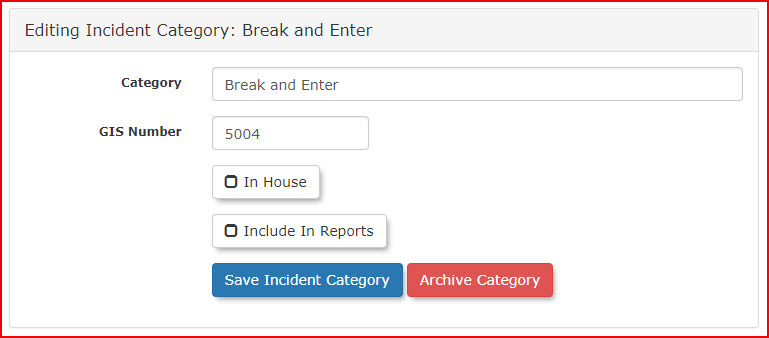
The page will refresh and you will be able to edit your Incident Category. Change the category name and/or details as desired and click "Save Incident Category".
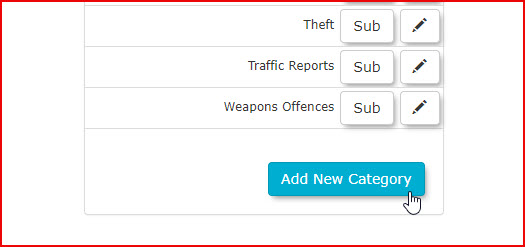
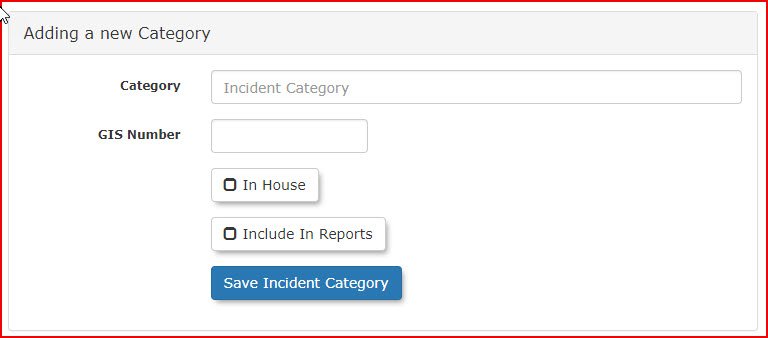
To add a new Incident Category, return to the Edit Categories and Sub Categories main page, and click "Add New Category" located at the bottom of the page.
The page will refresh. Fill out the details for your new Category Name, select whether it's "In-House", enter the GIS number, and select if you'd like this category included in Reports. Click "Save Incident Category".
To check a category for Sub-Categories, return to the Edit Categories and Sub Categories main page. Select one of the categories by clicking on Sub.
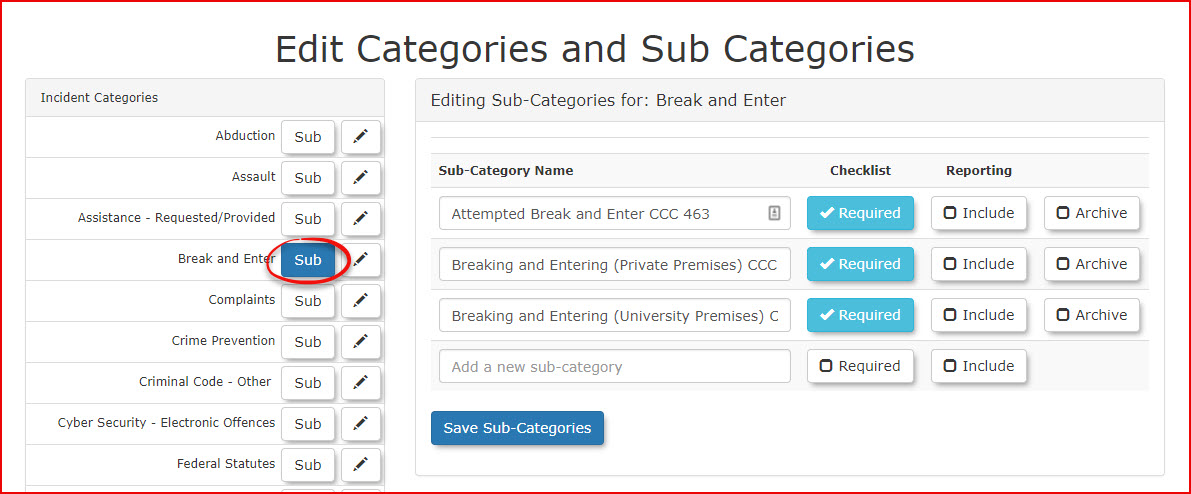
The page will refresh, and you will have the option to add a sub-category.
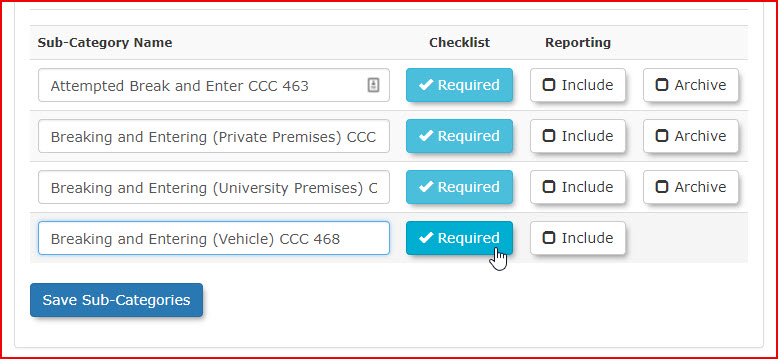
To add a new sub-category, enter the name you want for your sub-category. Enable the functions you wish to have in this subcategory.
- If a Checklist is required, click "Required".
- If it's to be Included in Reports, click "Include".
- Once you have finished, click "Save SubCategory".