# Configure LPR Camera
## Connecting Wirelessly
The first step is to connect to your **PL8RDR** device via wireless connection. To do so bring up your systems **Network Settings** by following the steps below.
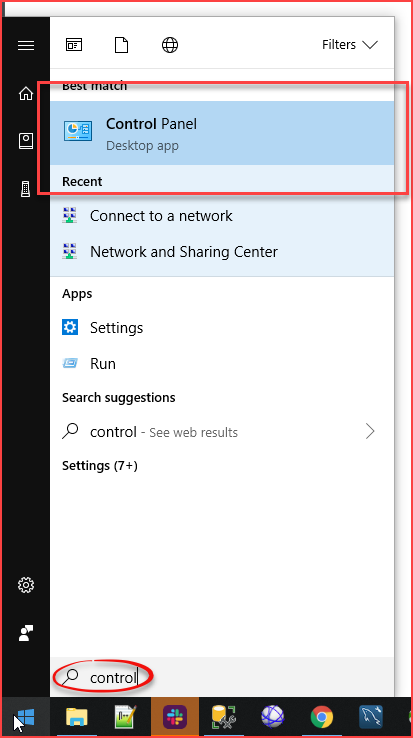
Click on the **Windows Home Button** and start typing **Control Panel**. It should pop up under Best **Match** as you are typing.
[](https://opscom.wiki/uploads/images/gallery/2024-06/ljlimage.png)
Click on **Control Panel** to access your **Computer's Settings**.
[](https://opscom.wiki/uploads/images/gallery/2024-06/72jimage.png)
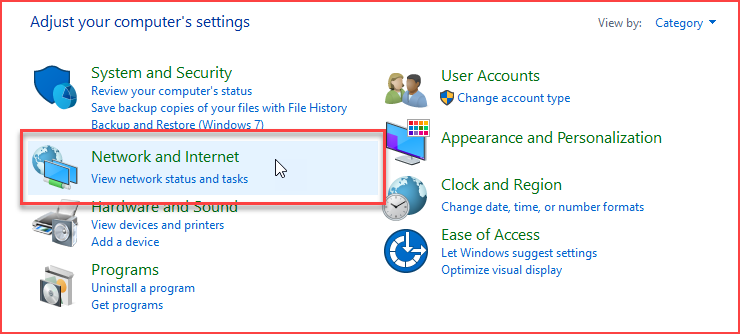
A list of all available configuration items will appear. Click on **Network and Internet.**
[](https://opscom.wiki/uploads/images/gallery/2024-06/Fn0image.png)
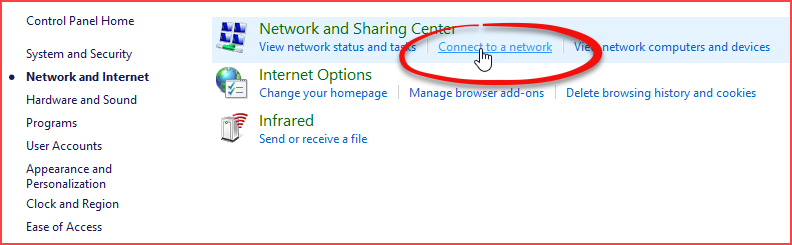
In **Network and Sharing Center** settings click on **Connect to a Network**.
[](https://opscom.wiki/uploads/images/gallery/2024-06/zIjimage.png)
### Connect to pl8rdr.opscom
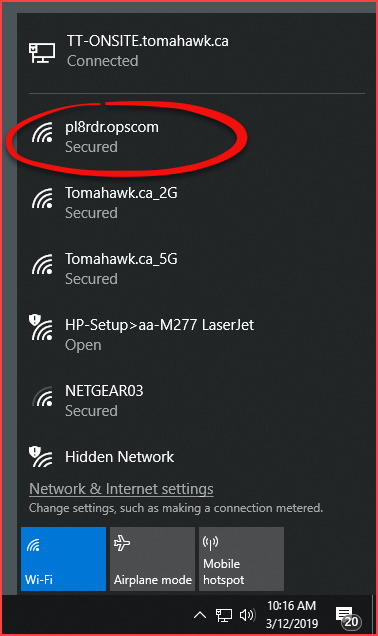
First make sure **Wi-Fi** is turned on by clicking the network icon at the bottom right of your screen. You will see a list of networks available to you. In this case we are looking for the **pl8rdr.opscom** network.
[](https://opscom.wiki/uploads/images/gallery/2024-06/nDzimage.png)
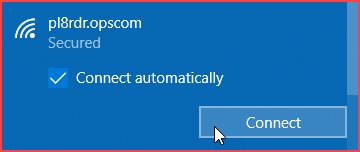
Clicking the **pl8rdr.opsom** network will open a screen where you can click on **Connect** to join the network. You can also utilize the **Connect automatically** check box do avoid having to connect manually each time.
[](https://opscom.wiki/uploads/images/gallery/2024-06/kNtimage.png)
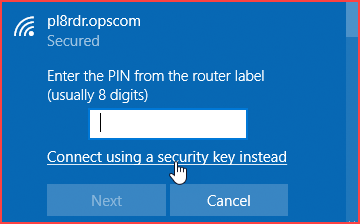
Since the network is secured a password/PIN is required to connect. Click on **Connect using a secure key instead** to bring up a seperate password entry field.
[](https://opscom.wiki/uploads/images/gallery/2024-06/6VNimage.png)
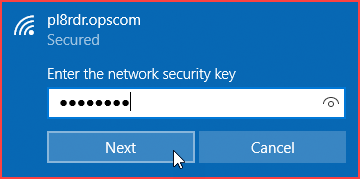
Enter the password into the empty field and click on **Next**.
*(Note: The password would be provided by OperationsCommander. If you do not know your password please contact support@ops-com.com)*
[](https://opscom.wiki/uploads/images/gallery/2024-06/5VQimage.png)
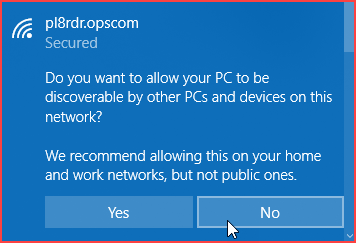
You will be prompted to allow your PC to be discoverable by other PCs on this network. Click **No** as you do not want this connection to be open to other PC's.
[](https://opscom.wiki/uploads/images/gallery/2024-06/ekpimage.png)
You will see the connection status below the **pl8rdr.opscom** network appear as **Connected**.
[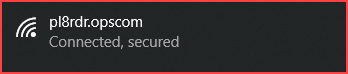](https://opscom.wiki/uploads/images/gallery/2024-06/67oimage.png)
## Connect to the Camera
Now you can open a browser and enter the IP address of your camera in the go to field.
You will also need to follow the IP address with a port number. For mobile cameras the port number is 1080 therefore the URL would look like this:
http;// (IPaddress)(colon)(port number) as in the example below you can see the URL as **http://10.42.0.140:1080**
If you do not know the IP address of your camera see **How to Find the IP Address of your Camera** found below.
You will be prompted for a **Username** and **Password**.
[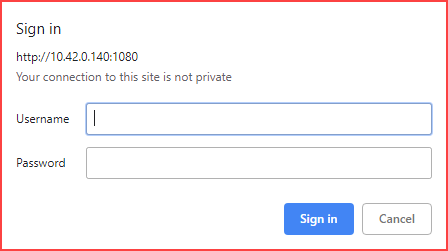](https://opscom.wiki/uploads/images/gallery/2024-06/iDAimage.png)
The main **Number Plate Reader Configurations** page will appear. Note the IP address and port number in the browser as well as the rest of the URL that will resolve automatically
[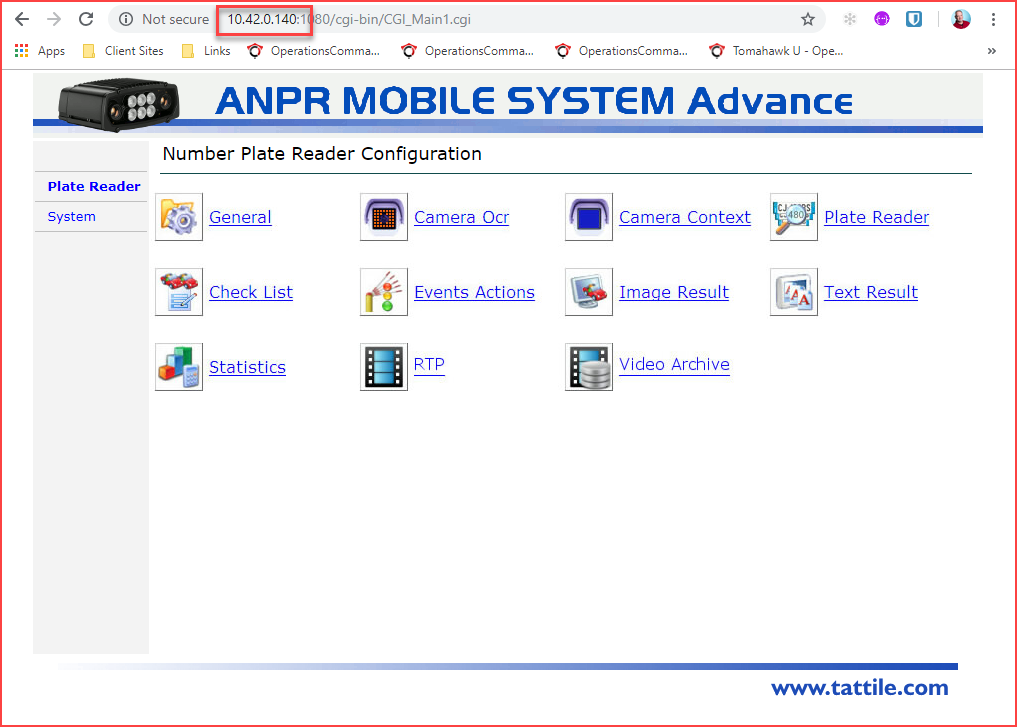](https://opscom.wiki/uploads/images/gallery/2024-06/p8eimage.png)
## Naming Mobile Cameras
Under System → Network you can name camera appropriately.
- Mobile–L = Drivers side
- Mobile-R = Passenger side
## How to Find the IP Address of your Camera
On the handheld unit go to main menu and tap on **LPR Scanning**.
[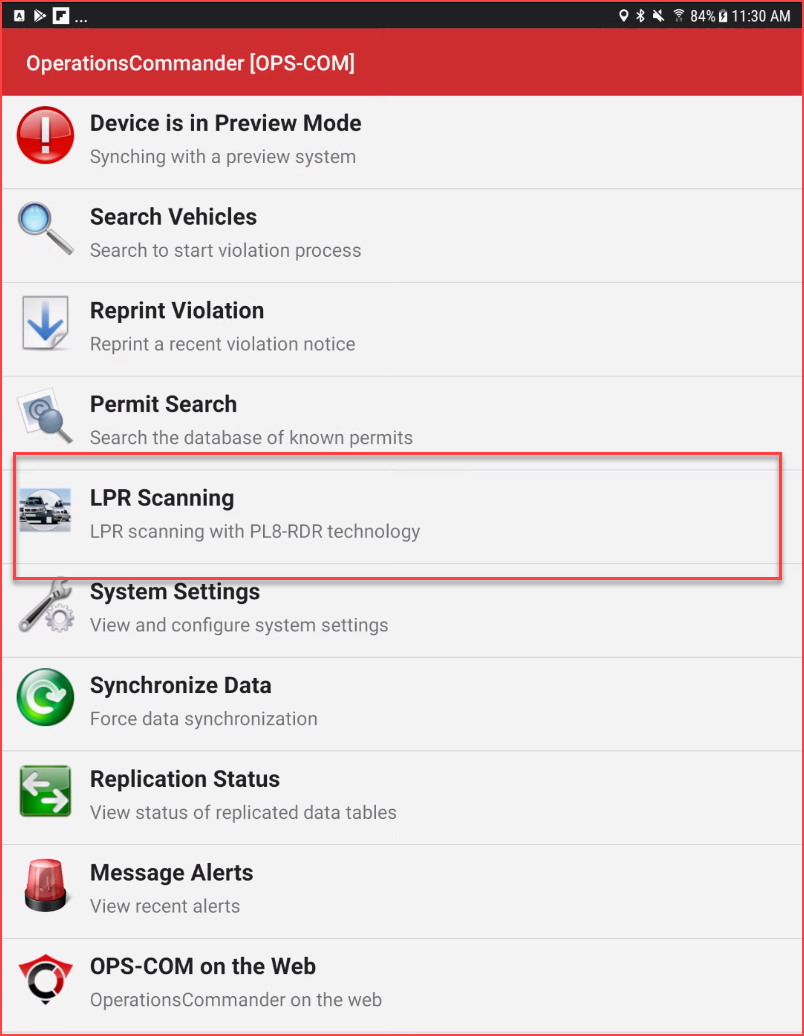](https://opscom.wiki/uploads/images/gallery/2024-06/0gTimage.png)
Once in the LPR screen tap on **Status** near the top right of the screen.
[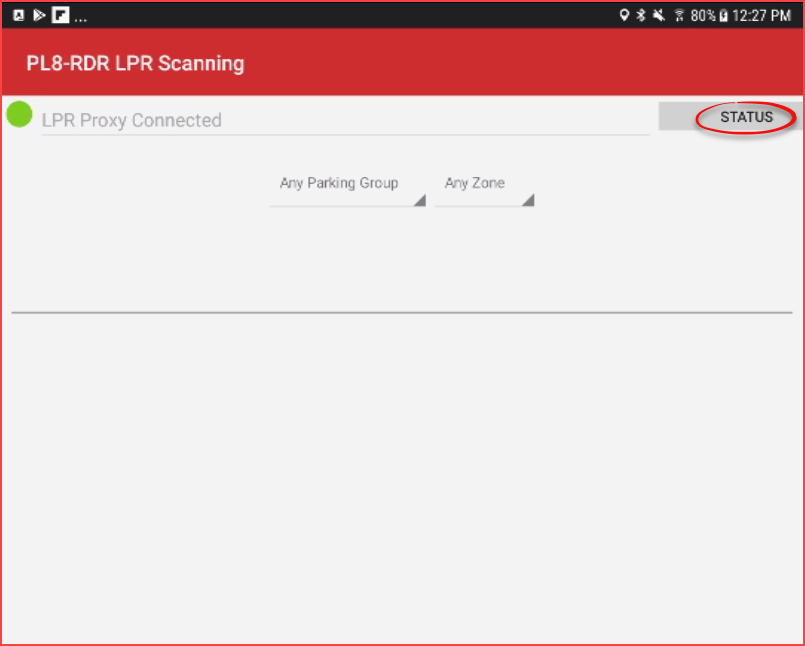](https://opscom.wiki/uploads/images/gallery/2024-06/jPgimage.png)
You will see a list of connected devices. The device **Type** should be **Tattile camera wifi.**
Please note that due to new cameras coming onto the market, your PL8RDR may list a camera as an unknown device.
[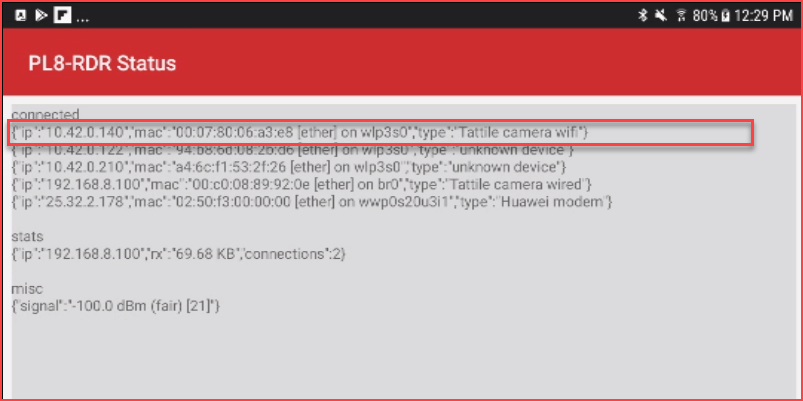](https://opscom.wiki/uploads/images/gallery/2024-06/5igimage.png)
In this case the cameras IP address was **10.42.0.140**. Enter the IP address for your device with port **:1080** into the browsers URL and hit **Enter**.
[](https://opscom.wiki/uploads/images/gallery/2024-06/3Pwimage.png)
The below screen shot is taken after the cameras have read some plates.
Notice the "stats" entry which clearly lists the camera IP addresses.
Also note that sometimes the system is not able to determine which device is a camera.
[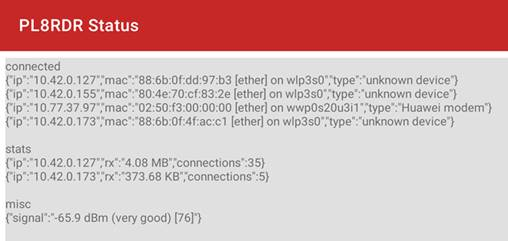](https://opscom.wiki/uploads/images/gallery/2024-06/mlpimage.png)