
Locations - Sub Locations
Click
Sub-Locations
Youin willOPSCOM beallow redirectedadministrators to define more granular areas within a main location, primarily for detailed incident reporting. This feature enhances the precision of incident documentation by pinpointing specific spots within a larger location, providing richer context for investigations and analysis.
Using this Feature
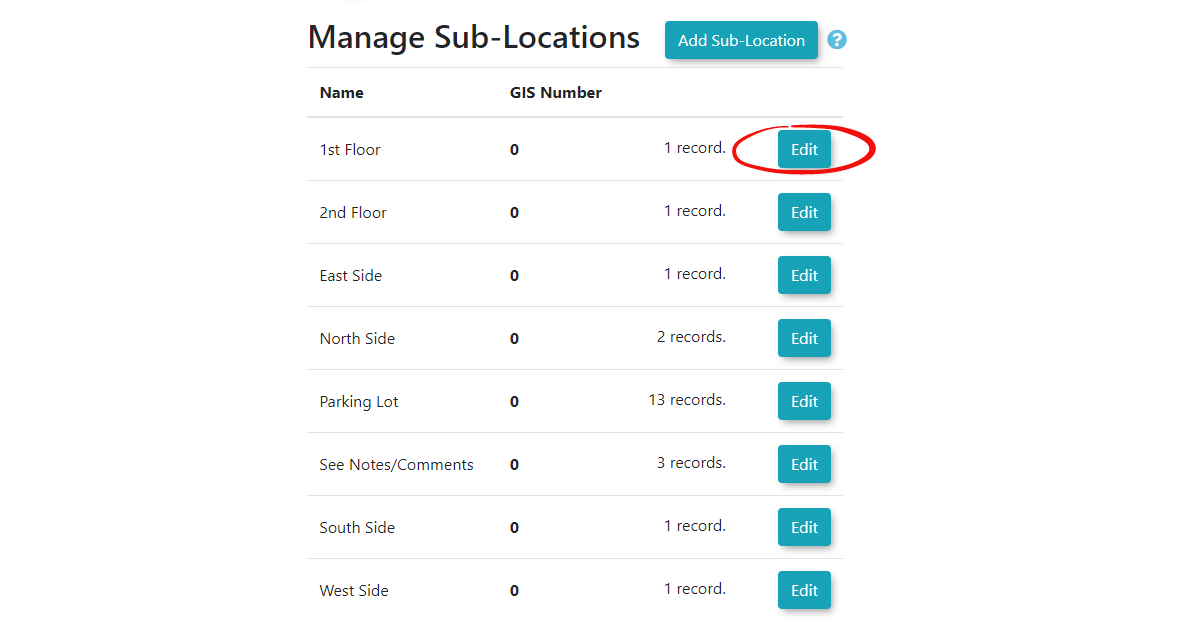
The Manage Sub-Locations
Toadda new sub-location:Clickonthe Add Sub-Location.Location button.
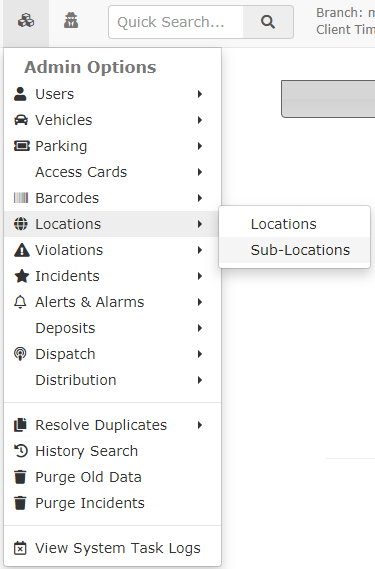
1. Hover over System Configuration, Manage Locations, and click Manage Sub-Locations.
Adding

To edit an existing sub-location: Click on Edit
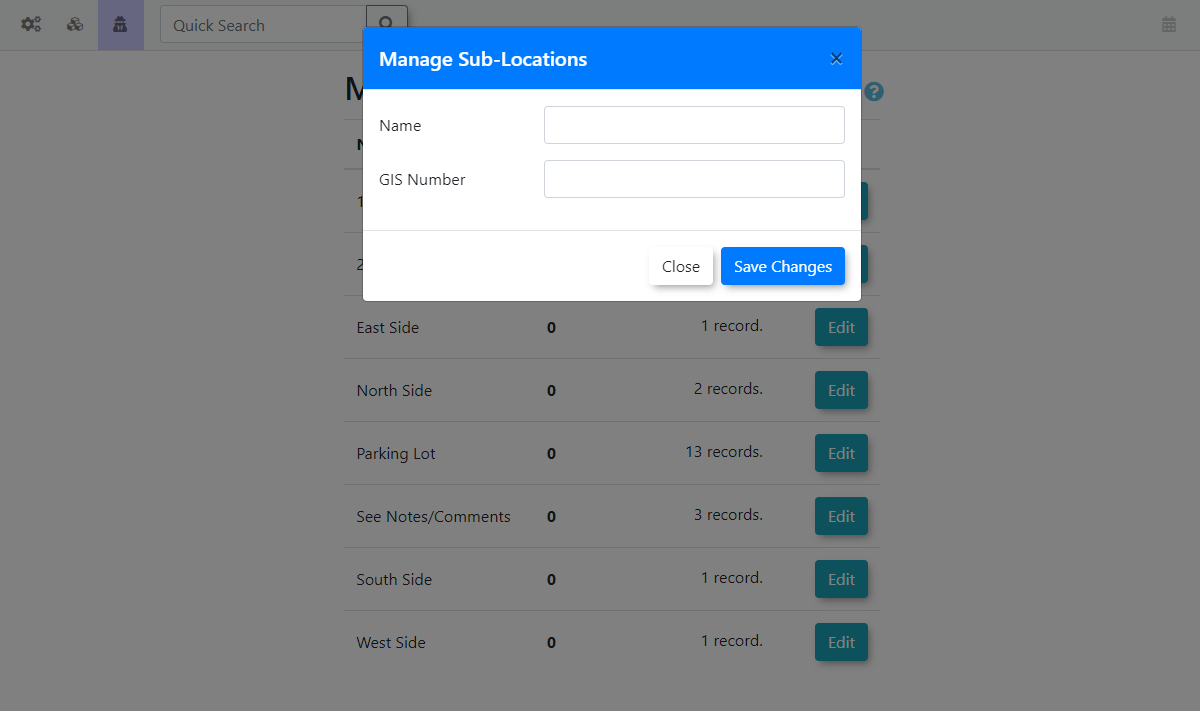
There are two fileds to configure. Thethe name
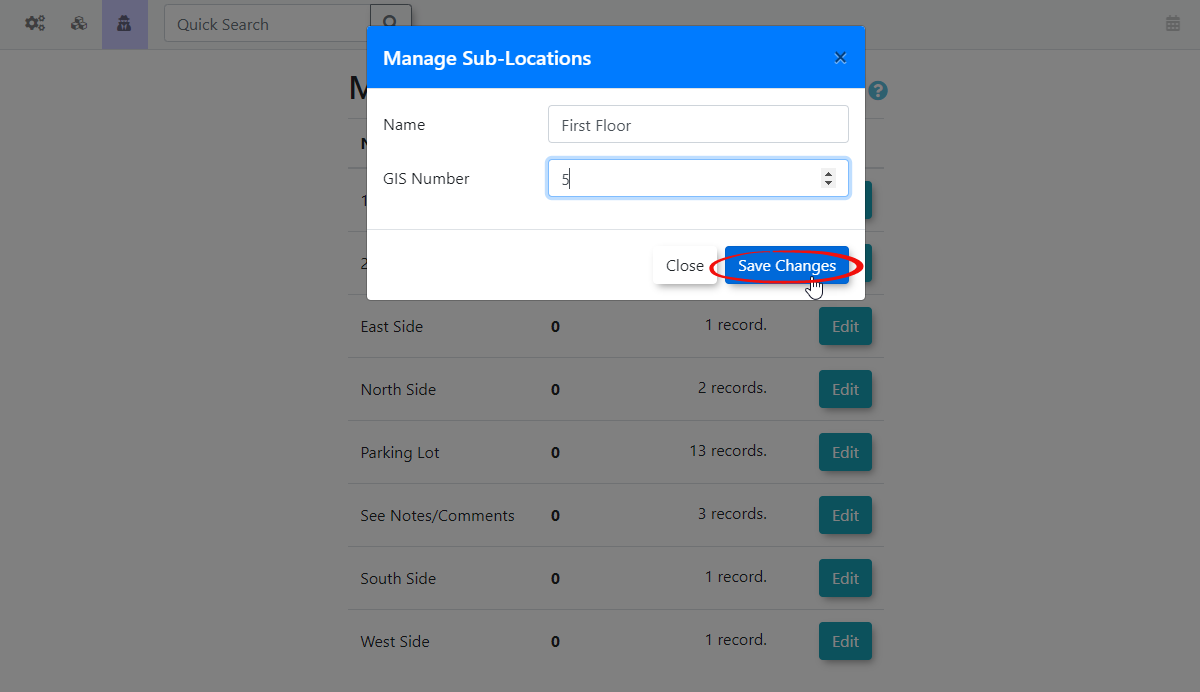
The Manage Sub-Locations page will refresh and display a confirmation message indicating that the Location has been updated (or added).
Editing
- Locate the Sub-Location you wish to modify in the list.
- Click the Edit button next to it.
- Make your updates and click Save Changes.
Deleting
- If a sub-location is eligible for deletion, you will see a Delete button specific to that location
- Click the Delete button and confirm. This action will permanently remove the location from the system.
Best Practices & Considerations
- Detail for Incident Reporting: Sub-locations are primarily for incident reporting. Use them to add specific detail that goes beyond the general "Location" (e.g., within "Mulloy Library" you might have "Reading Room," "South Entrance," "Loading Dock").
- Clarity in Naming: Use clear and concise names for your sub-locations to make incident reports easily understandable.
- GIS Integration: If your organization uses GIS data, ensure your GIS numbers for sub-locations are accurate and consistent with your mapping systems.
- Data Integrity: Always ensure that a sub-location is not actively referenced by any system records before attempting to delete it.