
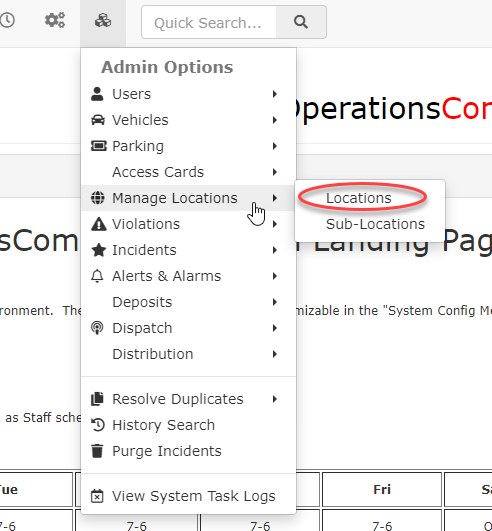
Locations
Click Admin Options,The Manage Locations feature in OPSCOM allows administrators to define and Locations.organize various physical locations relevant to your operations, such as buildings, parking areas, or specific points of interest. This is crucial for accurate incident reporting, violation tracking, and providing clear geographical context within the system.
Using this Feature
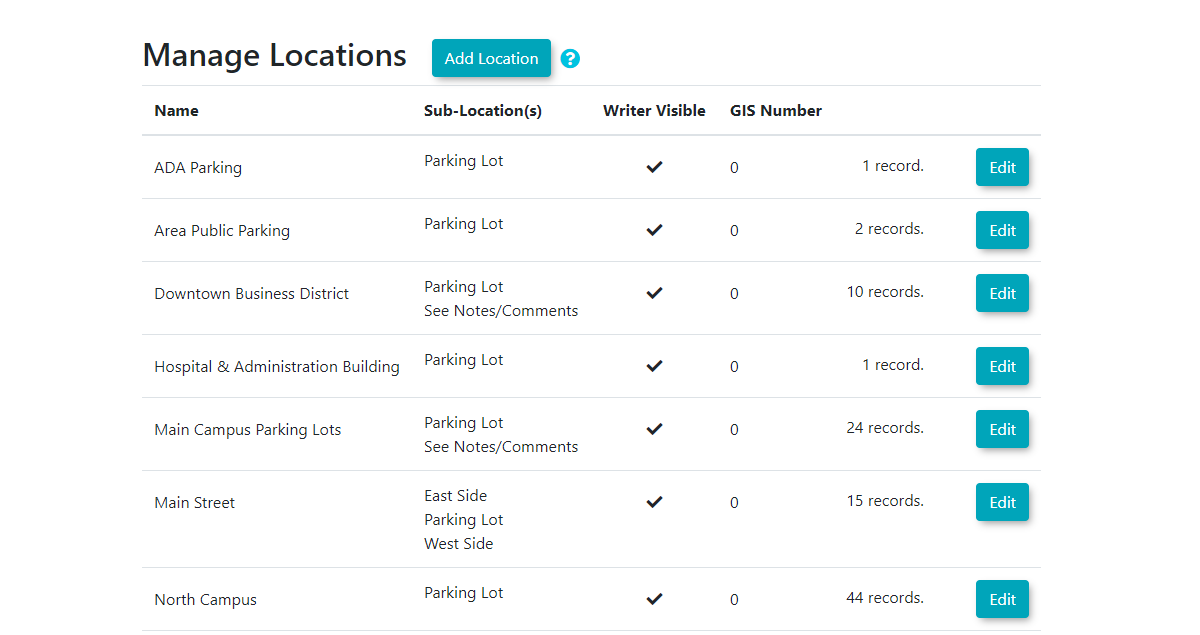
The Manage Locations page displays.provides a straightforward interface to add and delete various locations.
|
Adding
Adding
a Location
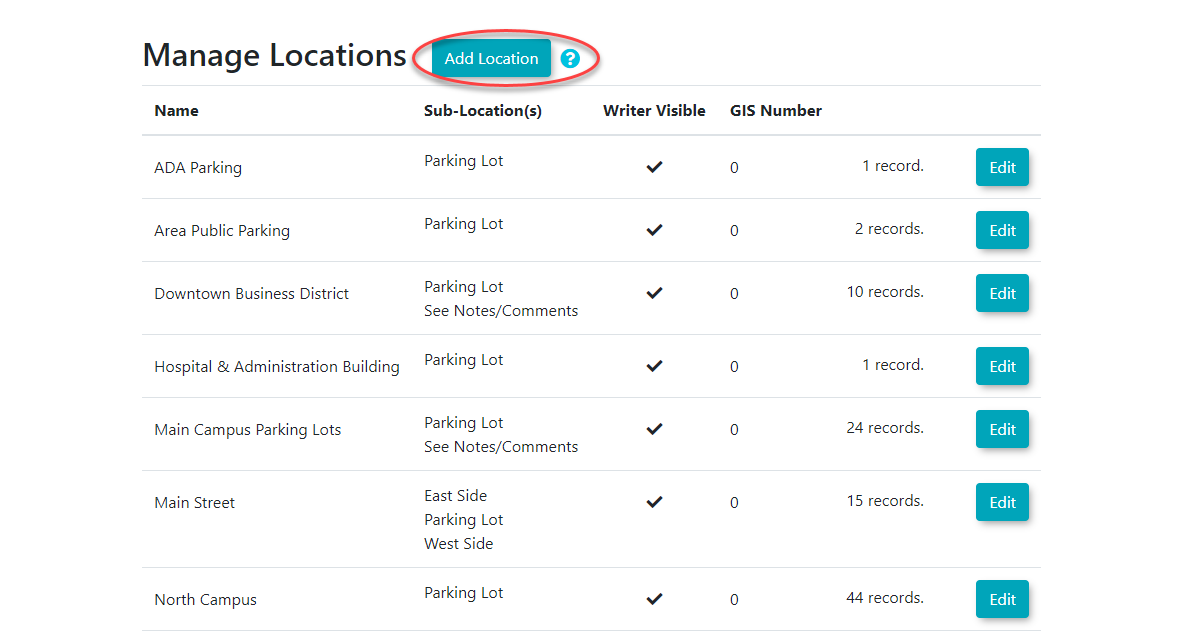
- button.
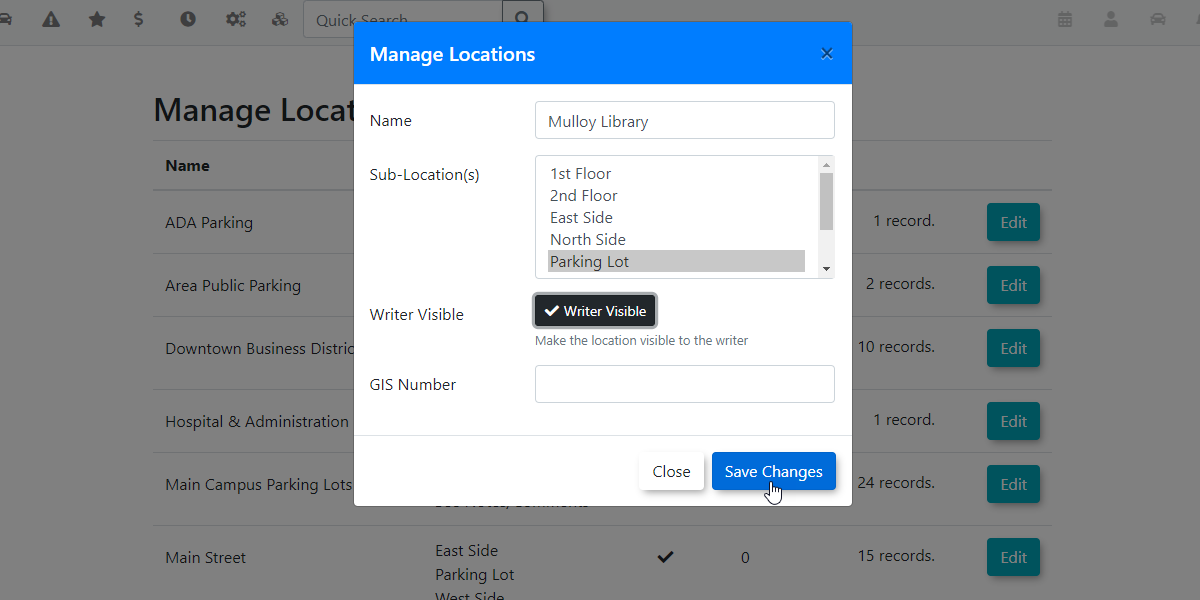
- Enter the name of your new
location.locationIn(e.g.,our example the name is"MulloyLibraryLibrary"). - Select the Sub-Location(s) you would like associated with this main location.
-
Sub-Locations are specifically used in incident reporting and do not apply to vehicle violations.
-
- To
havemake the locationbevisible to violation writers on handheld devices or the admin side, enable the Writer Visible,click on the"Writer Visible"checkbox beside thelocation.location name. - The GIS Number field is optional and is used by clients who
useutilize a geographic locationcode.code (GIS maps). - Click
onSave Changes tocontinue.create the new location.
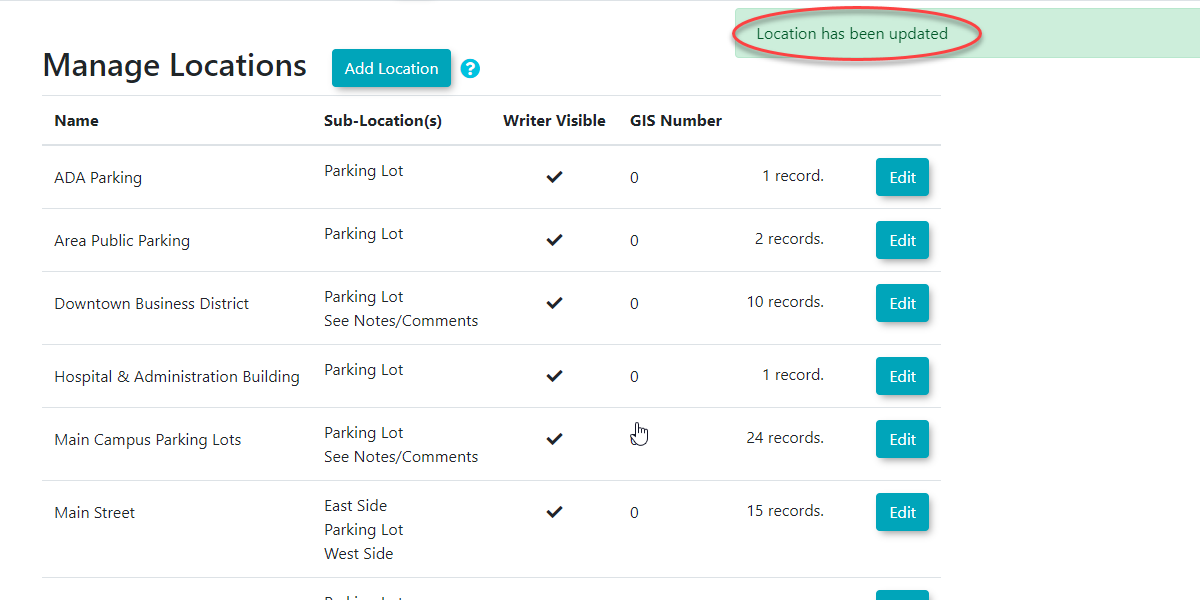
The Manage Locations page will refresh and display a confirmation message indicating that the Location has been updated (or added).
Editing
- Locate the Location you wish to modify in the list.
- Click the Edit button next to it.
- Make your updates and click Save Changes.
Deleting a Location
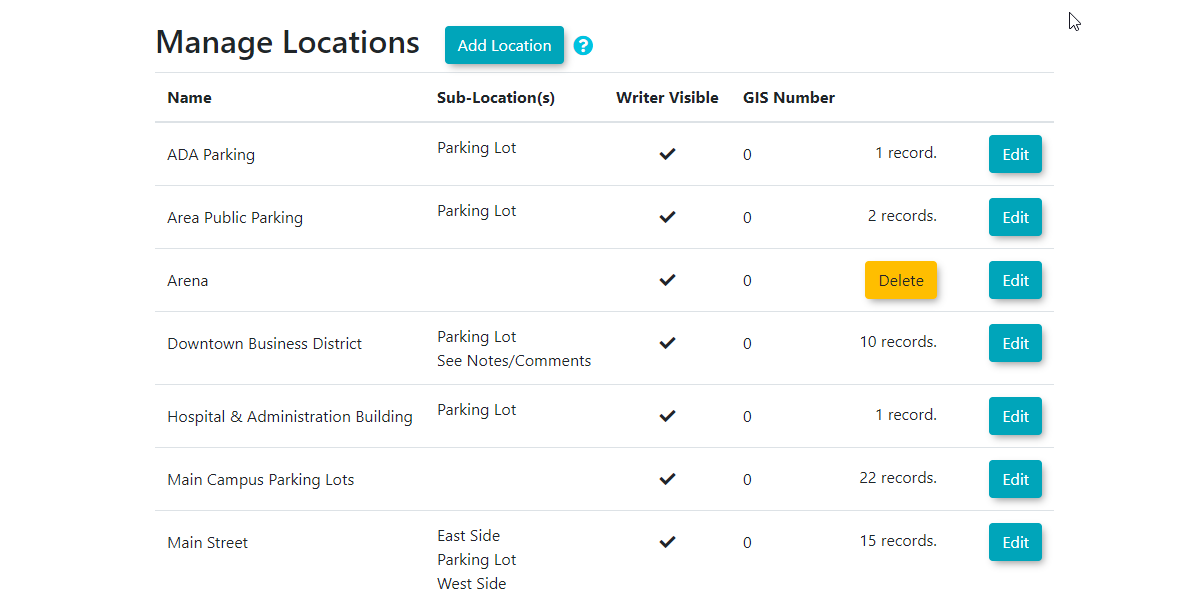
A location can only be deleted from the system providedif it is not associated towith any records.existing records (e.g., incidents, violations, or other data where this location is referenced).
- If a location is eligible for
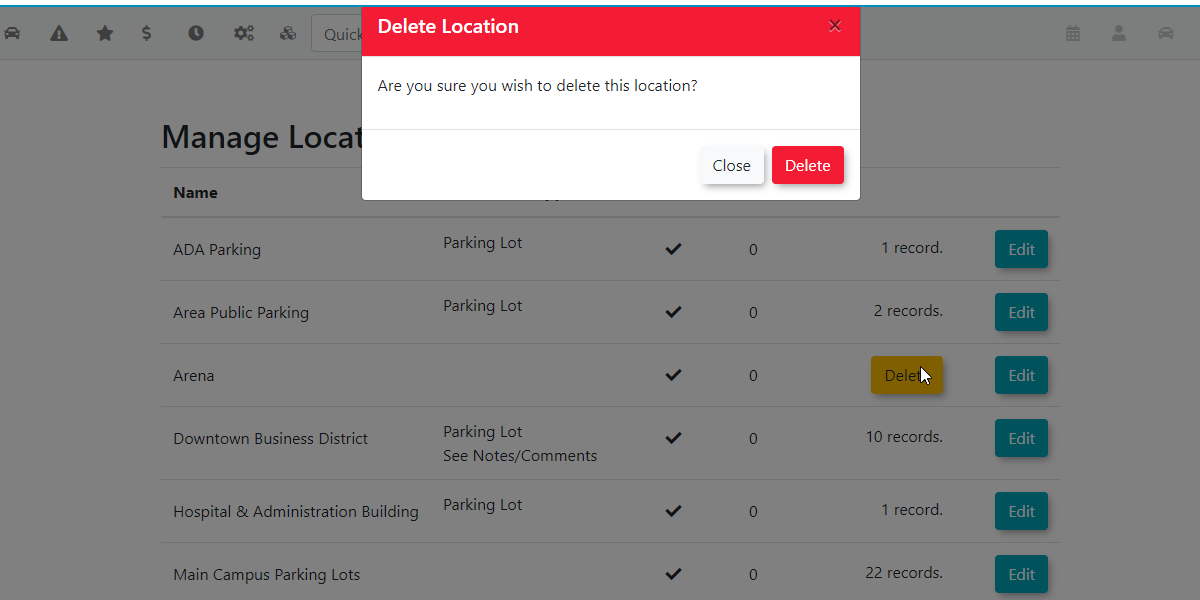
deletiondeletion, you will see adeleteDelete buttonforspecific to thatspecificlocationLocation.In - Click the Delete button
toandcontinue.confirm. This action will permanently remove the location from the system.
A confirmation popup will appear.
Best Practices & Considerations
- Descriptive Naming: Use clear and concise names for your locations (e.g., "Main Campus Building A," "West Parking Lot," "Gymnasium Entrance"). This improves clarity for all users.
- Sub-Location Usage: Leverage sub-locations to provide more specific detail for incident reporting, which can be crucial for detailed record-keeping and analysis.
- Writer Visibility: Carefully consider which locations need to be "Writer Visible" for your enforcement officers to ensure accurate violation reporting.
- Data Integrity: Always ensure that a location is not actively referenced by any system records before attempting to delete it. Reassigning records to another valid location is crucial to prevent data inconsistencies.