Uploading and Managing Files
Uploading
The Manage Files
Yoursection in your OPSCOM Admin site hasprovides a pagecentralized repository for all files used across your OPSCOM instance, primarily images for your user and admin dashboards. This feature allows administrators to puteasily files.upload, Toview, getorganize, toand manipulate these files, ensuring consistent branding and visual content throughout your system.
Using this page,Feature
The Manage Files.
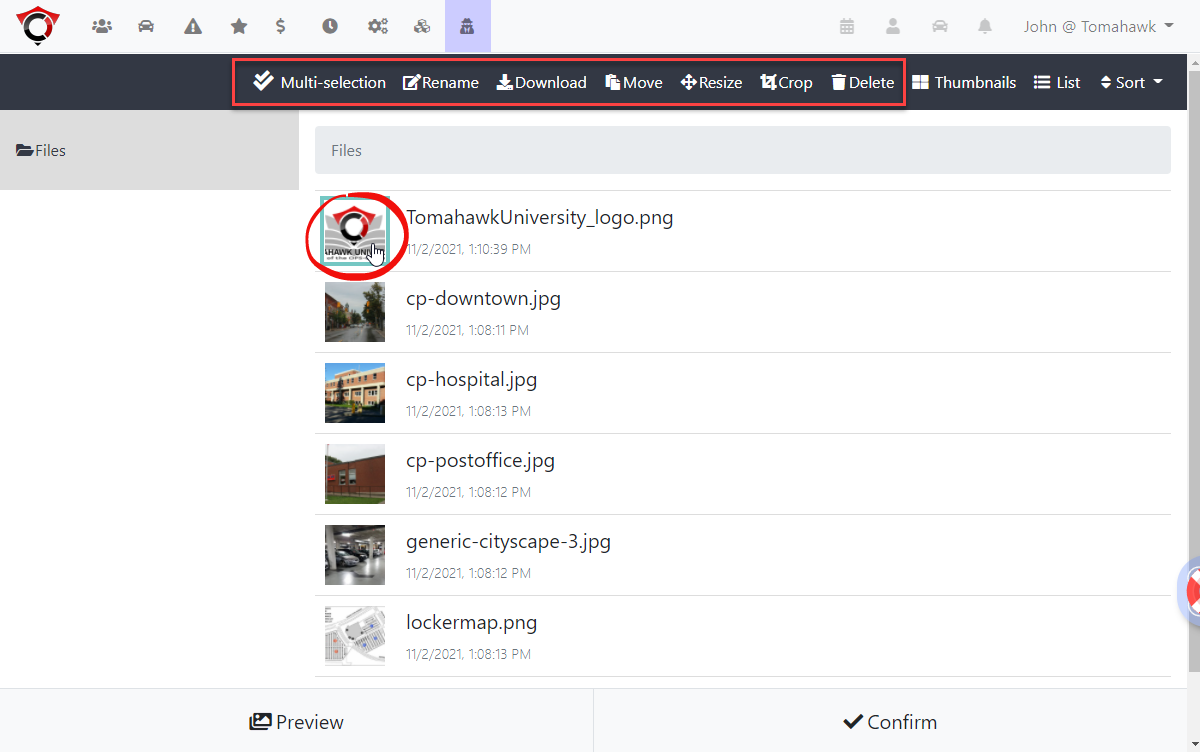
You should now see a page whereoffers youdifferent canways seeto allview filesand thatinteract have been used onwith your OPSCOMuploaded Site.This is used mainly for images that are on your OPSCOM User and Admin dashboards (banner, etc.)files.
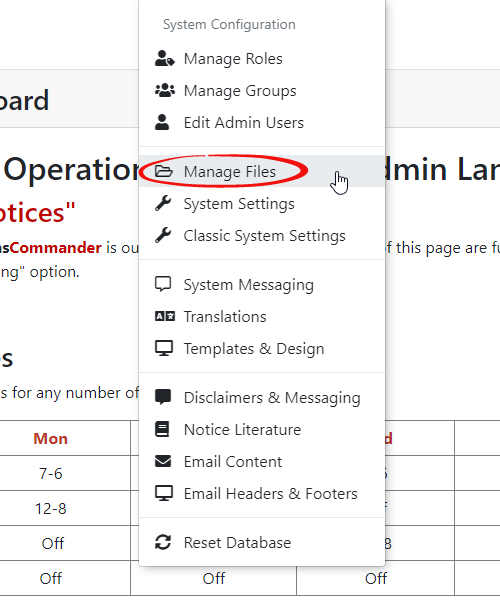
- To access this, click System Configuration, Manage Files.
Viewing Files
These filesFiles can be viewed in thumbnailtwo mode...
primary modes:
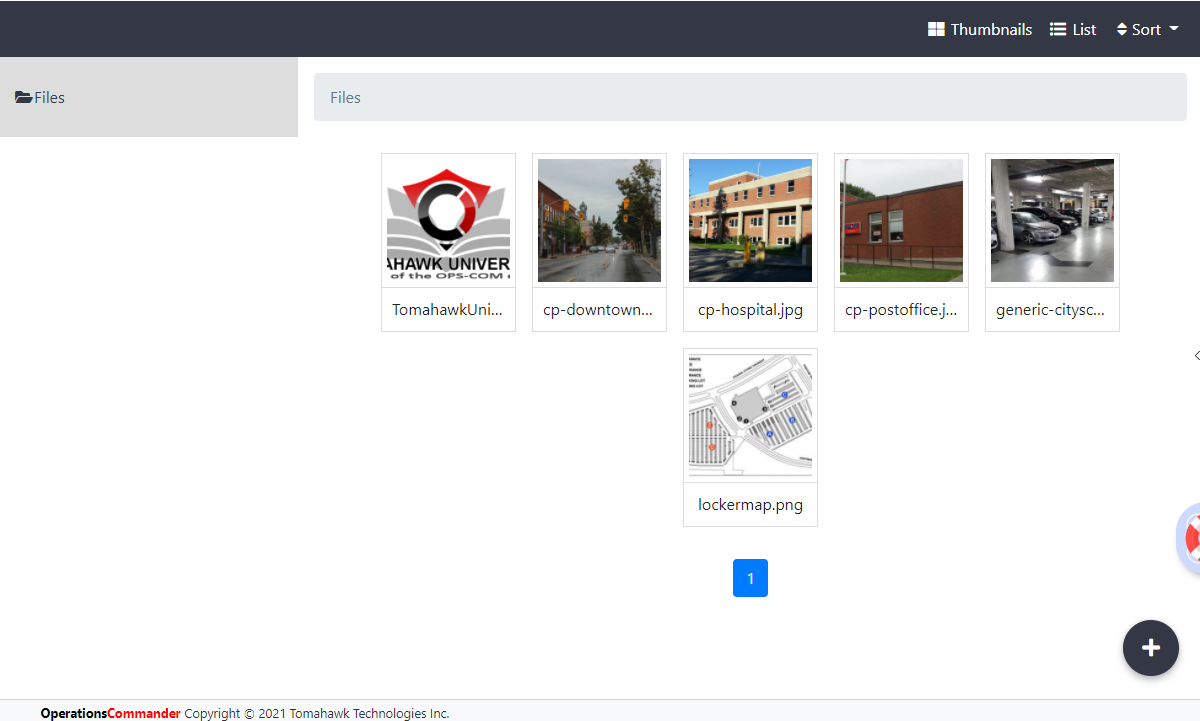
- Thumbnail
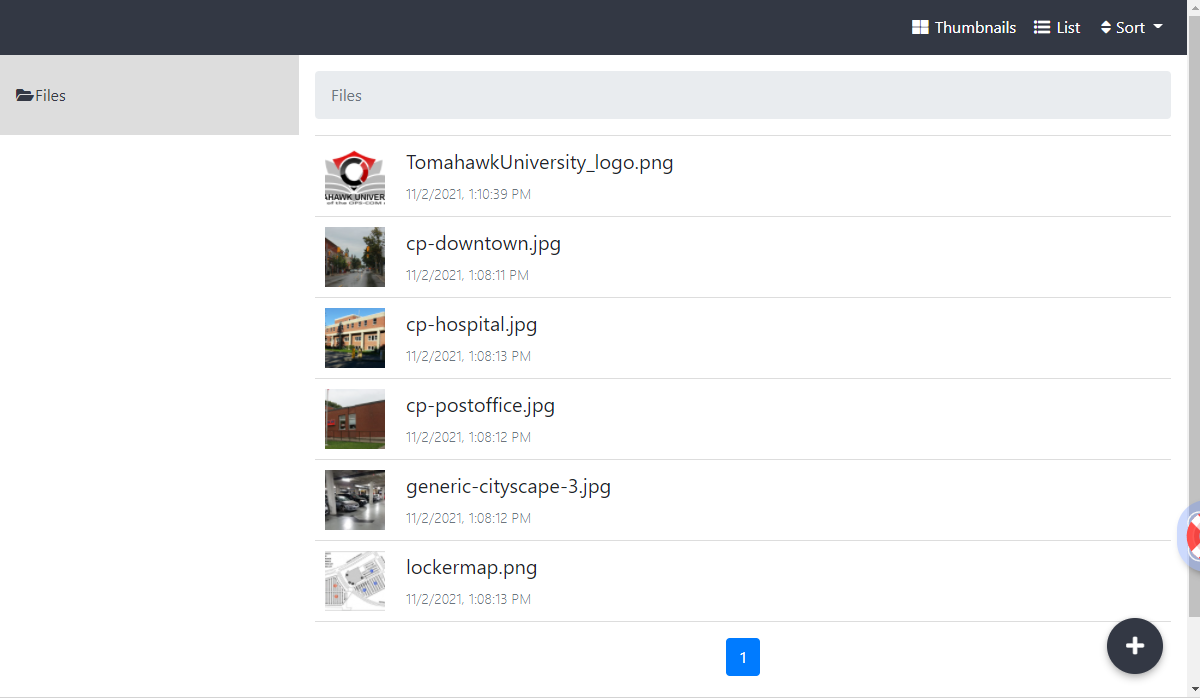
inMode: Displays a visual preview of each image, which is useful for quickly identifying content. - List Mode: Provides a detailed list
mode:view,
showing file names and other relevant information.
...or
Managing Existing Files
By clicking on an image or file, a contextual menu will appear, giving you turnseveral onoptions:
- Rename: Change the
followingnamemenuofwheretheyoufile. - Download:
rename,Savedownload,amovecopy of the file to your local device. - Move: Relocate the file to a different
folder,folderas well as resize, crop or deletewithin thefile.repository. - Resize:
Adjust the dimensions of an image.
- Crop: Trim an image to a specific area.
- Delete: Permanently remove the file from the system.
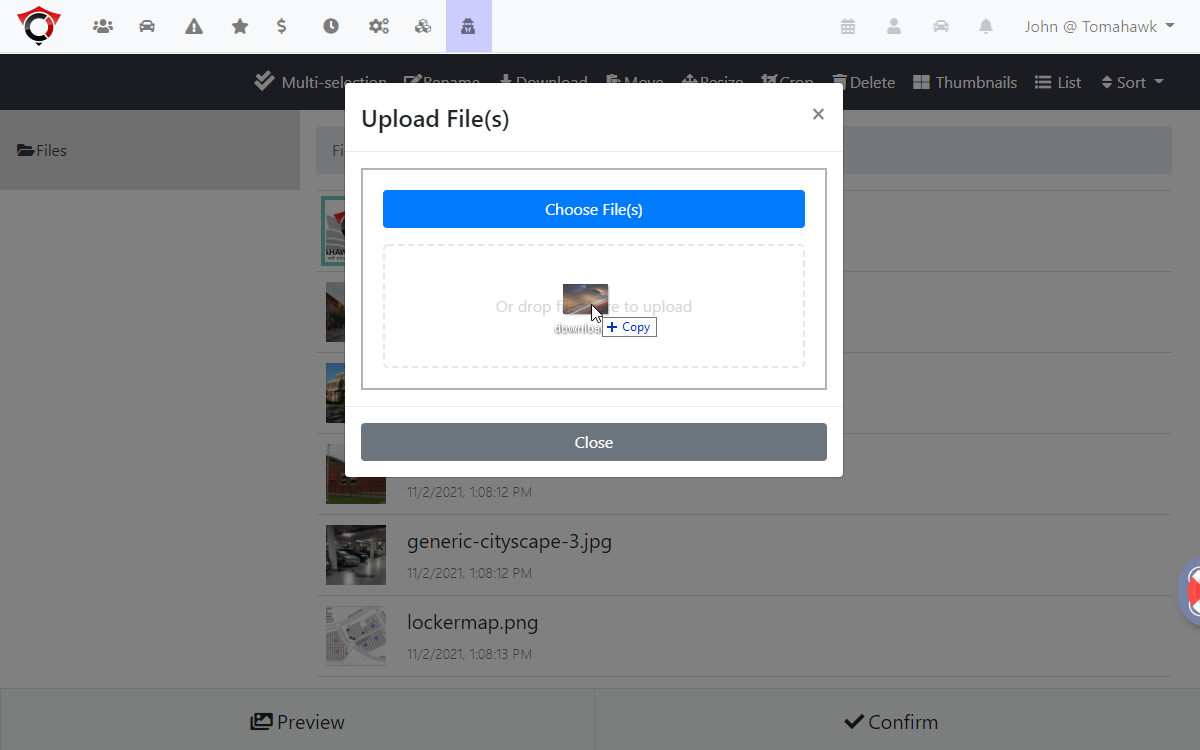
Adding Files to Pagesthe Repository
To add new files to this repository you can simply drag the file from your computer directly into the screen area whereof anthe Manage Files page. An Upload File(s) interface will appear.
appear, indicating where to drop the file. The file will then be uploaded to your site's file storage.
Adding Images to a Page
(Referencing Uploaded Files)
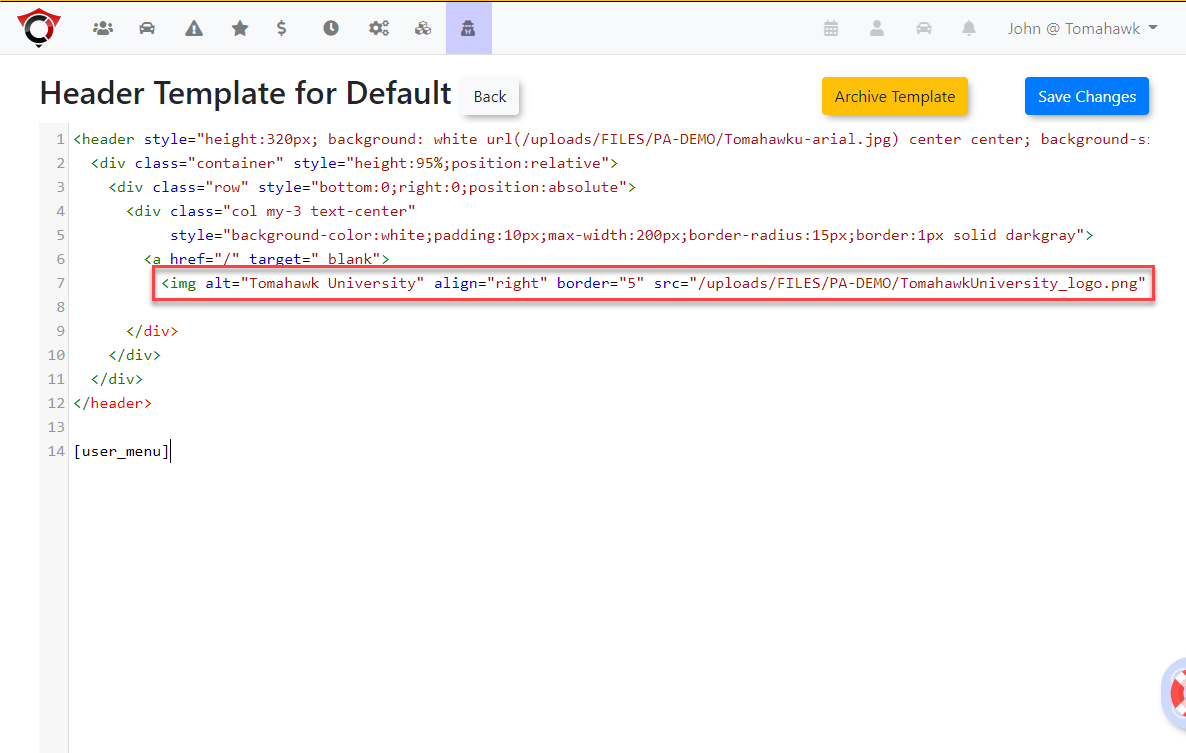
To adddisplay an image onyou've uploaded onto an OPSCOM page (such as a page,page youheader wouldor a custom content area), you'll need to insert the pathcorrect tofile the image, as follows:path.
- The root folder for all uploaded files is
/uploads/FILES/. - This is followed by your unique customer code.
- Finally,
byyou include the file name
itself.
Followed
Followed
Example: The resulting URL for a logo placement might look like thisthis: /uploads/FILES/PA-DEMO/TomahawkUniversity_logo.pngHere's
This URL is then used in the relevant configuration fields or HTML content to display the image on your OPSCOM pages.
Best Practices & Considerations
- Organize Files: If you have many files, consider creating sub-folders within the file manager to keep your assets organized and easy to find.
- Descriptive File Names: Use clear and descriptive file names (e.g.,
company-logo-header.pnginstead ofimage1.png) to simplify identification and referencing. - Optimize Image Sizes: Before uploading, optimize large images for web use. Smaller file sizes will improve page load times for both admin and user interfaces.
- Backup Critical Assets: While OPSCOM manages these files, consider maintaining local backups of critical branding assets (logos, banners) as a
samplebestofpractice. - Path Accuracy: When linking images to pages, ensure the URL
beingpathusedisinexactlyacorrect,typicalincludingpagecapitalization,header.as
file paths are often case-sensitive.