Managed User Import (SFTP)
For clients that cannot take advantage of our User Import APIs, our SFTP Managed User Import allows you to import users into our system through an encrypted SFTP client. Any users that have failed to be imported will be put into a .csv file and sent to you by email. This file will include important user information as well as the reason for failure.
Required System Settings
Before you can use the Managed User Import you will need to have it set up on your system.
OPSCOM requires settings for the Import to work properly.
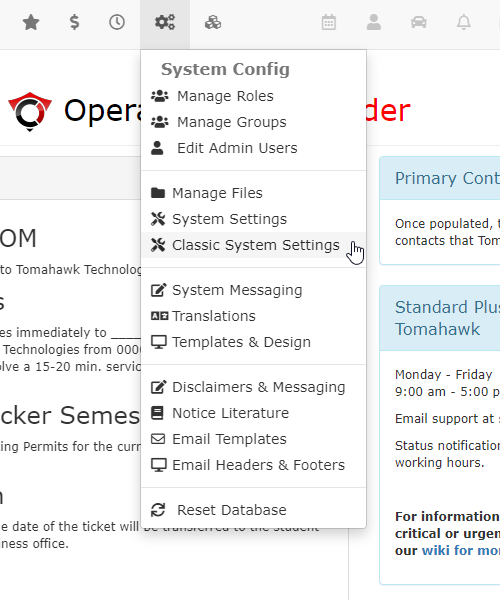
The first setting that is required is found under System Config -> Classic System Settings
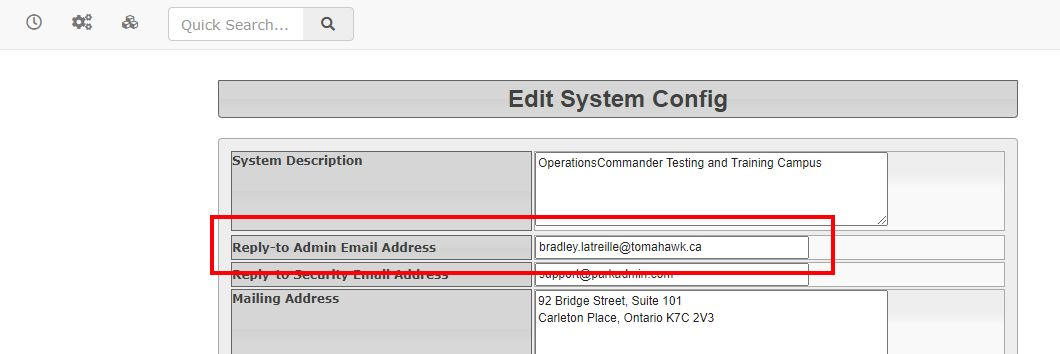
From this window make sure that you have supplied a Reply-to Admin Email Address.
This is the system default email address that appears as the sender of system-level and task-automation email messages.
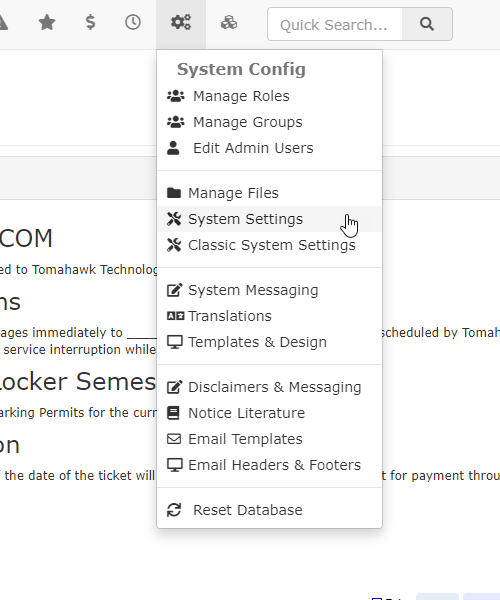
The second setting is found under System Config -> System Settings followed by Third Party.
From there you want to make sure that you have supplied a Failed Import Email under the CSV User Import options.
This is the email that will be receive the failed to import message.
The error message file will include information about the user as well as why the user failed to be imported.
This will allow you to correct any failures and attempt the import again.
Importing Users
OPSCOM will supply you with credentials. These credentials will connect your SFTP client to the folder where the import file will be stored on the server.
If you connect with a standard client, you will see an empty directory where you can drag and drop your import files.
SFTP Manual Process
A system task is set to run at 5 minute intervals. There may be a pause of up to 5 minutes for the import process to complete.
Once completed the file will be automatically moved to the bak folder. This folder is created as part of the import process if the folder does not exist.
To begin drop a comma separated (CSV) file from your computer to the server.
Please note that the your CSV file must follow the required format to be processed correctly.
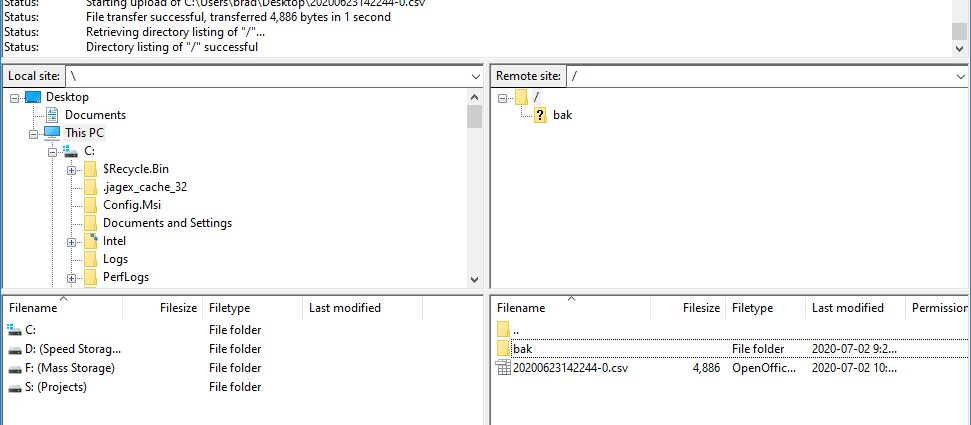
Once the import has completed the file will be moved to the bak folder.
An email will be generated containing users that failed the import, and it will be sent to the email in System Settings.
The email will describe the reasons that users failed the import.
| Field | Note |
| unique_id | Required. Defines each unique user. |
| login_source | Required. Used in conjunction with Login Sources (SSO) for Single Sign On. See Login Sources for more info |
| first_name | |
| last_name | |
| user_name | |
| street | |
| city | |
| province | |
| postal_code | |
| street2 | |
| city2 | |
| state2 | |
| zip2 | |
| phone_cell | |
| user_type_id | |
| employ_no | |
| employee_phone | |
| student_no | |
| student_phone | |
| drivers_license_num | |
| drivers_license_prov | |
| data_of_birth | |
| active |
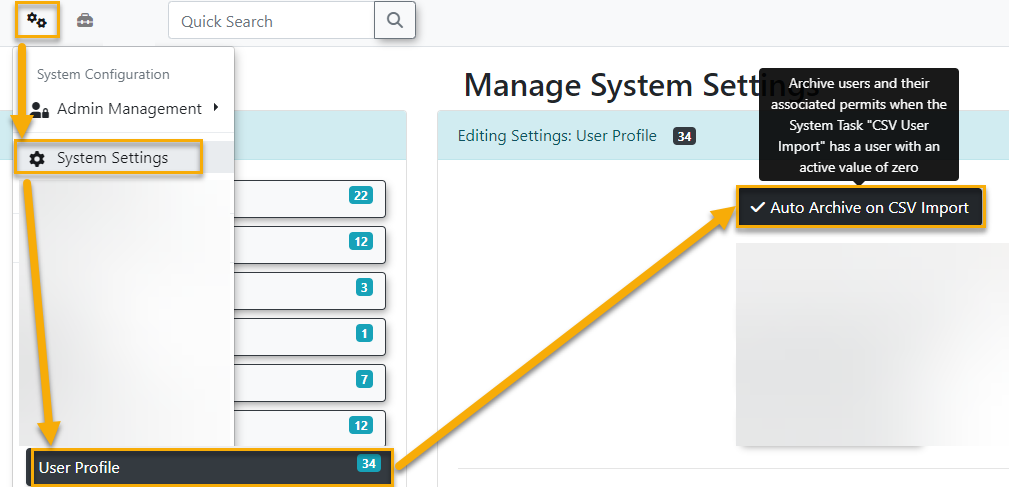
Optional. Possible values "0" (inactive) and "1" (active). This field can be used in conjunction with a new system setting:
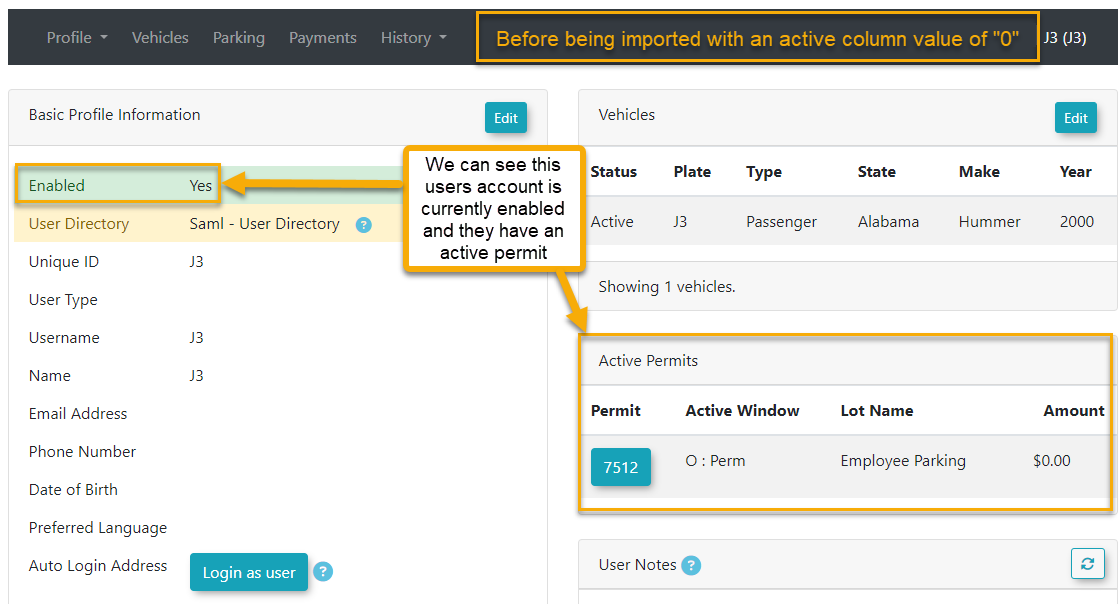
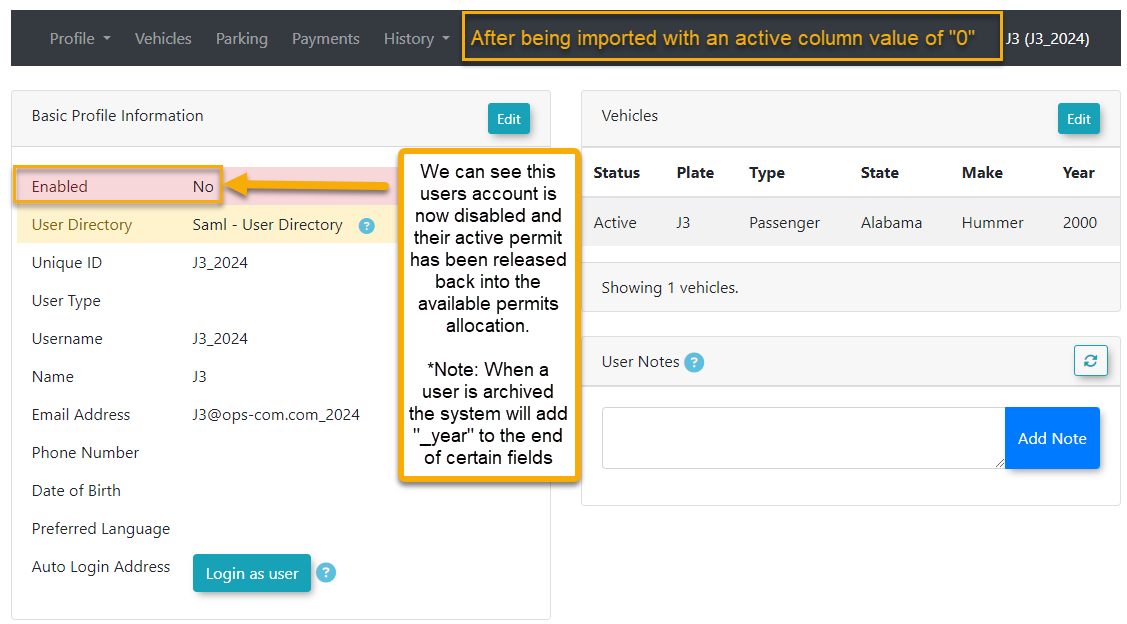
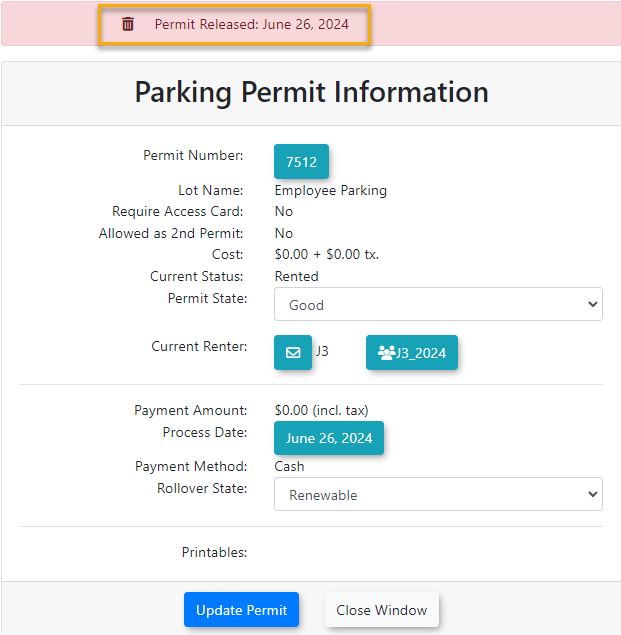
When the above system setting is enabled and when a user is imported with an active column value of "0" the system will automatically archive said user and release any active permits said user may have. If a user is imported with an active value of 1 the user will remain active in the system and no permits they may have will be affected. Example:Before:
After:
Permit:
Payment:
If a user not already existing in the system is imported with an active value of 0 the user will not be imported and an error report email (subject line "CSV Import Failed Records") will be sent to the administrator email address specified under System Settings → Third Party → CSV User Import. Said email will contain an attached CSV file that lists the users who weren't imported and the reason:
|

