Managed User Import (SFTP)
For clients that cannot take advantage of our User Import APIs, our SFTP Managed User Import allows you to import users into our system through an encrypted SFTP client. Any users that have failed to be imported will be put into a .csv file and sent to you by email. This file will include important user information as well as the reason for failure.
Note - This is a paid process you must contact OPSCOM to see if this is included in your service.
Required System Settings
Before you can use the Managed User Import you will need to have it set up on your system.
OPSCOM
- Hover
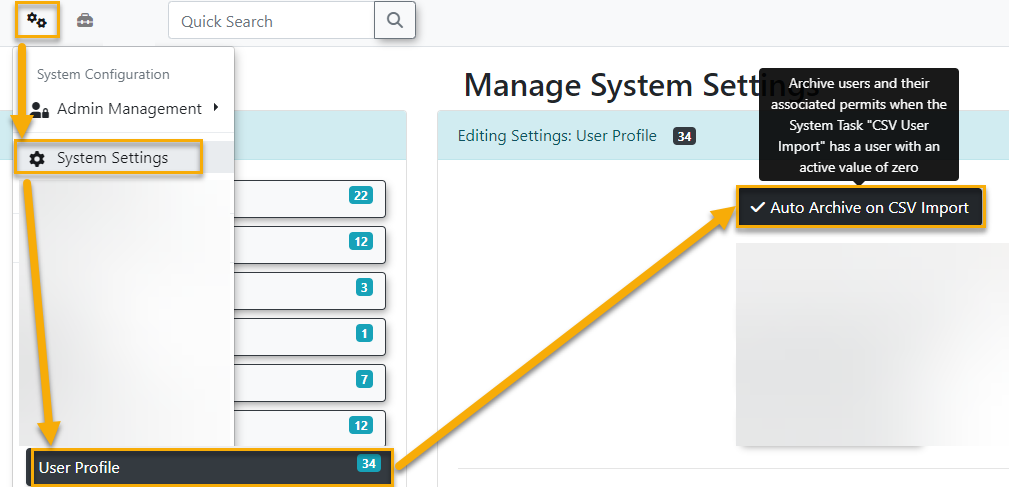
settings for the Import to work properly.The first setting that is required is found underover SystemConfigConfiguration->andClassicclick System Settings. - On the General System Settings
tab,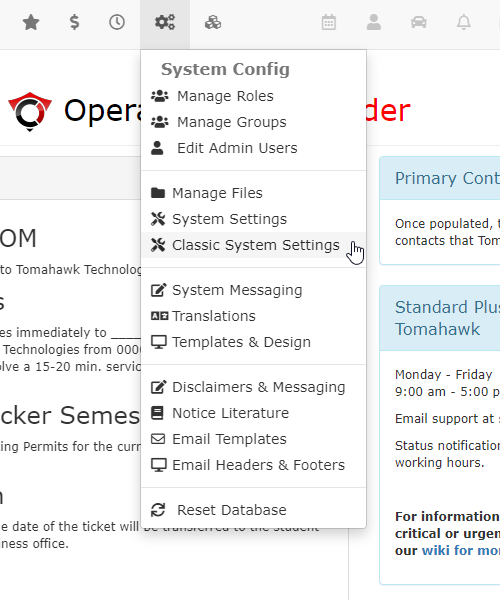
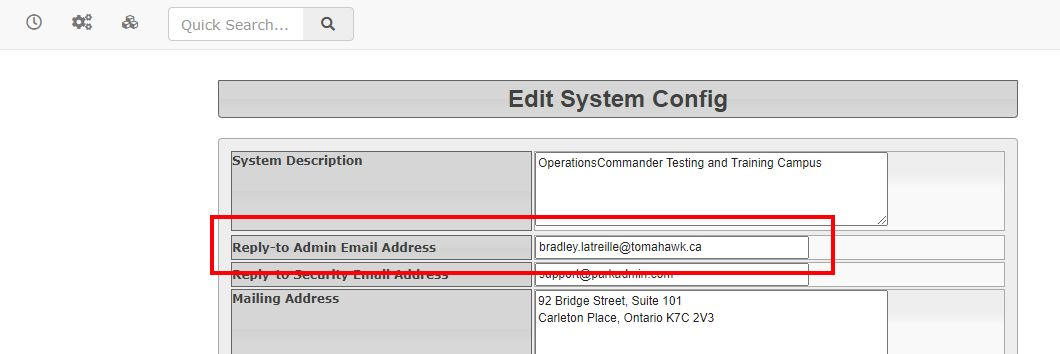
Fromlocatethis window make sure that you have supplied athe Reply-to Admin Email Address.in the System Emails section. This is the system default email address that appears as the sender of system-level and task-automation email messages.
- Click
TheSavesecondSettings. - Next,
isclickfound underSystem Config -> System Settingsfollowed bythe Third Party.
tab,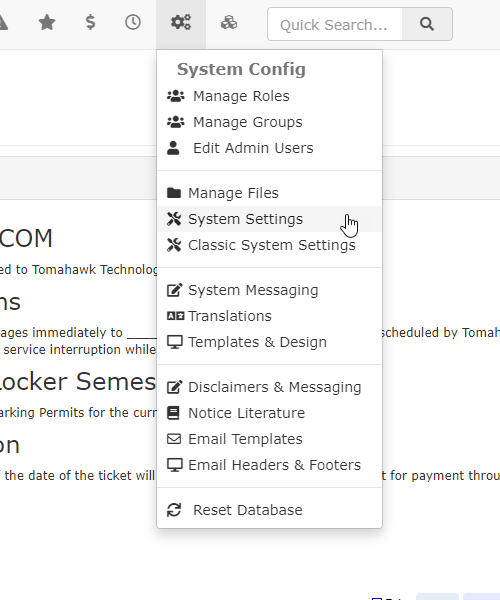
section.Fromandthere you want to make sure that you have supplied aFailed Import Emailunderlocate the CSV User Importoptions. - Enter an email address in the Failed Import Email box. This is the email that will be
receivenotified in the case of a failedtoimport.importAnymessage.The error messagefailed file will include information about the user as well as why the user failed to be imported.This will allow you to correct any failures and attempt the import again.
- OPSCOM will supply you with
credentials. Thesecredentialswillto connect your SFTP client to the folder where the import file will be stored on the server.If you connect with a standard client, you will see an empty directory where you can drag and drop your import files.
Importing Users
Importing Users
SFTP Manual Process
AOPSCOM will enable a system task is set to run at 5 minute intervals. There may be a pause of up to 5 minutes for the import process to complete.
Once1. completed the file will be automatically moved to the bak folder. This folder is created as part of the import process if the folder does not exist.
To begin drop a comma separated (CSV) file from your computer to the server.
Please note that the your CSV file must follow the required format to be processed correctly. Refer to this wiki article to find the exact syntax for the column headers you want to use. You will find this in the Request Object Attributes section. The column headers must match the exact value in the PossibleNames column or it will fail.
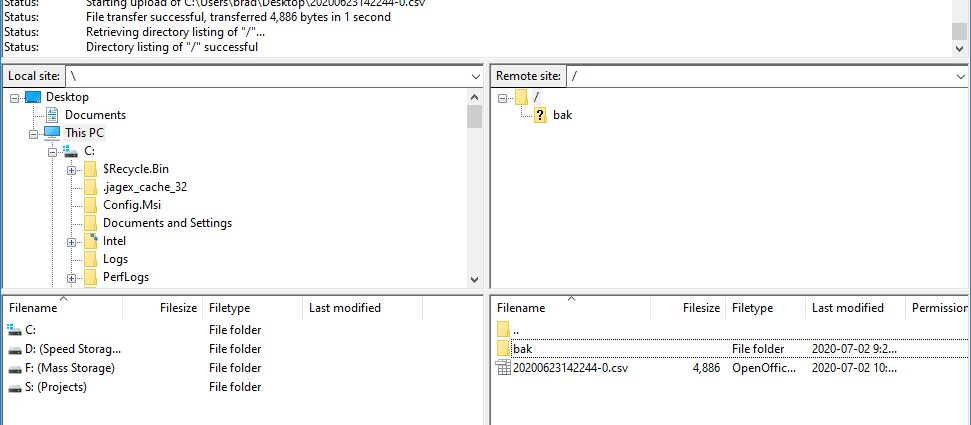
2. Once the import has completed the file will be automatically moved to the .bak folder. This folder is created as part of the import process if the folder does not exist.
3. An email will be generated containing users that failed the import, and it will be sent to the email in System Settings.
The email will describe the reasons that users failed the import.
|