Active Dispatch Logs (BETA)
When do we use this?
Dispatch Logs allows administrators/dispatchers to record and track all inquiries that come into the office through alerts or another system. These dispatch logs can be linked to incidents for further tracking if the alert that triggered the dispatch log did not already have a valid incident attached. The Dispatch Log also provides administrators with a summary of all open dispatch entries. Some systems such as Cisco Prime or ITS-NetworkingAlerts can push the incident number with an alert that creates a dispatch log with the associated incident assuming it exists.
Reviewing Dispatch Logs:
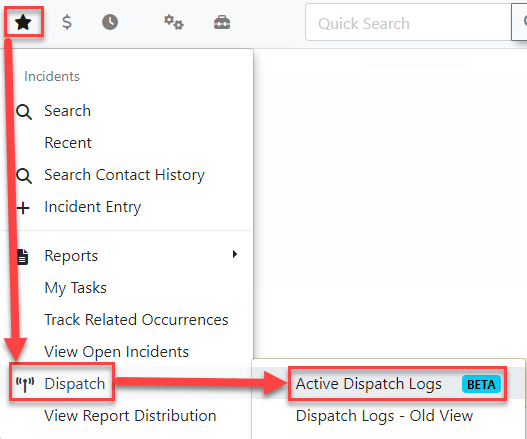
Hover over the Incidents icon, Dispatch, and select Active Dispatch Logs.
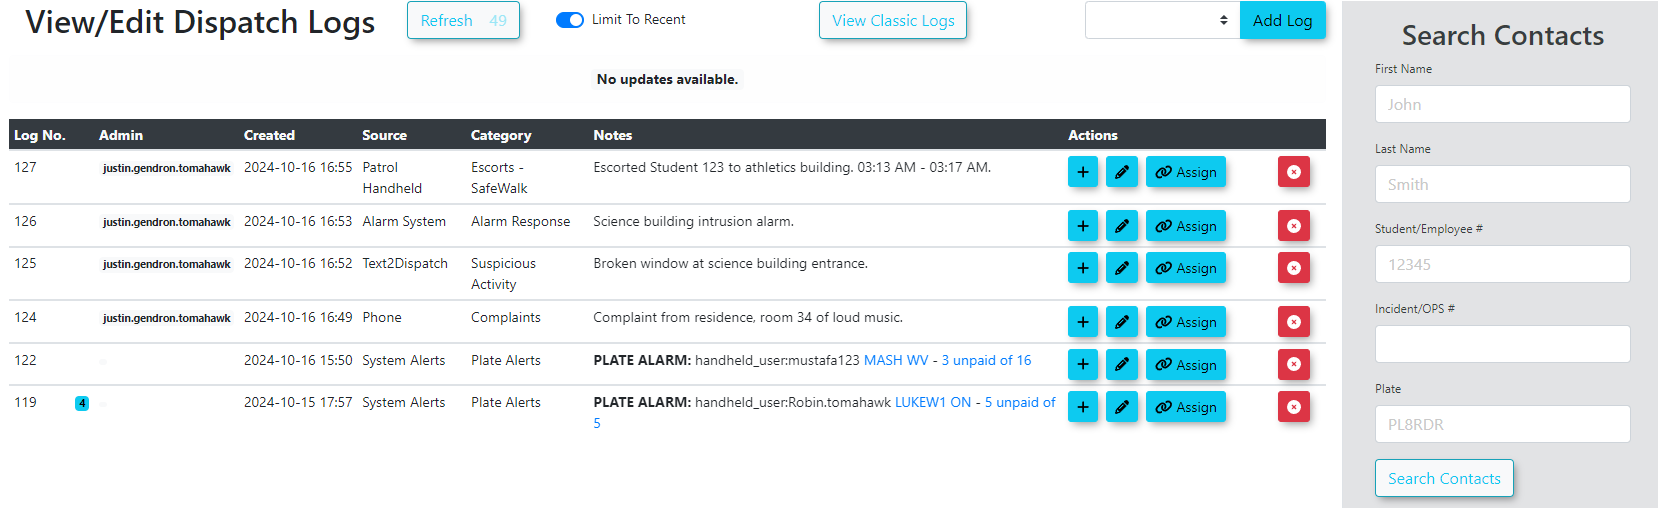
This will bring up the View/Edit Dispatch Logs page. Here administrators/dispatchers can view all open logs that still need to be followed-up on.
Creating new Dispatch Log Record:
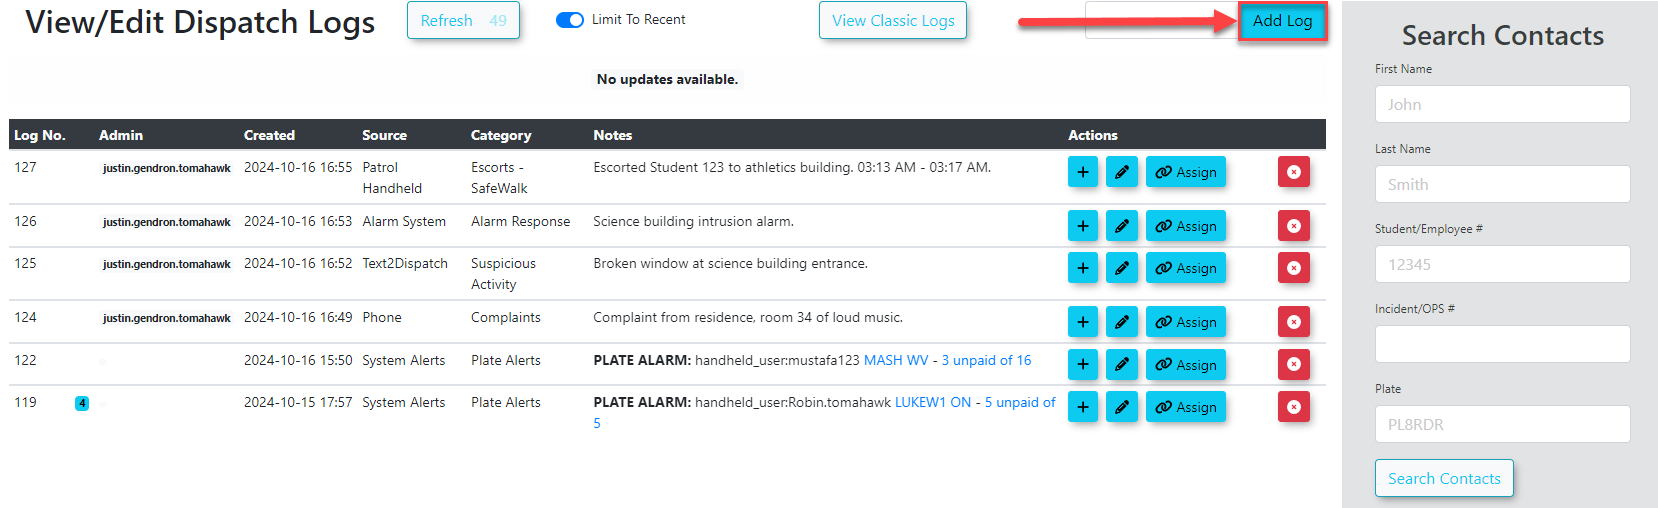
To create a new log record click the "Add Log" button in the top right of your screen:
This will bring up the Add New Log Record screen:
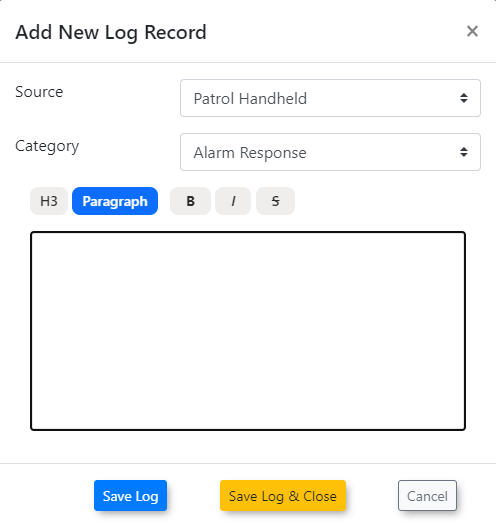
Select the appropriate Source and Category from the drop-down menus and type in any details that need to go with the log in the Note section. Depending on whether or not you want the dispatch log to be closed, click Save Log or Save Log & Close. If Save Log is clicked the information will be saved and the log will show at the top of the listing of Dispatch Log Records.
Adding Additional Log Notes:
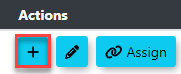
If dispatchers want to add a separate log that is attached to the first log, click the blue plus icon under actions:
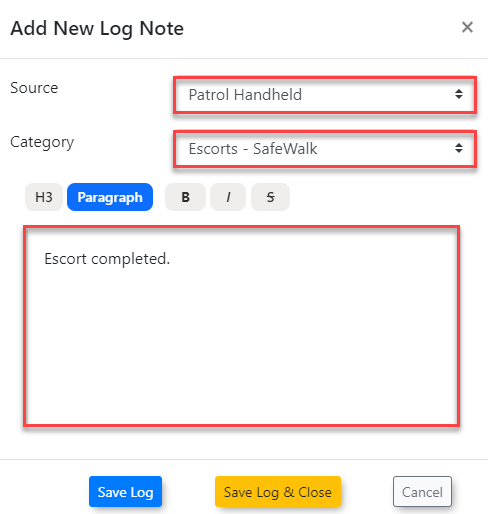
This will bring up an Add New Log Note screen where dispatchers can include the Source of the information, the Category and any notes that need to be included:
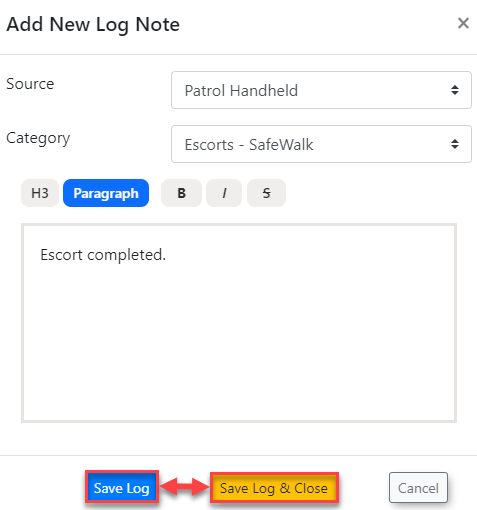
To save the log click the Save Log button. OR To save the log and to also close the log, if it is completed, click Save Log & Close button at the bottom:
Viewing Additional Notes / Rolled-Up Alerts
The dispatcher can view all of the available log records associated with the dispatch log on the View/Edit Dispatch Logs page by clicking a log that has additional notes/alerts associated to it. This is indicated by a blue number (the number being how many notes are linked to the log in question):
Assigning a log to an incident report:
If dispatchers want to assign an admin user to act on the log or if they want to attach an incident report, select the Assign button under actions:

The Assign an Incident Report window will open. The dispatcher can either assign the log to A new incident or An existing incident:
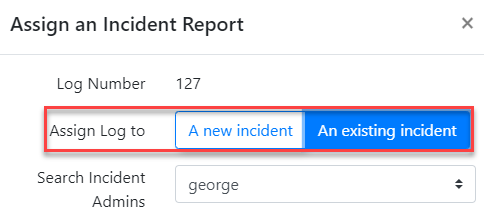
IF A new incident is selected and assigned to an admin user a new incident will be created.
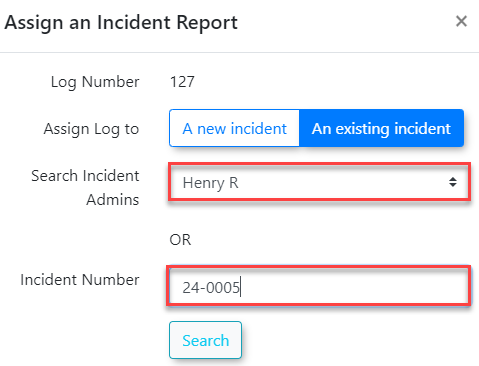
IF An existing incident is selected a new Incident Number field will appear. The dispatcher can either search incidents already assigned to an admin user OR enter in an incident number:
When an assignment is made, the incident number will appear in the listing of Dispatch Log Records. This link can be selected to gain access to view/edit the incident report if the admin account viewing the dispatch page has permissions to view and/or edit incidents:

Close Dispatch Logs:
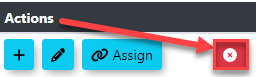
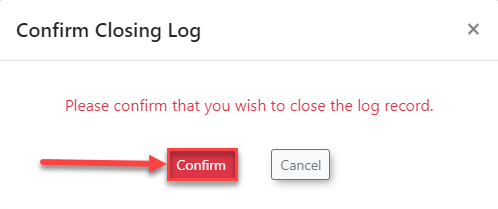
To close a log once it has been dealt with, click the red X icon under actions:
The Confirm Closing Log window will open with a Confirm button that can be clicked.
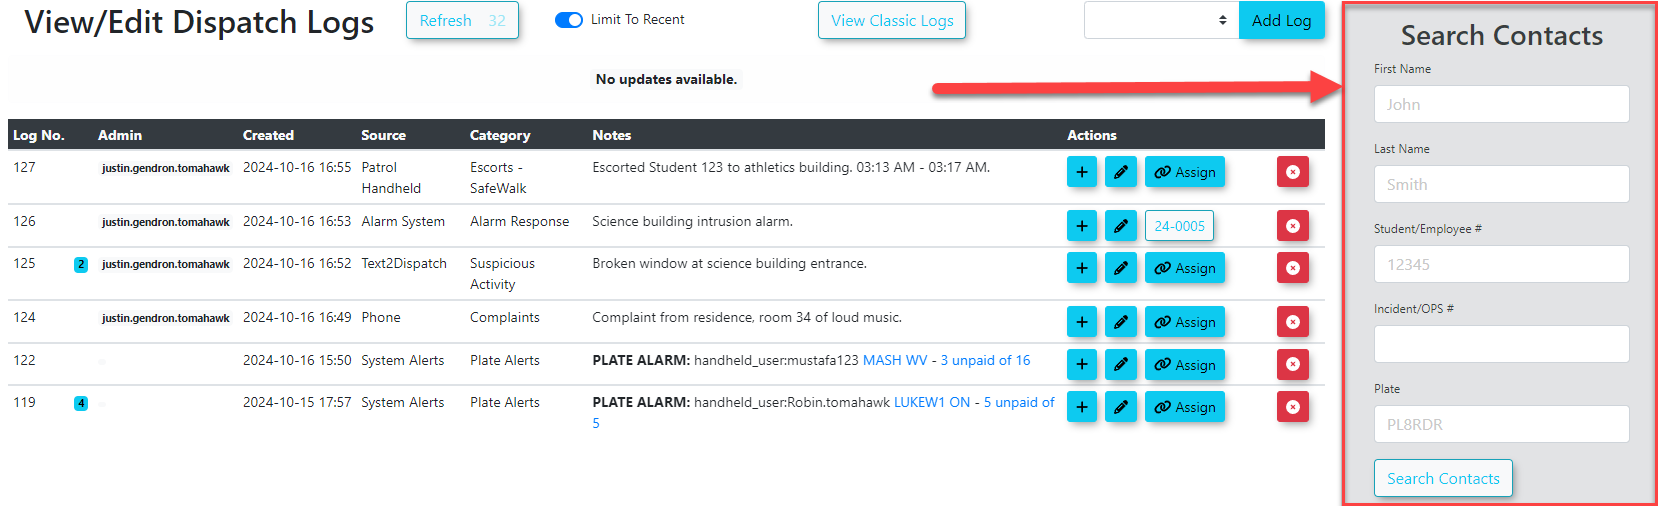
Search Contacts:
Depending on the width of the admin/dispatch users View/Edit Dispatch Logs page the Search Contacts area will either be located on the right side of the screen (for wide monitors/windows):
OR along the bottom of the View/Edit Dispatch Logs page:
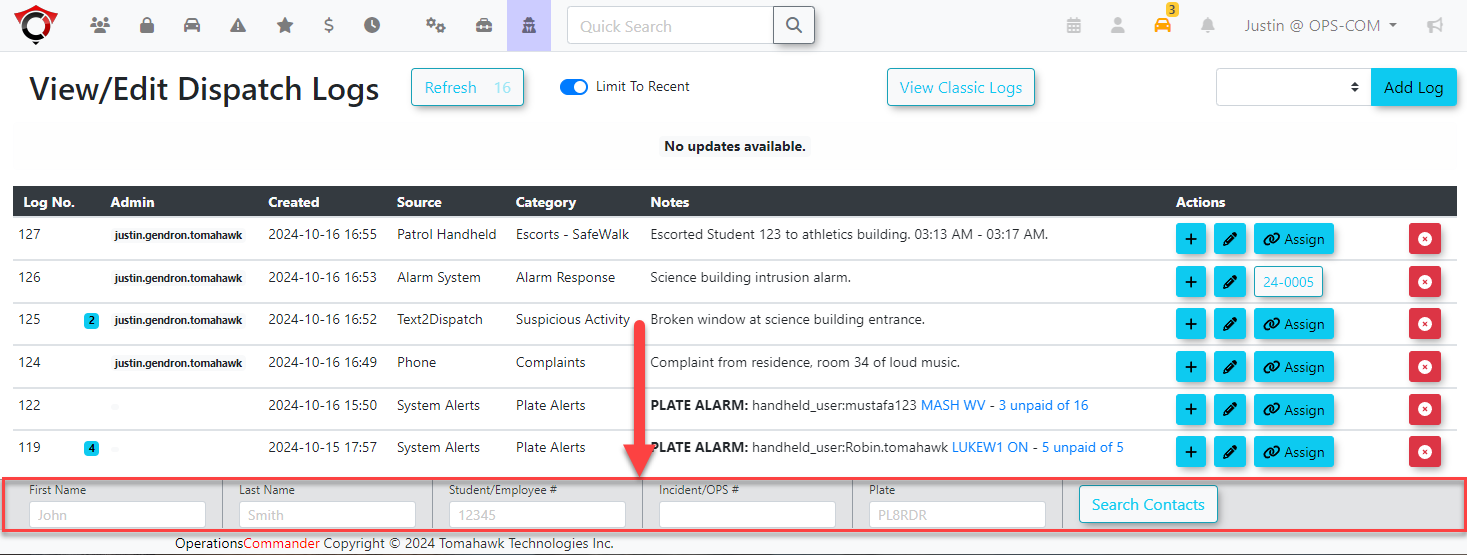
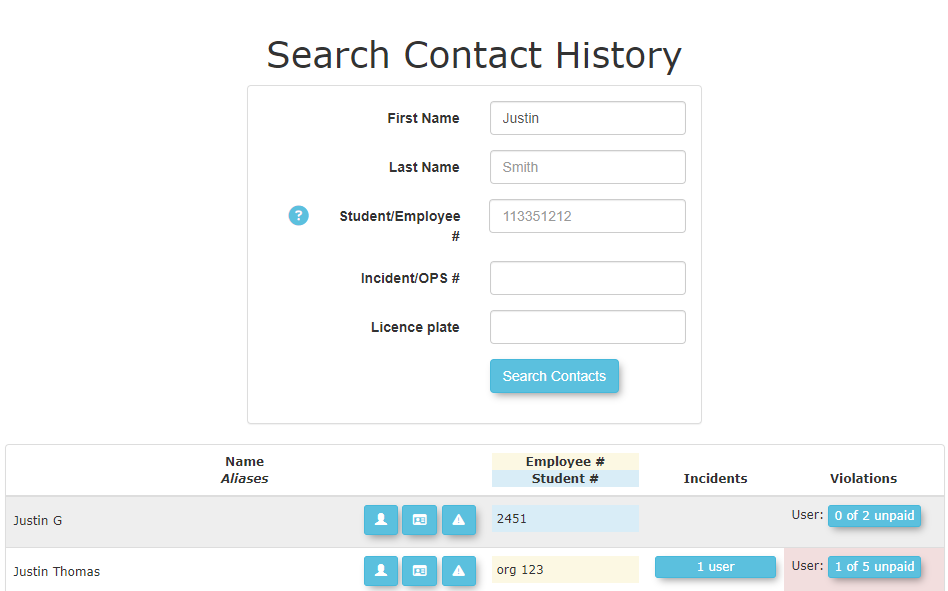
When Search Contacts Button is clicked the Search Contact History window will appear: