Permit Invoicing
PreparingInvoice to InvoicePreparation
ClickBefore invoices can be prepared, there must first be an invoice number set.
Locate the invoice number settings on the settings page.
The settings page can be found under:
- System Config > System Settings
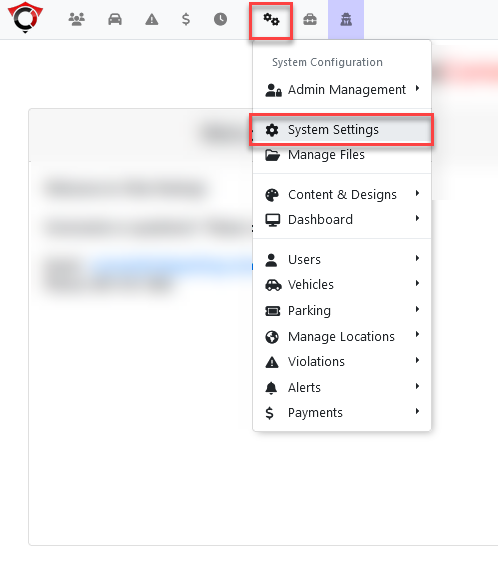
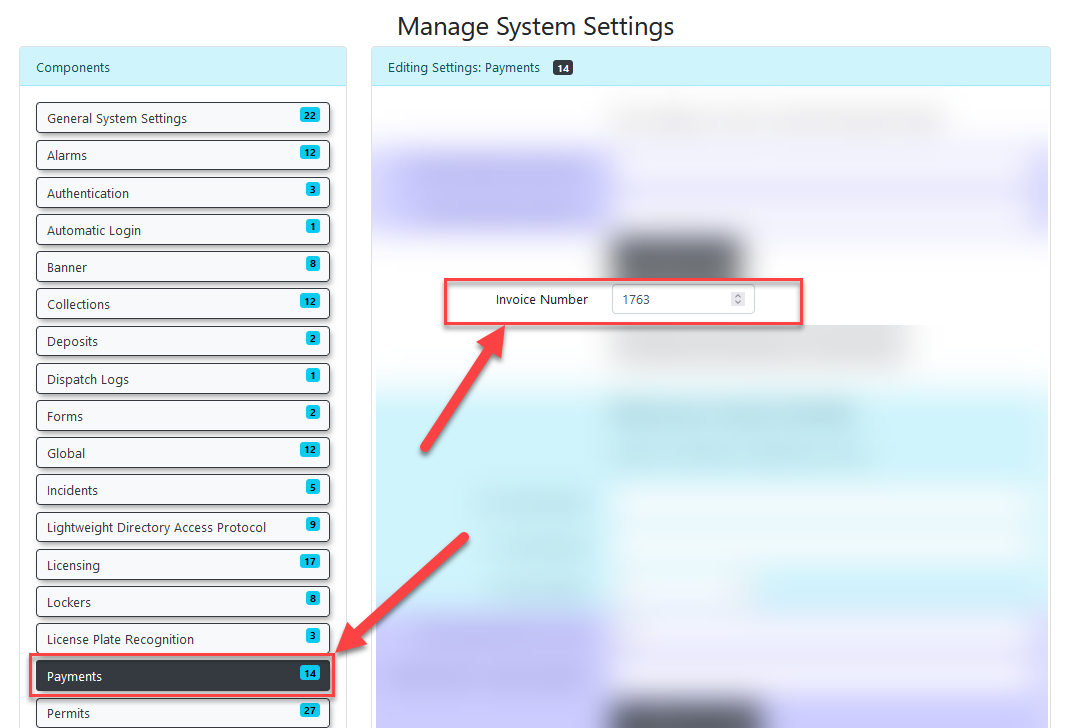
ToThe chooseinvoice settings can be found under the Payments menu option.
The starting Invoiceinvoice number entercan itbe inset the Invoice number field.
here.
- permit
Youinvoice template must also be setupyour Invoicing template. You can do that by editingfrom thePermittemplatesInvoice template.page. -
Decide if
you wish to allowunpaid permits will be allowed to rollover to the next period.
The
SetupSetting Invoice Contacts
There are differentDifferent flags youmust mustbe set soto ensure that your Companiescompanies and Individualsindividuals that require invoices will receive them.
- User Management -> Companies
From this page, enter the search criteria and bring up the company that invoices will be set up for.
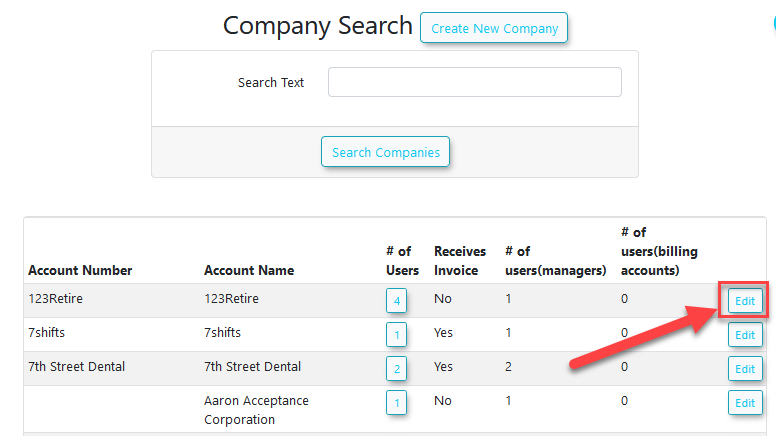
Clicking on this will bring up the company edit page.
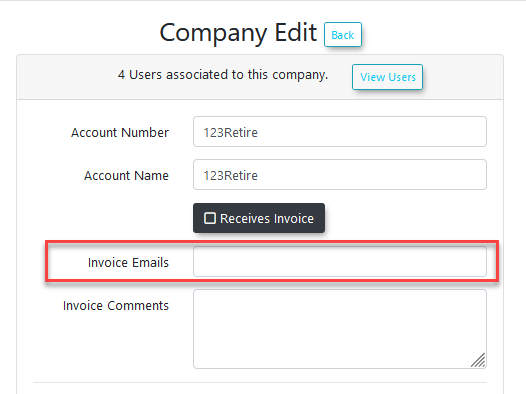
The relevant field here is invoice emails.
To ensure invoices are below.
Onby theCompanycorrectEditrecipients,screen, you must setpopulate the 'Invoice Emails' fieldtooncontainthe company edit screen with the email addressesyouofwant.theTheyrecipients.These addresses can be separated by colons ( : ) or
bycommasas(shown.,This).will ensure that the invoices go to the correct company contact.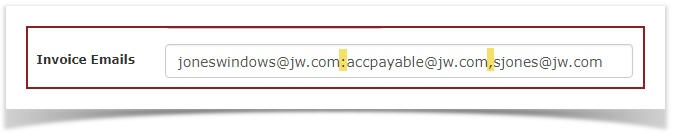

-
OnceyouhaveAfter
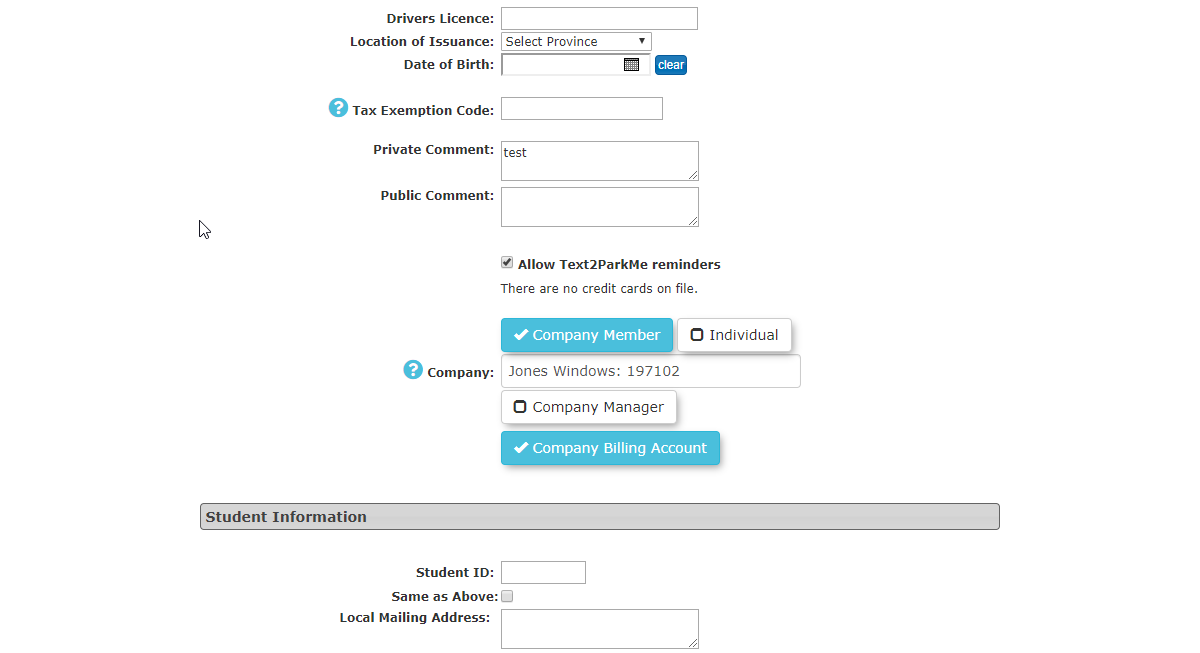
configuredconfiguring a userto beas part of acompanycompany,theyadditional configuration options willthen see additional items to configureappear inthe user'stheir profile.For Company Members, an admin must designate a member to act as Company Billing
Manager.Manager. This will be the company member that receives invoices.Note:
ThisThepersonBilling Manager does nothaveneed to be a CompanyManagerManager,althoughthough they are oftendesignated withassigned both roles.ThereWhile there can bemore than onemultiple CompanyManager butManagers, there should only be one Company Billing Manager.Alsobe aware thatDesignating a Billing Manager
mustisbe designatedin order for invoicingrequired tobeactivateactivated.invoicing. 
-
For Individual users that are not part of a company but you wish to invoice, you must edit their user profile and enable the 'Individual' checkbox and the 'Receives Invoice' checkbox.


Creating Permit Invoices
Click Allocations > Prepare Company Invoices.
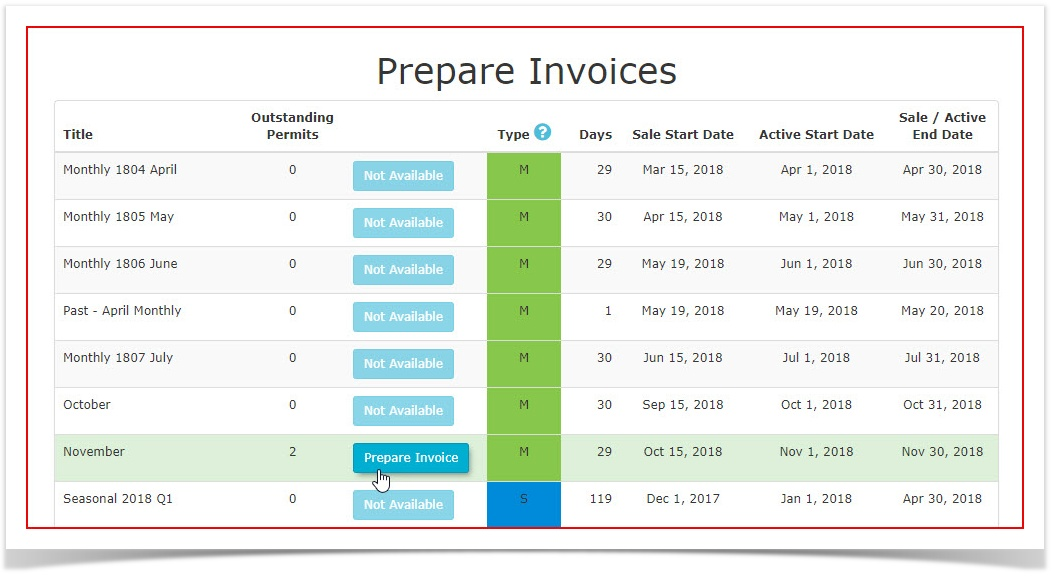
The 'Prepare Invoices' screen displays. A list of invoices that are ready to send will be displayed.
Click Prepare Invoice.
Note - Currently, only permits for user types that are not Student or Staff will be shown as available for invoicing.
Setting Invoice Billing and Due Dates
-
A list of invoicing for the selected allocation will display. The Admin can toggle off invoices that they do not want to send, but typically you would send all selected.
All Invoices are toggled on by default.
Set the Billing Date and Due Date. In this case billing was done on October 25th and the payment is due November 1st.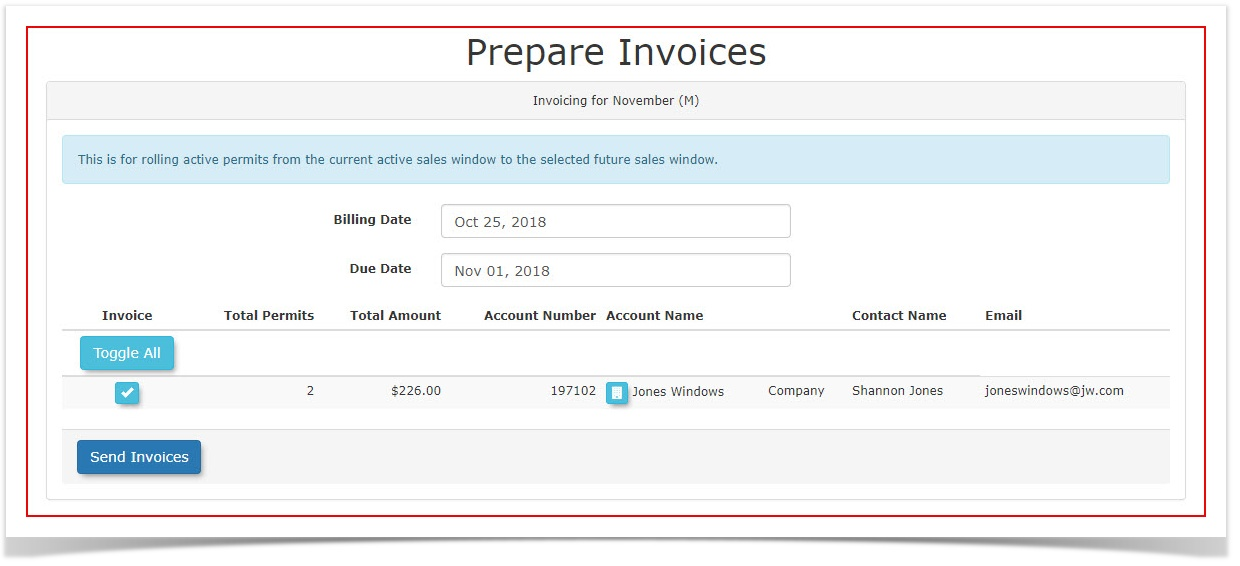
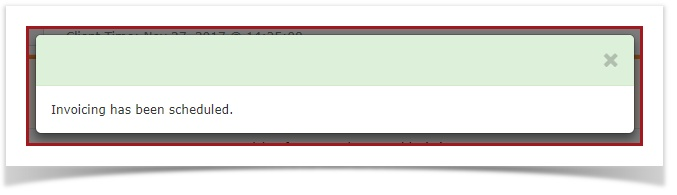
Click Send Invoices to schedule the invoices for sending. The following message will pop up.

-
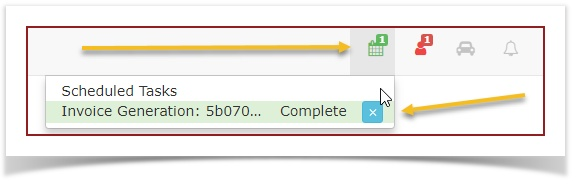
After a few seconds the Invoicing task will be displayed on the Task Manager Icon as below. You can see the status of the task. In this case it is complete. You can click the blue "X" to clear it or leave it be.
-
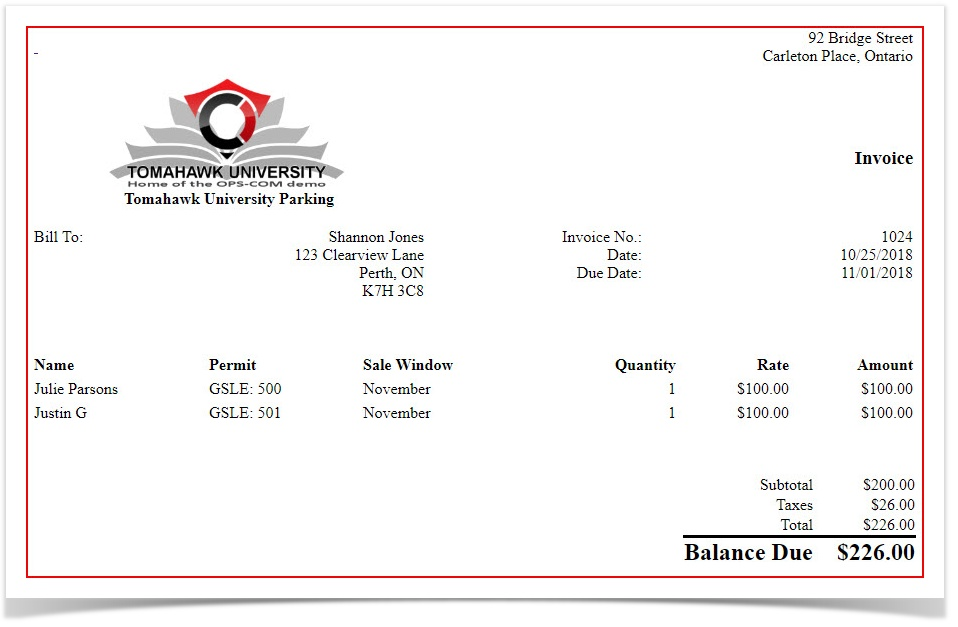
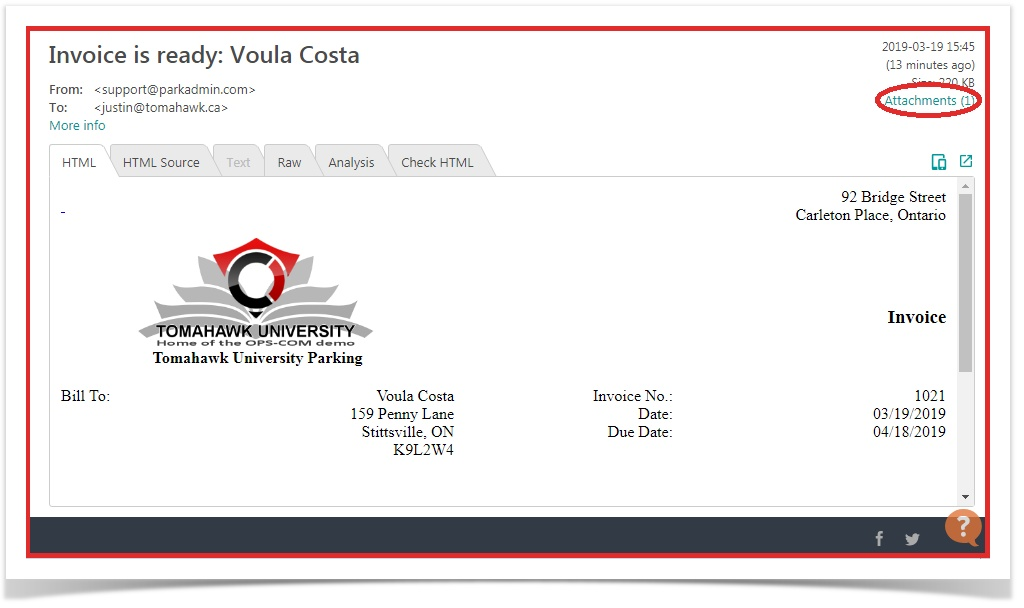
Emails will be sent to the companies selected. By default, the email will be formatted as follows:
The invoice will list the names users as well as the permit numbers being purchased.
Note the Date and Due Date: The Date indicated is the billing date and the Due Date indicates when the invoice is expected to be paid.


Searching for an Invoice
-
Click Allocations > Invoice Search.

-
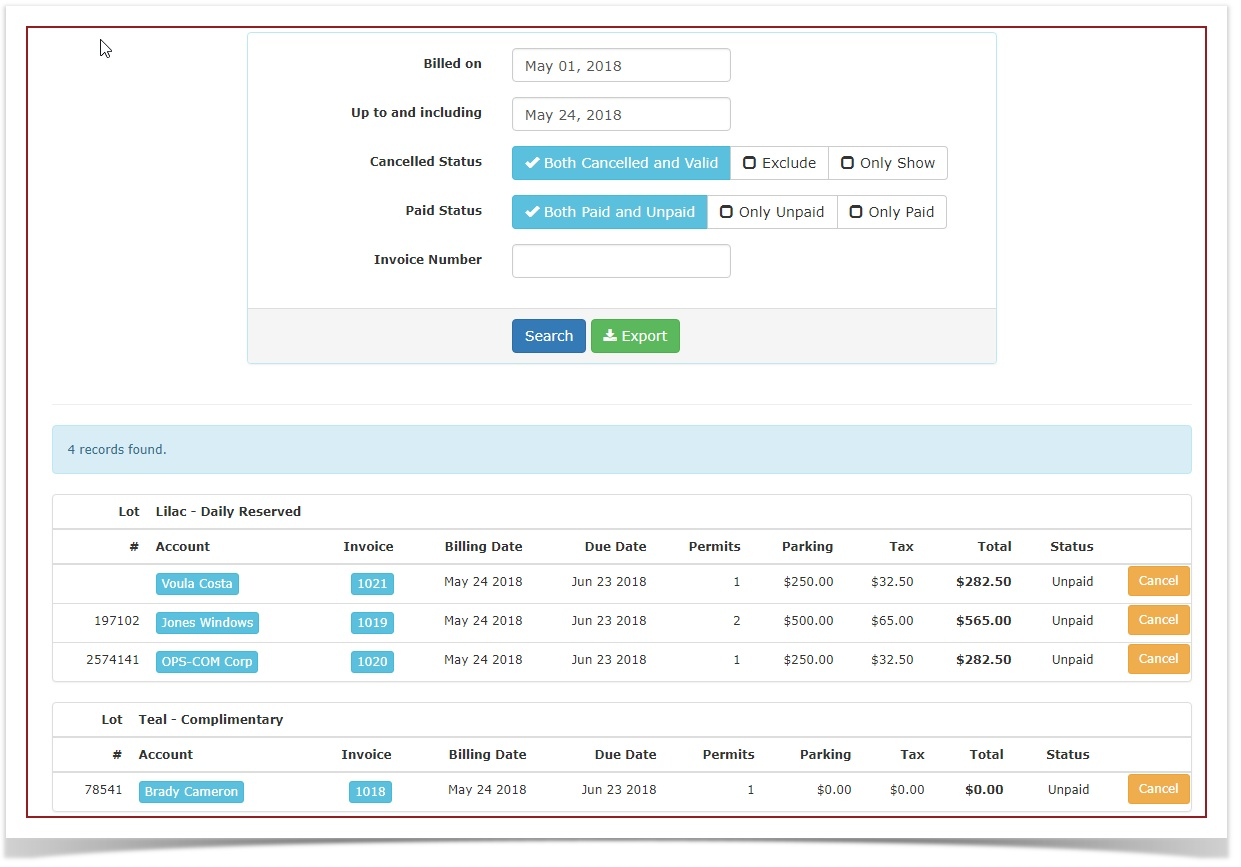
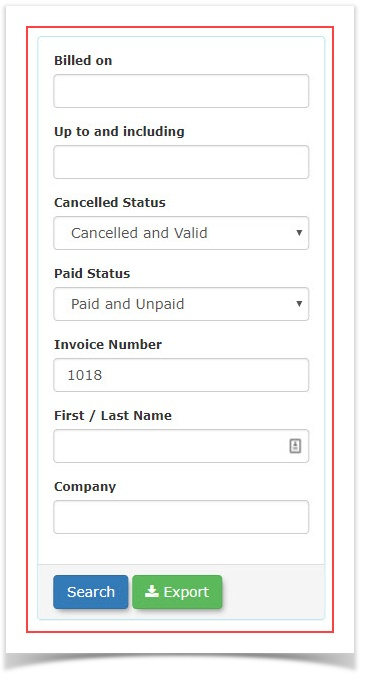
The 'Search for Invoices' screen displays. You can search for a specific invoice or for an invoice issued during a range of dates. You can also eliminate canceled or paid invoices from the search parameters.
In this case we are searching for a date range.
-
Click on an invoice number to see a copy of the invoice that will be sent to the client.
Note: If you wish to print this you can right click and print it out of your browser. You can also print to a PDF if required.

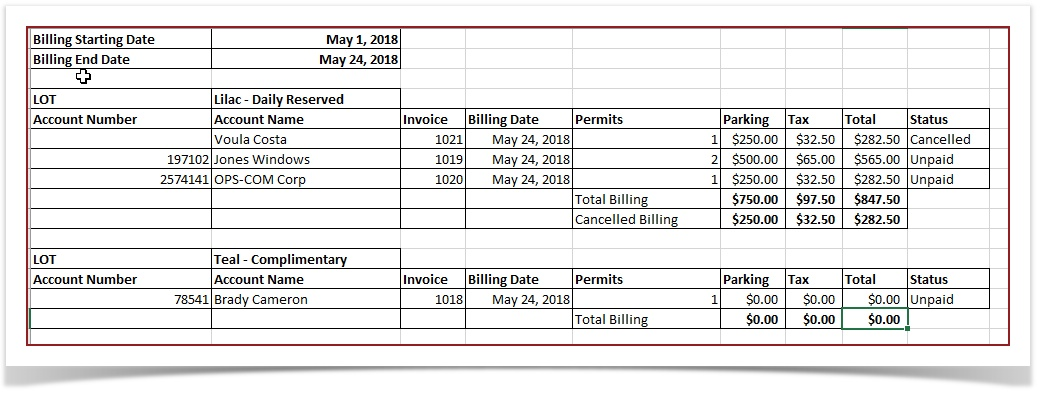
You can also export this report to Excel. This will show you the revenue for a selected date range by Lot.


Re-Sending an Invoice
WhenIn dosome wecases, useit this?may be necessary to resend an invoice.
ItFor is also possible to re-send an invoiceexample, if the client requests a second copy sent.If for example the client mistakenly deleted the email, the admin has the ability tocan search up the original invoice and send it again.
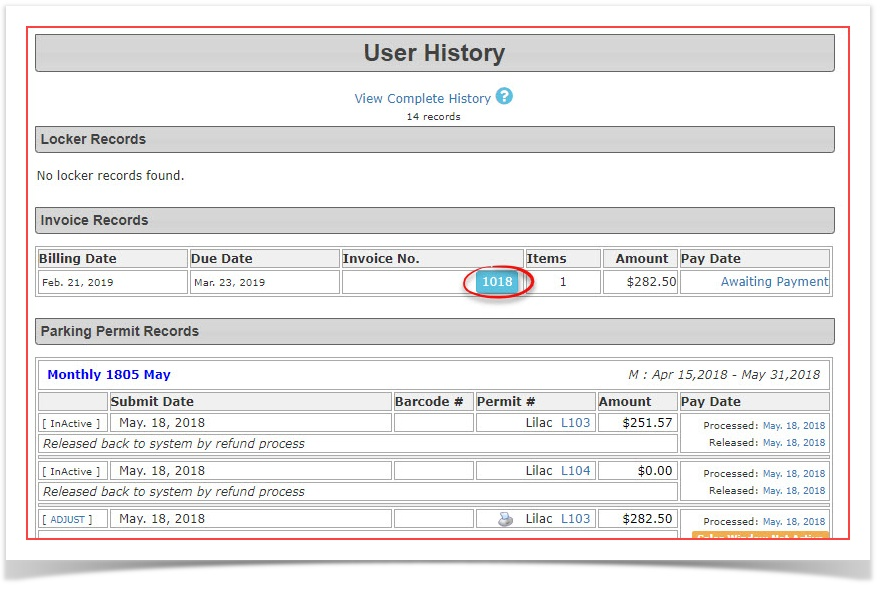
In our sample here we are looking for an invoice for Voula Costa.
To do so thereThere are two differentmethods.methodsYouthrough which this canfindbe done.- Through the
invoiceuser'sinhistory. - Through the
user's profile under Historyor you cansearchfor theinvoicethrough theSearch Invoiceutility.
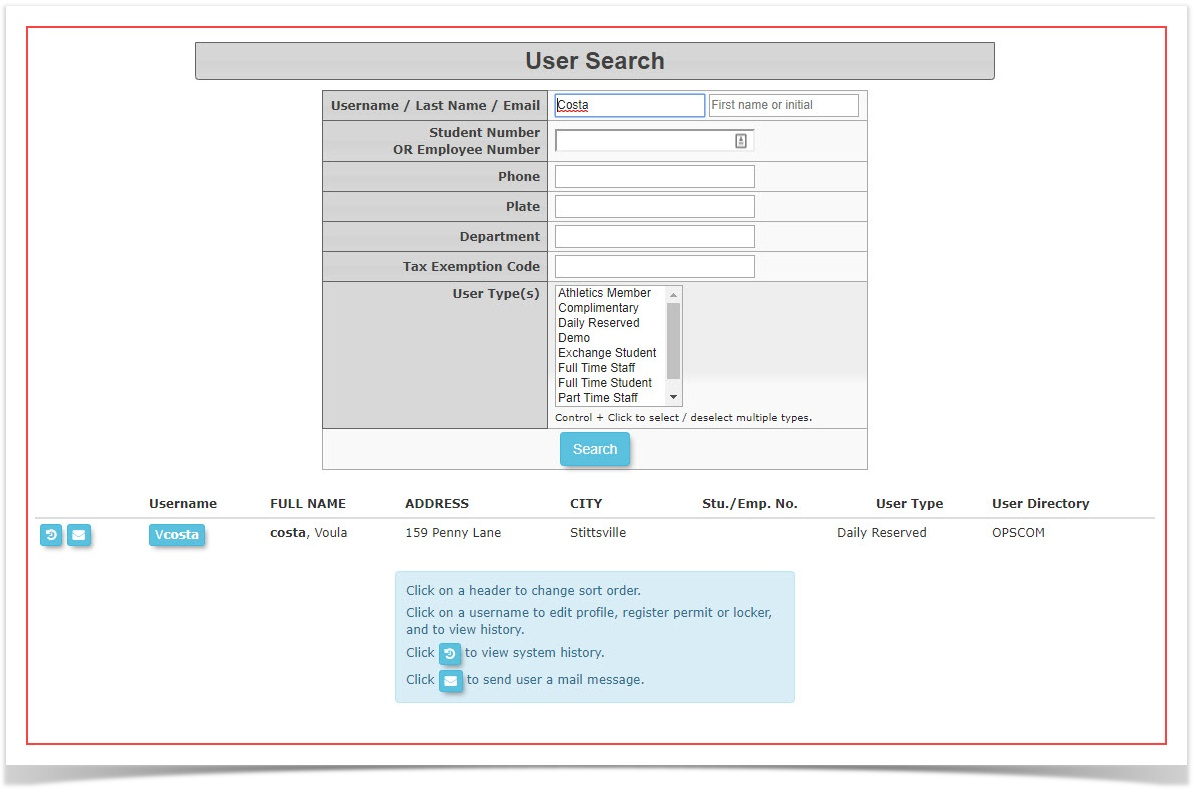
Firstlylet's search the user in question: In this case using the last nameCosta.
- Through the
-
Click on the username to access the user's profile.

-
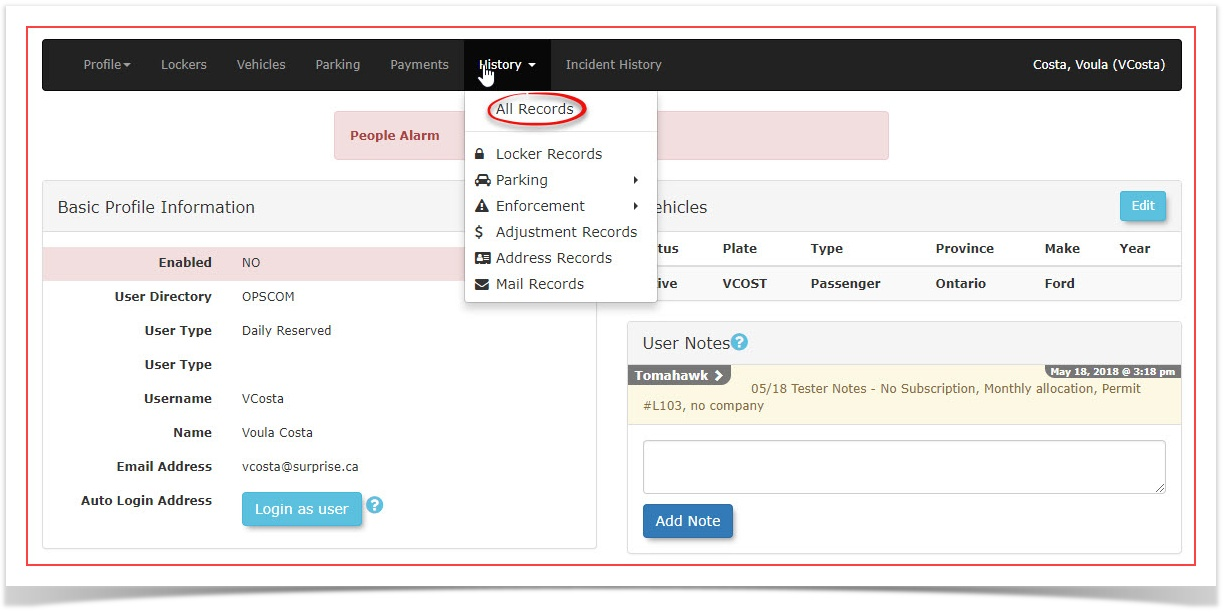
Once in the user's profile hover over History and click on All Records to access the list of this user's transactions.

Locate and click on the invoice number that you wish to resend.
-
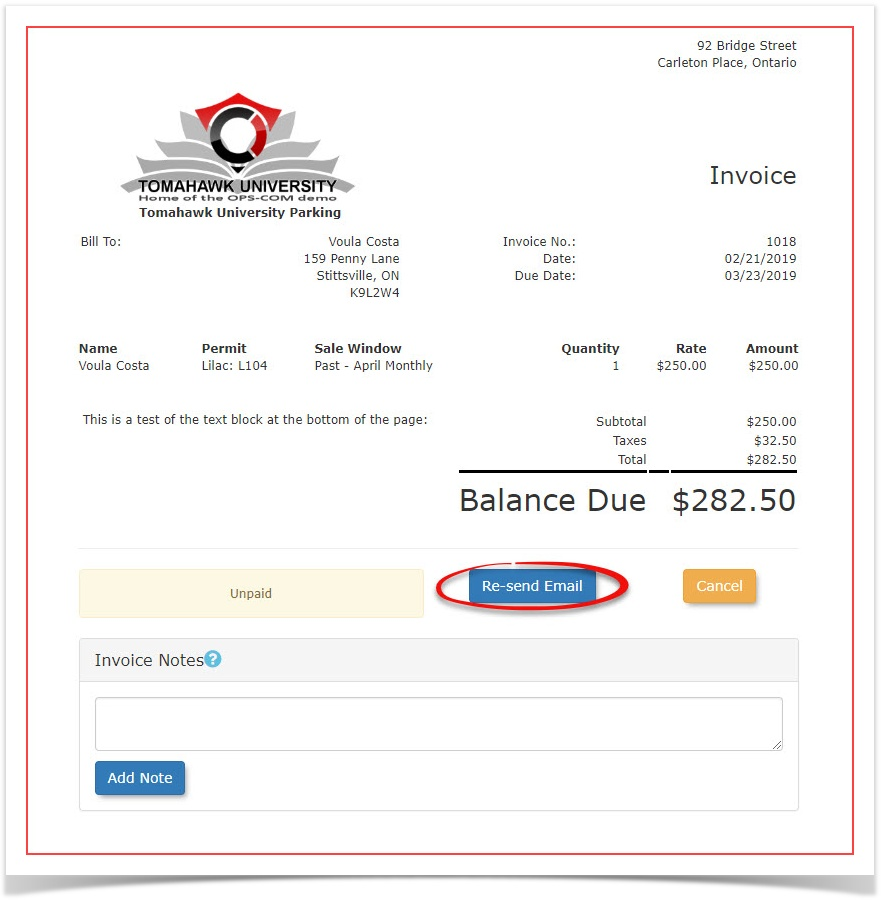
Once in the invoice preview you will notice the Re-Send Email button. Click on this button to re-send the invoice.
-
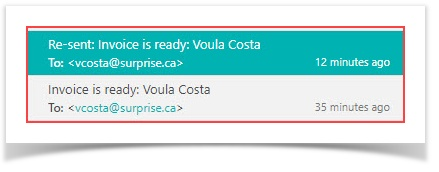
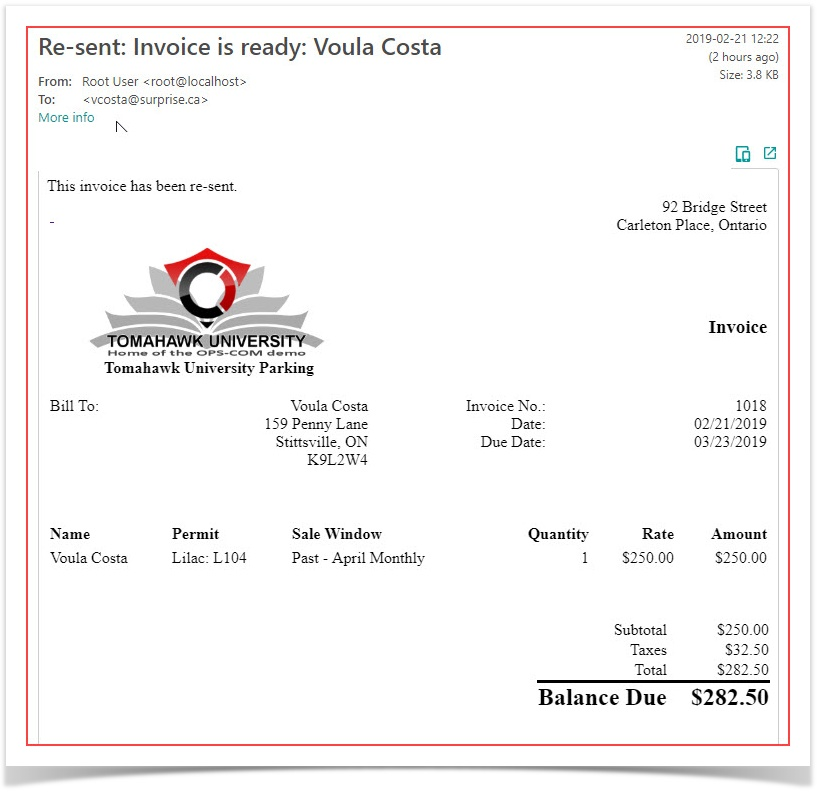
The invoice will be re-sent. In the sample below there is an original invoice send as well as a re-send. Notice the email title for the re-send has a prefix added indicating this is a Re-sent invoice.
-
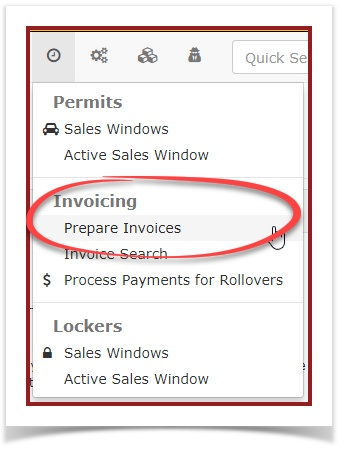
As mentioned above you can also find the invoice you wish to resend using the Invoice Search tool. To do so access the tool under the Permits menu.
Hover over Permits and click on Invoice Search in the drop down menu.
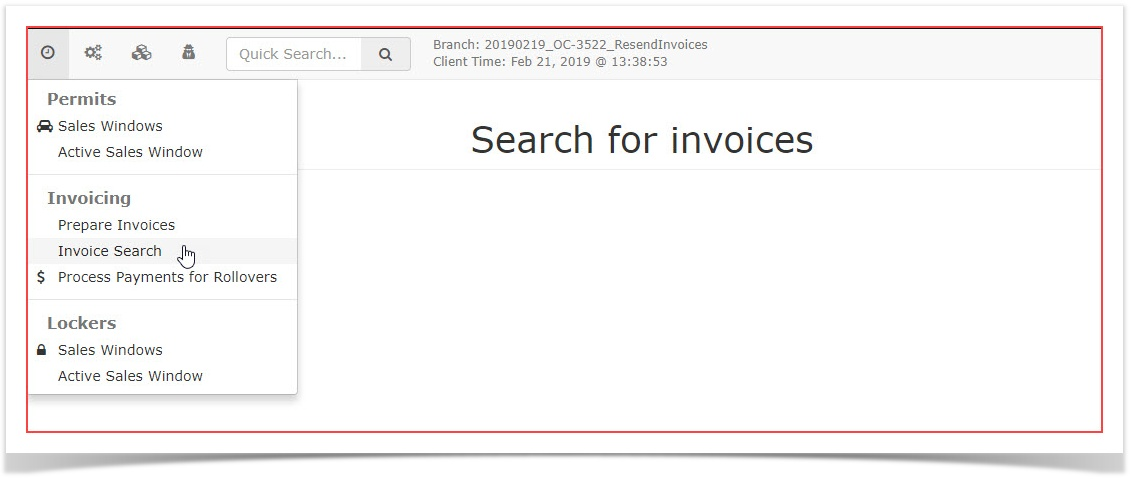
In the search criteria window enter the Invoice Number in question and click search. In this case Invoice Number 1018.
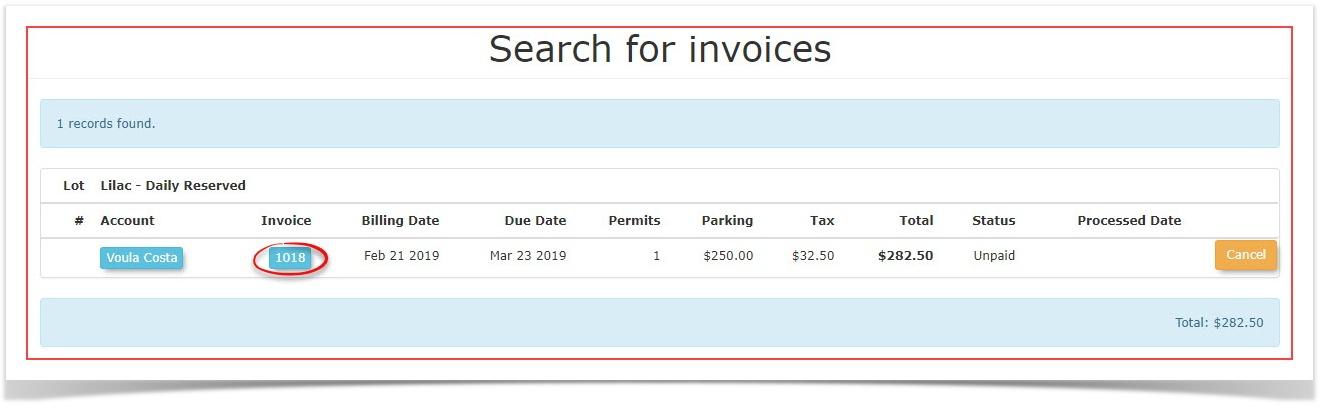
From the resulting search result click on the Invoice Number to access the Invoice Preview Window.

The process after this point is identical to step 6 and 7 above.
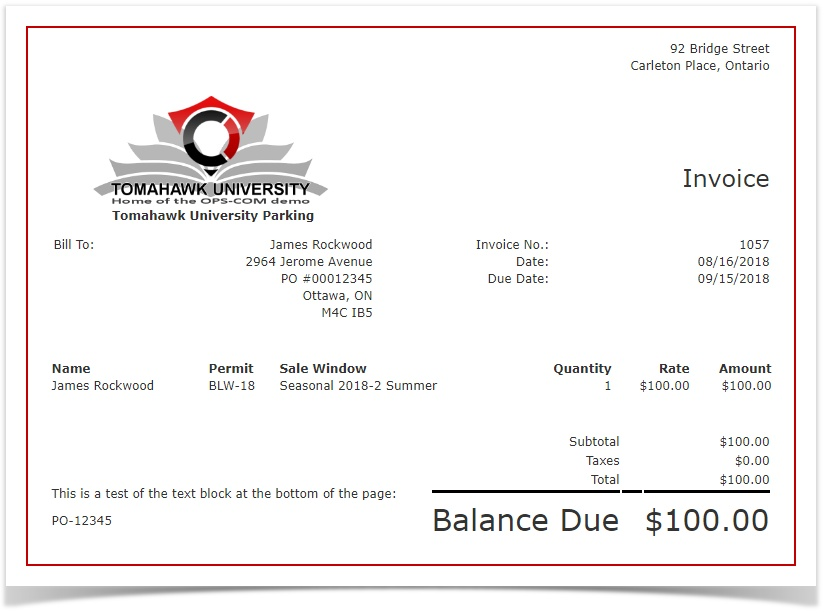
The Re-Sent Invoice will look identical the original invoice format:


Printing From Emailed PDF
-
It is important to note that in order to print this PDF document you should follow these next steps
-

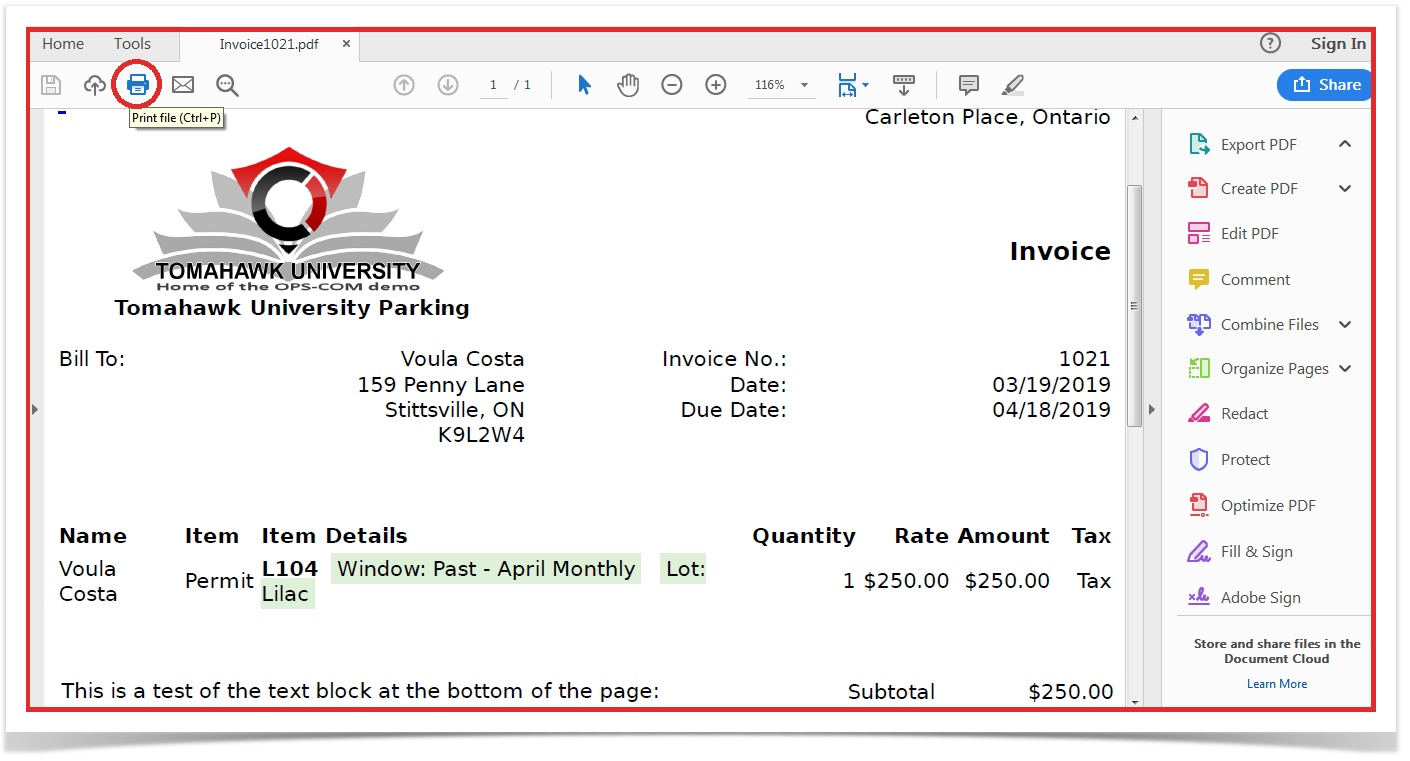
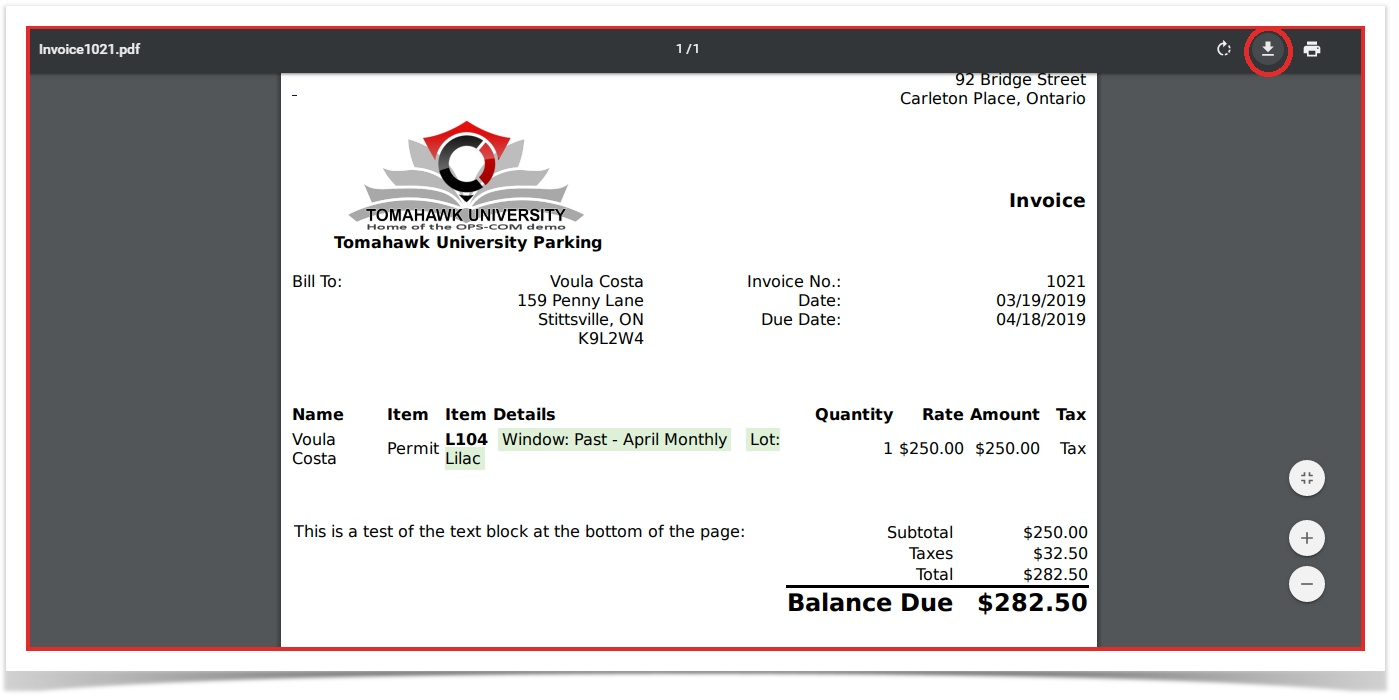
After opening the attached PDF file you will be brought to the file opened in the web browser.

-
If you print form here you will receive a cut off version of this PDF. In order to prevent this you should download the file by pressing this button:

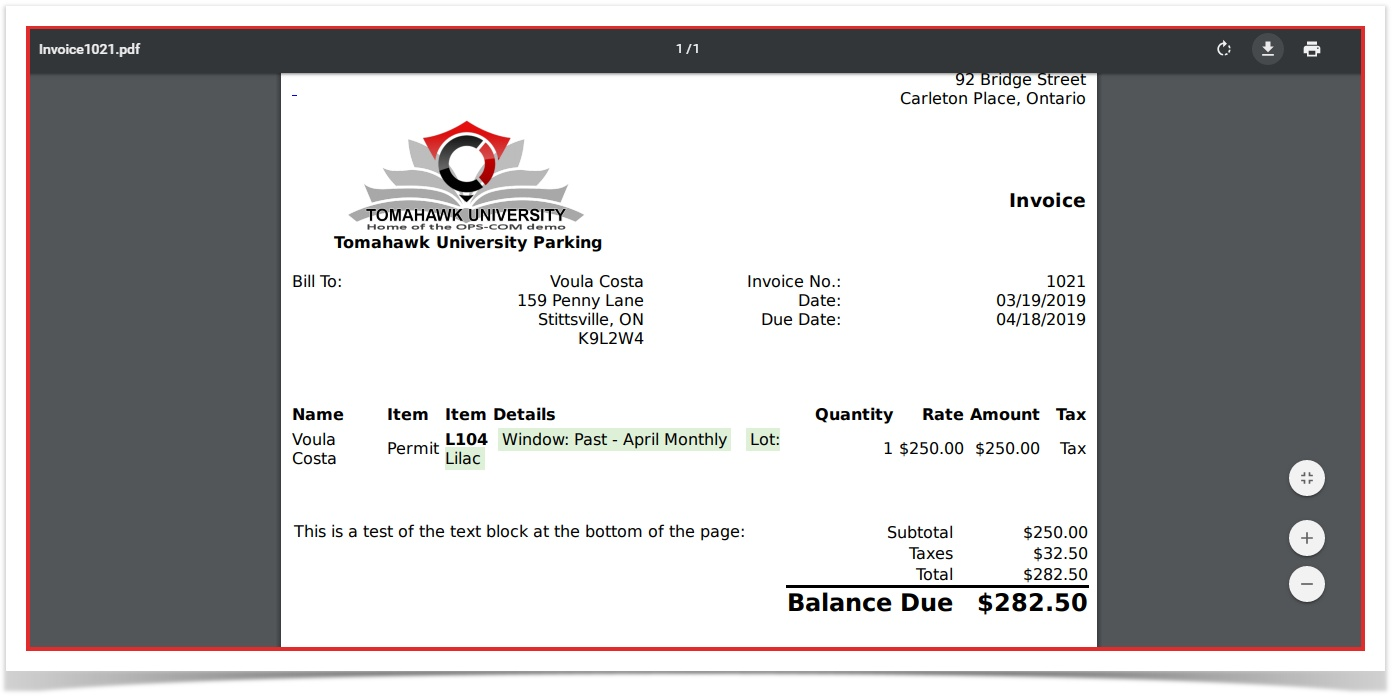
Save it to your preferred location and open it with the PDF reader of your choosing
-
From here you just print the invoice like you would a normal document ensuring that the print scale is set to 100%


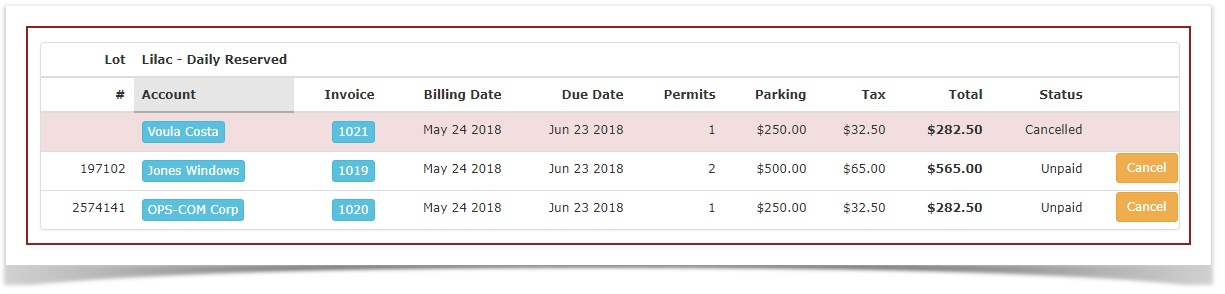
Cancelling an Invoice
Note
If you have issued an invoice then the company would like users removed or changes made, you MUST cancel the invoice from the Invoice Search page. If you don't it will show up twice as revenue for that month and both invoices will be due for payment. You cannot remove invoices directly from users payment tabs.
If you wish to cancel and invoice click the cancel button. The following prompt will display.

Click 'Cancel Invoice' and the invoice will now show up as Cancelled on the report.