
Categories
How
The Incident Categories feature allows organizations to Getclassify and organize different types of incidents, such as security events, parking violations, or maintenance requests. Its primary purpose is to Categorizehelp toadministrators Createstandardize orreporting Editand dispatching by defining a structured hierarchy of categories and sub-categories. This article is intended for OPS-COM administrators.
Setup and Configuration
This
Admin Side: Hover over Admin Options, click Incidents, and Categories.
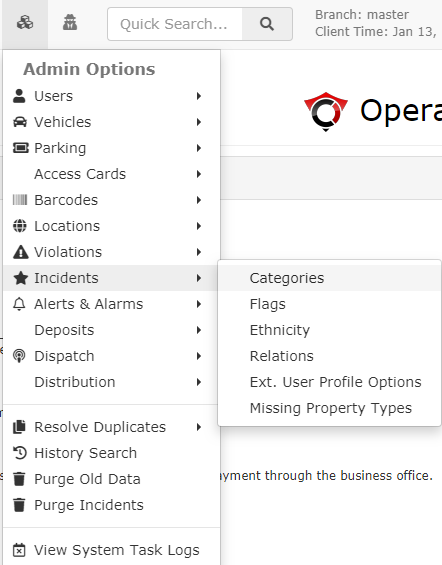
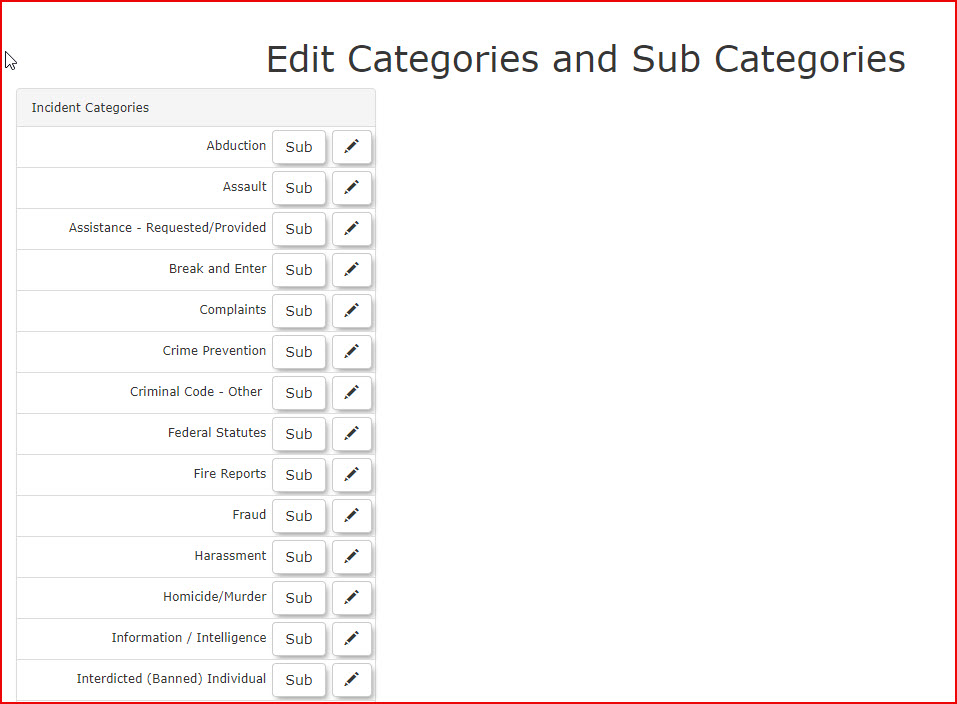
The Edit Categories and Sub Categories main page will display. To edit a Category, select the desired category from the listed items and click the pencil icon to edit.
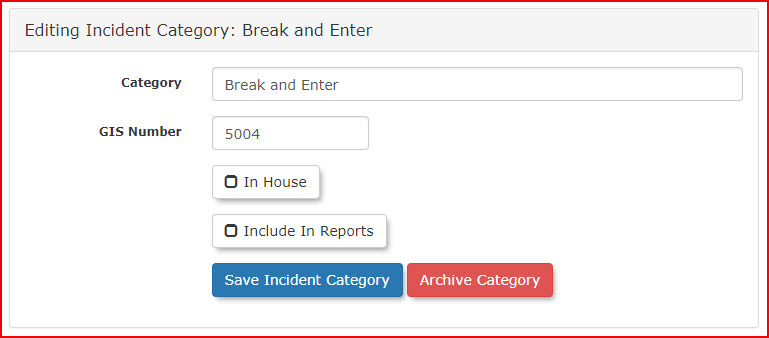
The page will refresh and you will be able to edit your Incident Category. Change the category name and/or details as desired andthen click "Save Incident Category".
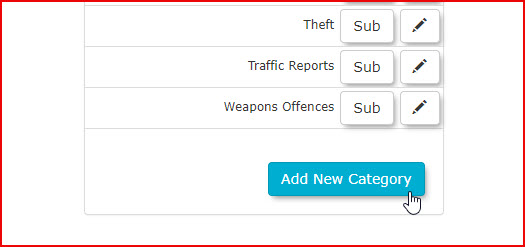
To add a new Incident Category, return to the Edit Categories and Sub Categories. main page, and click "Add New Category" located at the bottom of the page.
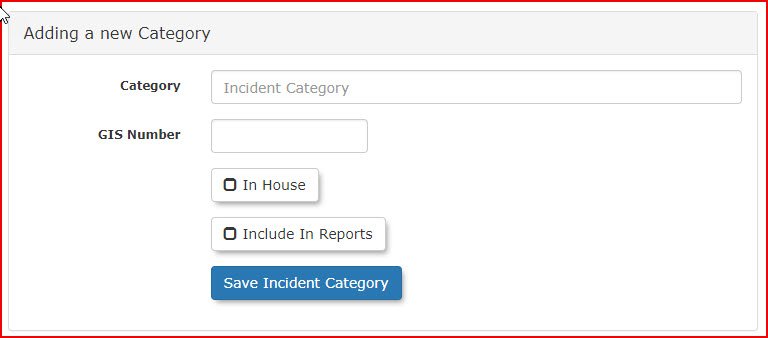
The pageThis will refresh. Fill out the details for your new Category Name, select whether it's "In-House", enter the GIS number, and select if you'd like this category included in Reports. Click "Save Incident Category".
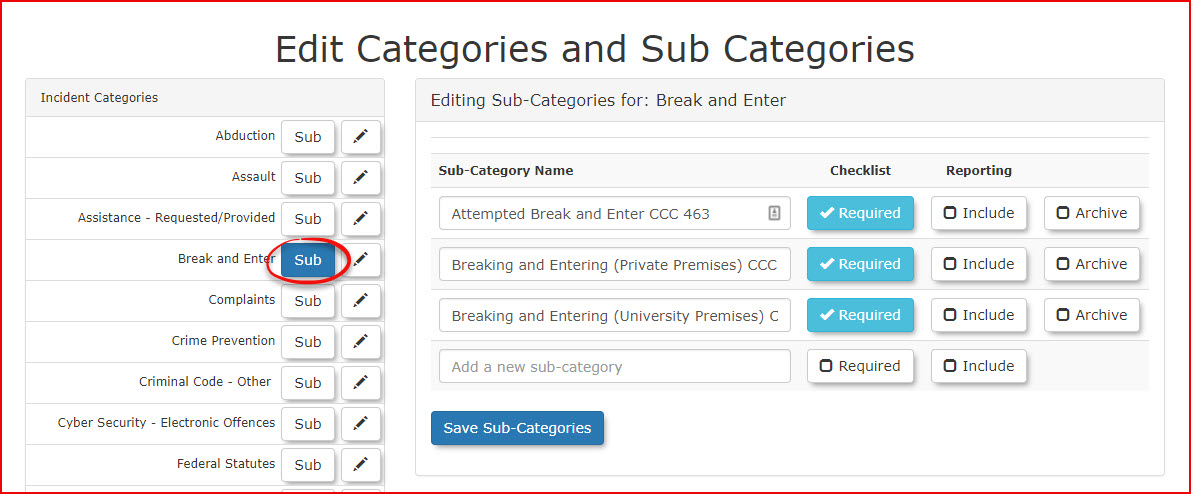
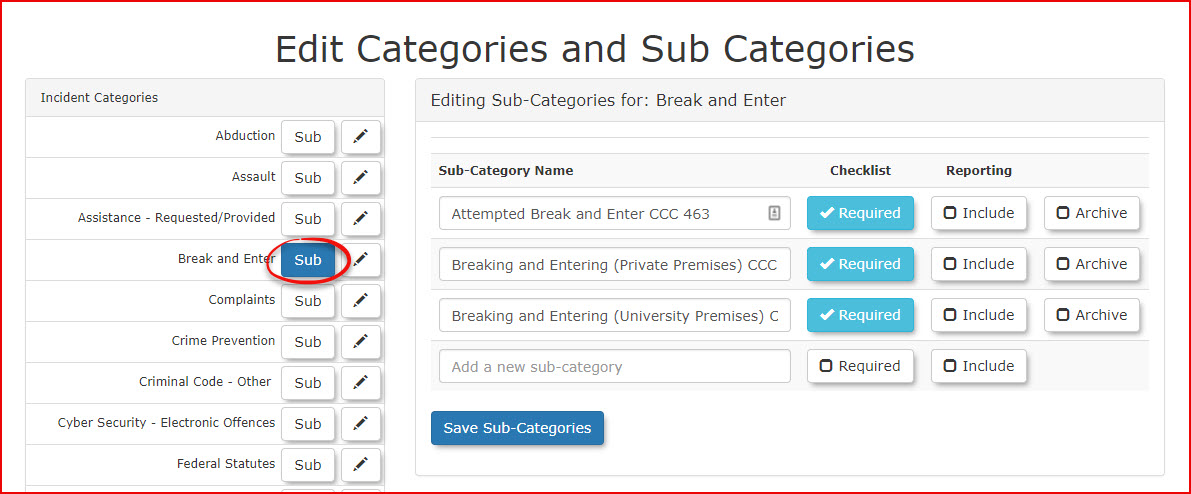
To check a category for Sub-Categories, return toopen the Edit Categories and Sub Categories main page.
Using onethis Feature
Administrators can use this interface to build a custom list of incident types, create granular sub-categories, and define operational rules such as checklist requirements.
Adding a New Category
-
Scroll to the bottom of the
categoriesEditbyCategoriesclickingandonSub Categories main page. -
Click
SubAdd New Category. -
Enter a descriptive name in the Category Name text field. -
-
Enter a
GISThenumberpageifwillapplicablerefresh,for spatial tracking andyoumappingwillintegration.have -
Enable the option to include this category in system reports, if desired.
-
Click Save Incident Category to finalize and add the new category to the system.
Editing an Existing Category
-
Locate the specific category in the listed items on the main page.
-
Click the pencil icon next to the category to open the edit screen.
-
Update the category name or specific configuration details as needed.
-
Click Save Incident Category to apply your changes to the database.
Managing Sub-Categories
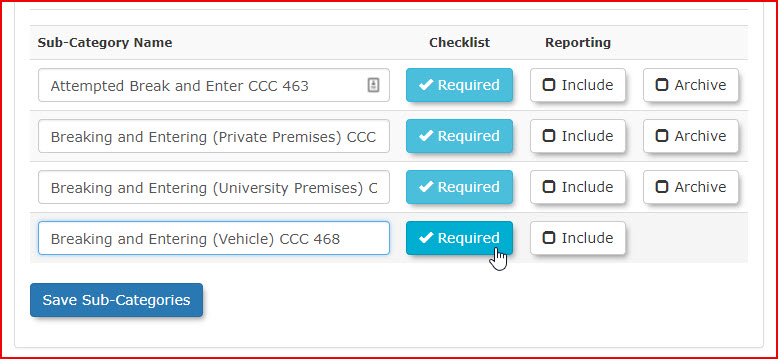
Sub-categories allow you to break down broad incidents into highly specific events.
-
Click Sub next to an existing category on the main list to view its associated sub-categories.
-
Enter a
newsub-category.
name
in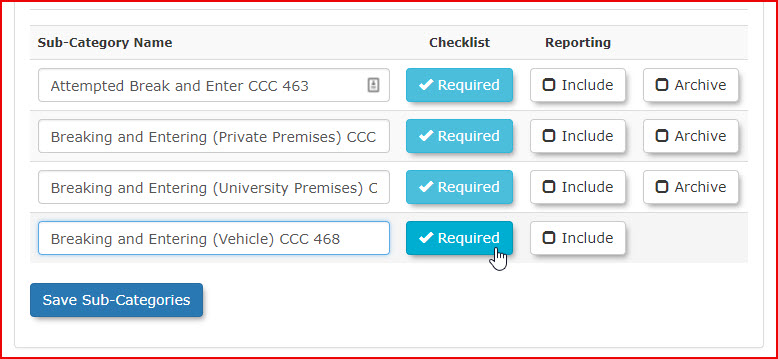
theToprovided text field to add a new sub-category,category.enter -
Click Required under the
namechecklist column if a formal checklist must be completed by the officer when this specific sub-category is selected in the field. -
Click Include if you want
forthisyourspecific sub-category. Enable the functions you wish to have in this subcategory.If aChecklistis required, click"Required".If it'scategory to beIncludedvisible inReports,statisticalclick"Include".reports.Onceyou have finished, clickClick
"SaveSubCategory"SubCategory.to add the new sub-category to the parent group.
Best Practices and Considerations
-
Standardize your naming conventions: Organizations should establish a clear and consistent naming convention for all categories and sub-categories. This prevents duplicate entries and ensures dispatchers and field officers can quickly select the correct option during an active, high-stress incident.
-
Utilize checklists for complex incidents: Enable the checklist requirement for sub-categories that involve multi-step procedures or critical safety protocols. This ensures field officers follow standard operating procedures when responding to specific incident types, reducing organizational liability.