
System Settings
The System Settings area in the legacy OPS-COM Android application provides centralized control over the handheld's hardware integrations and local behaviors. Its primary purpose is to allow administrators and officers to configure mobile printers, adjust License Plate Recognition (LPR) camera inputs, and customize ticket formatting directly on the device. This article is intended for OPS-COM administrators and field enforcement personnel configuring their handheld units.
Setup and Configuration
While the handheld device offers extensive local customization, several foundational settings must be established in the core administrative portal first.
Admin Side: Administrators must manage the core organization details, unique device identifiers, and the Next Offence Number through the OPS-COM web portal.
LPR Authorization To successfully use the LPR features on a handheld unit, an administrator must first toggle the LPR functionality on within the System Settings of the main Admin Portal.
User Side (Enforcement Staff): Tap the main application menu icon, then tap System Settings to open the configuration interface on the mobile device.
Using this Feature
The system settings are divided into four main categories. Enforcement personnel can interact with these menus to tailor the application's performance.
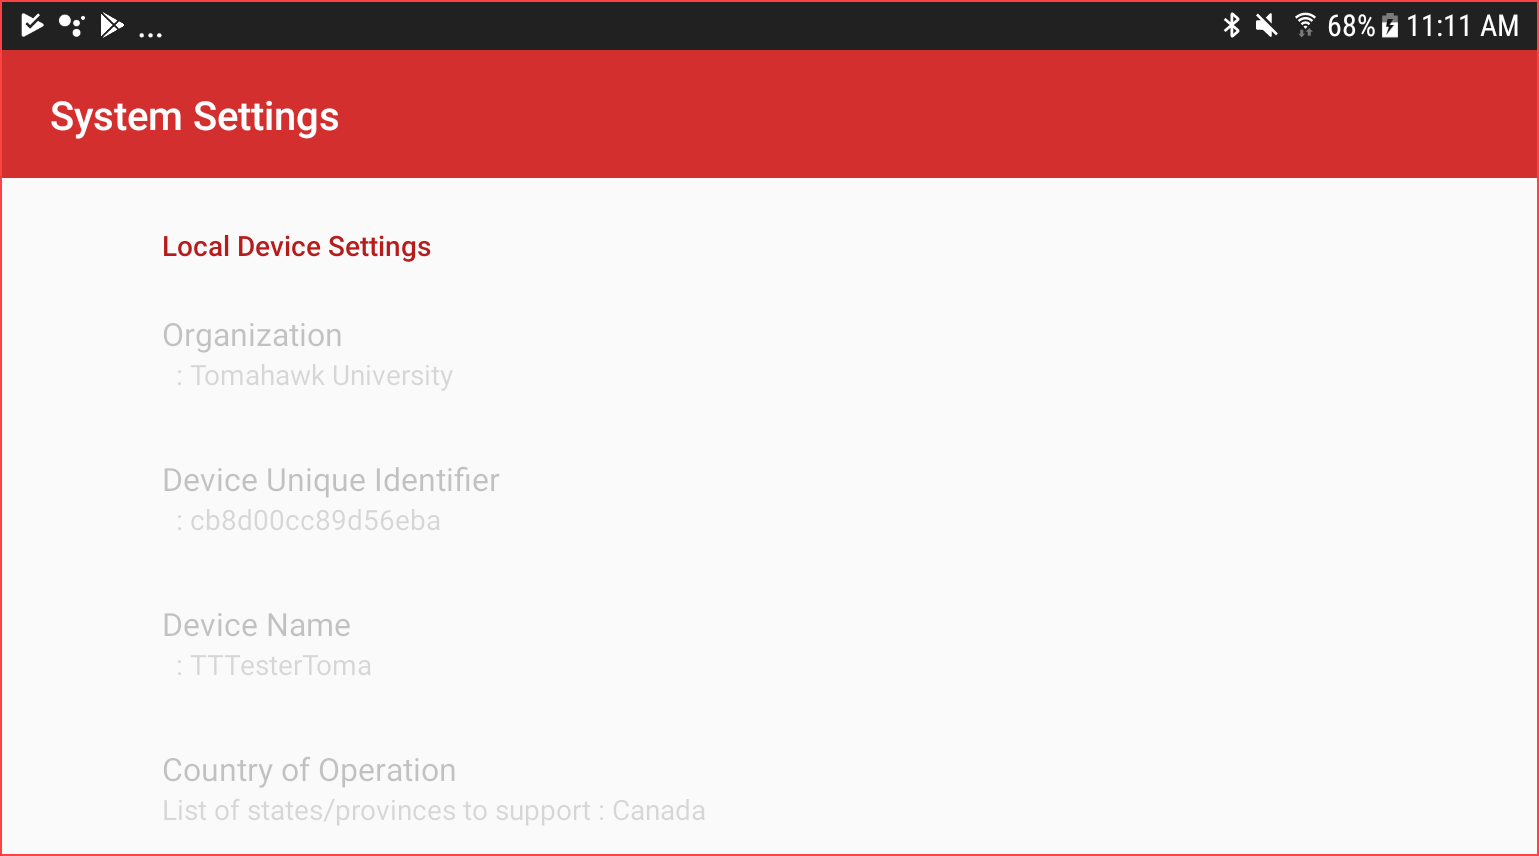
Local Device Settings
The firstThis section ofdisplays the System Settings screen containsread-only device information underpulled thedirectly Local Device Settings. All of these items are set onfrom the admin side.portal, including the organization name, country of operation, and the device's unique identifier.
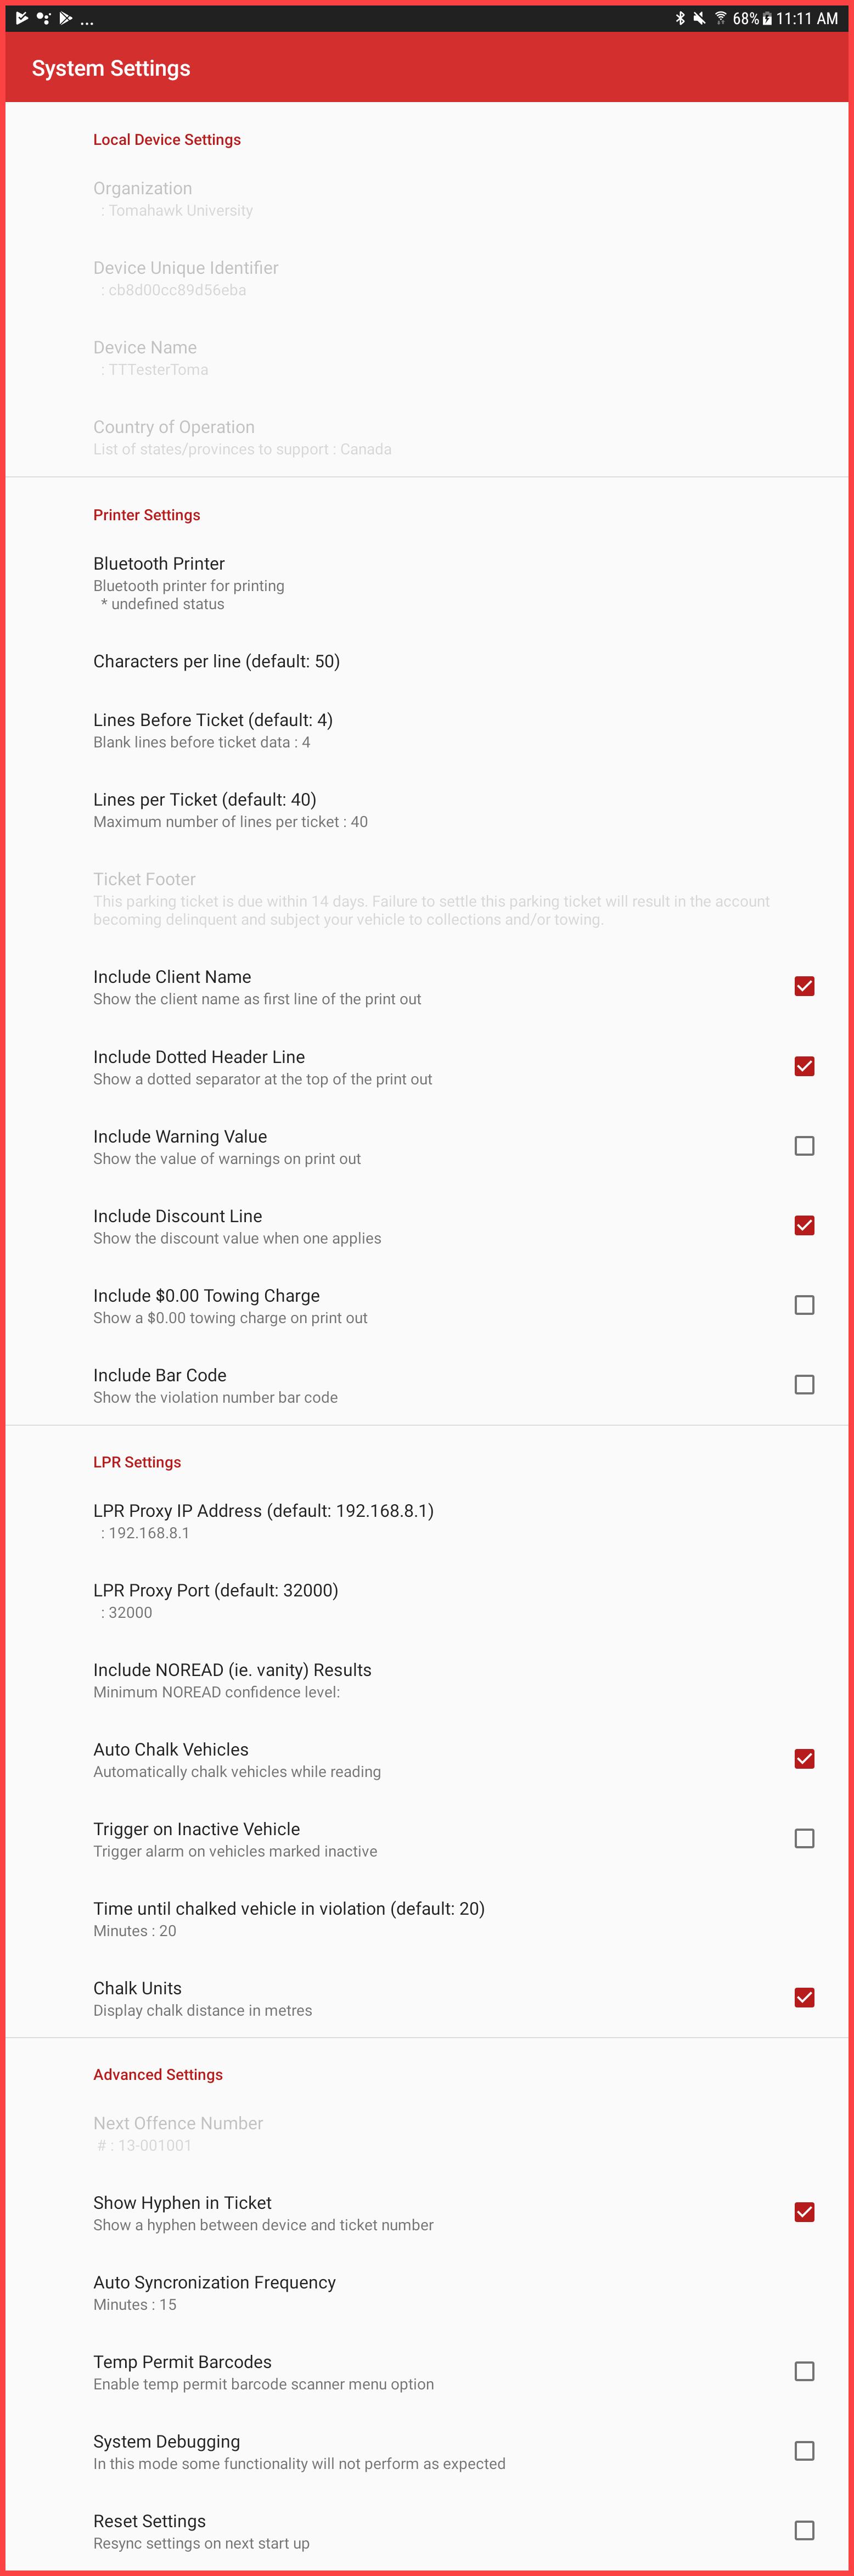
Printer Settings
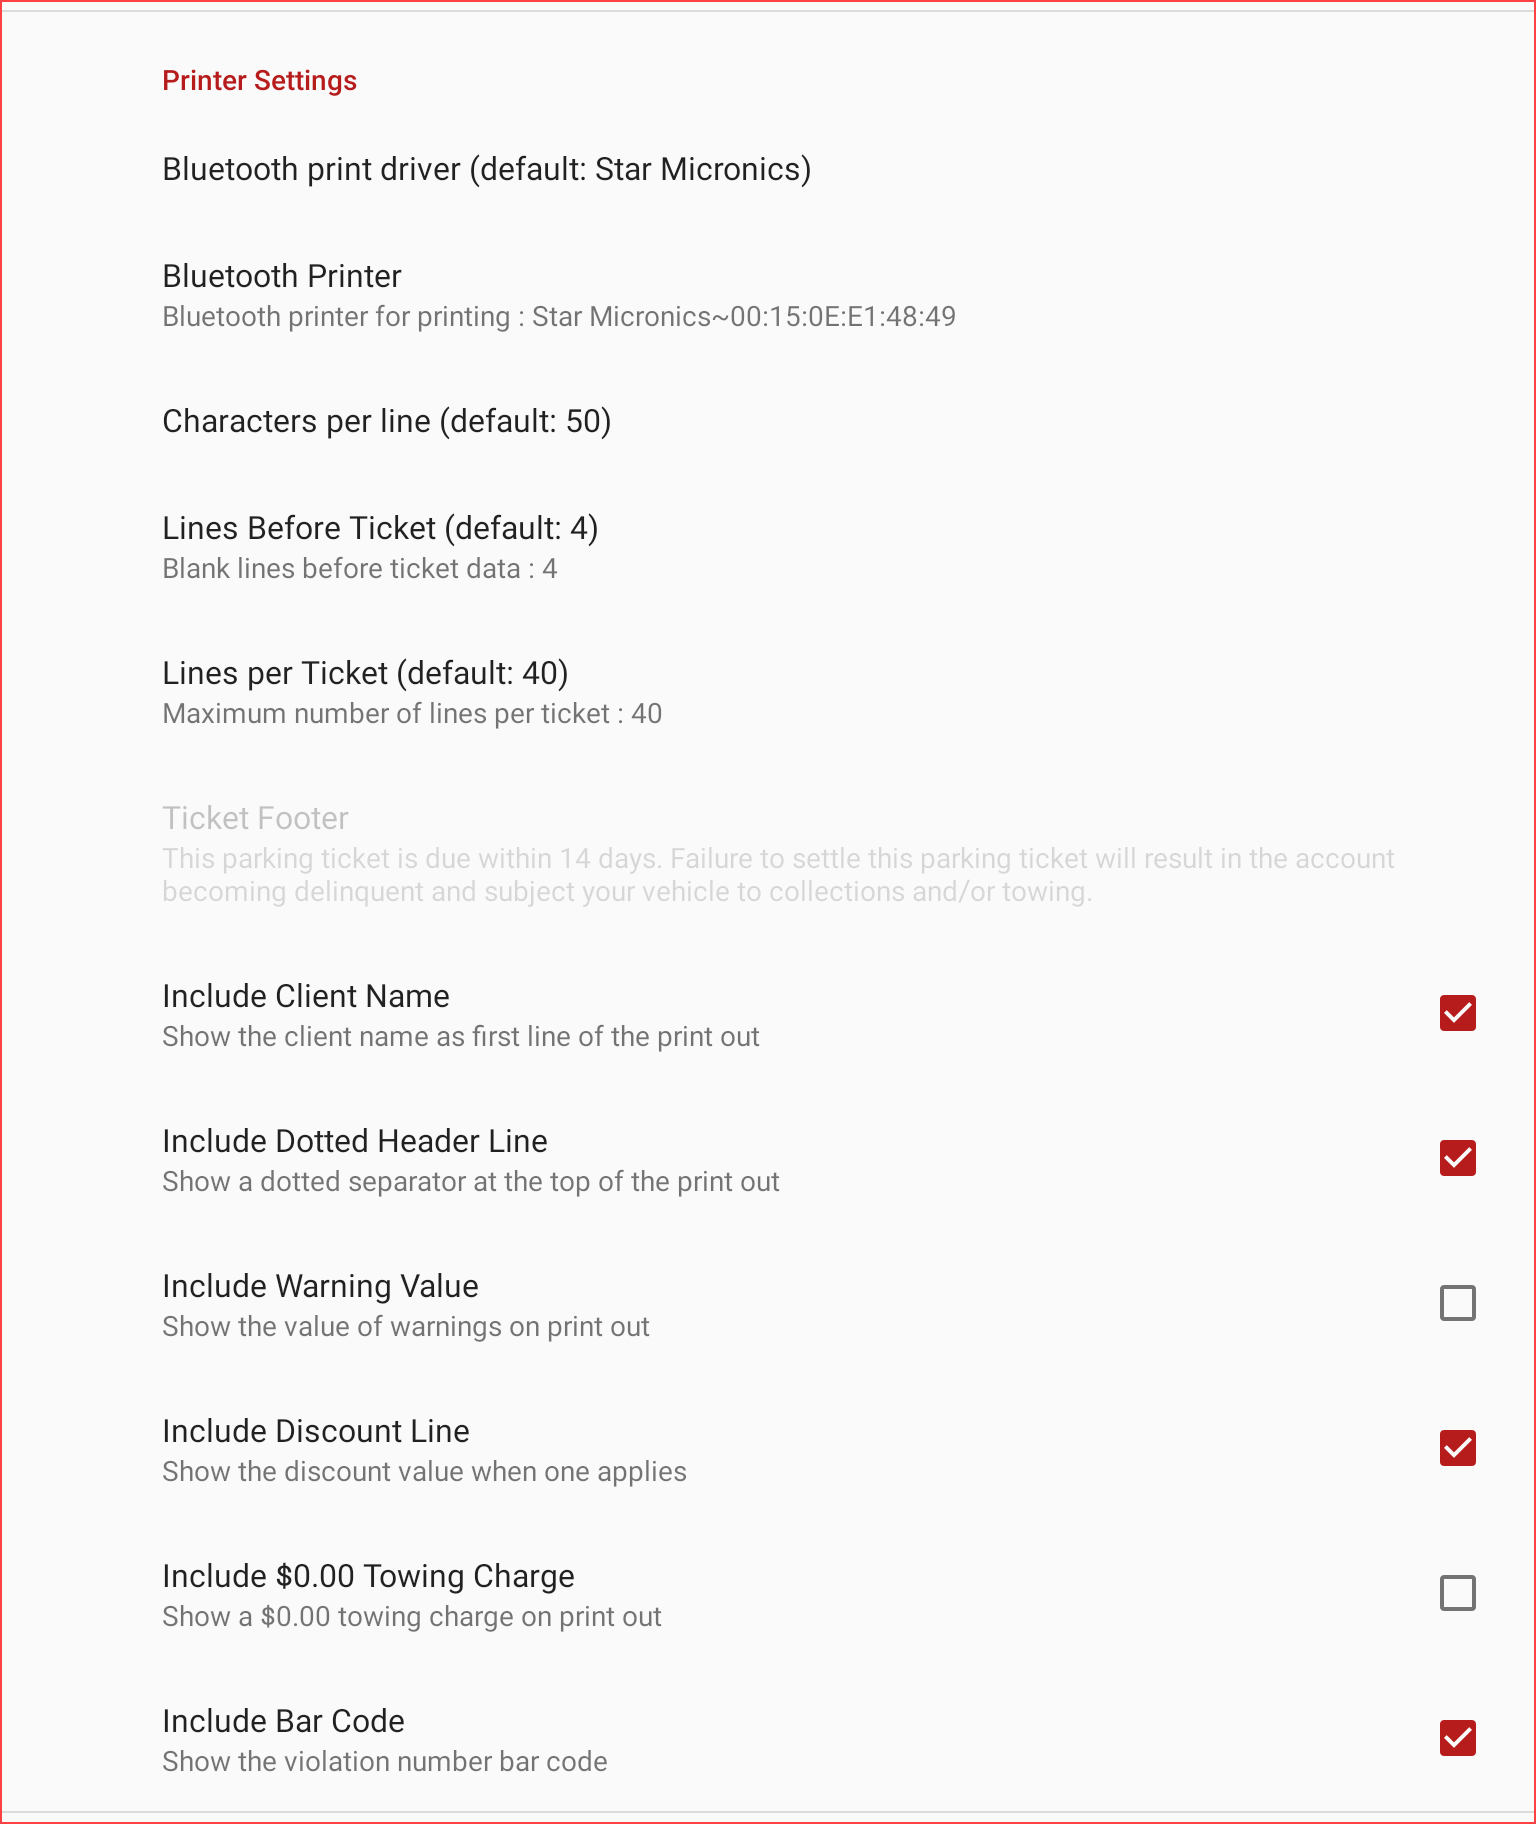
TheTap nextany sectionitem isin directedthis atlist Printerto Settings:modify Thishow sectionthe setsdevice whatcommunicates printerwith ismobile usedprinters and offersformats severalphysical options as to what prints on the ticket.Tap on each item to edit it's settings.tickets.
-
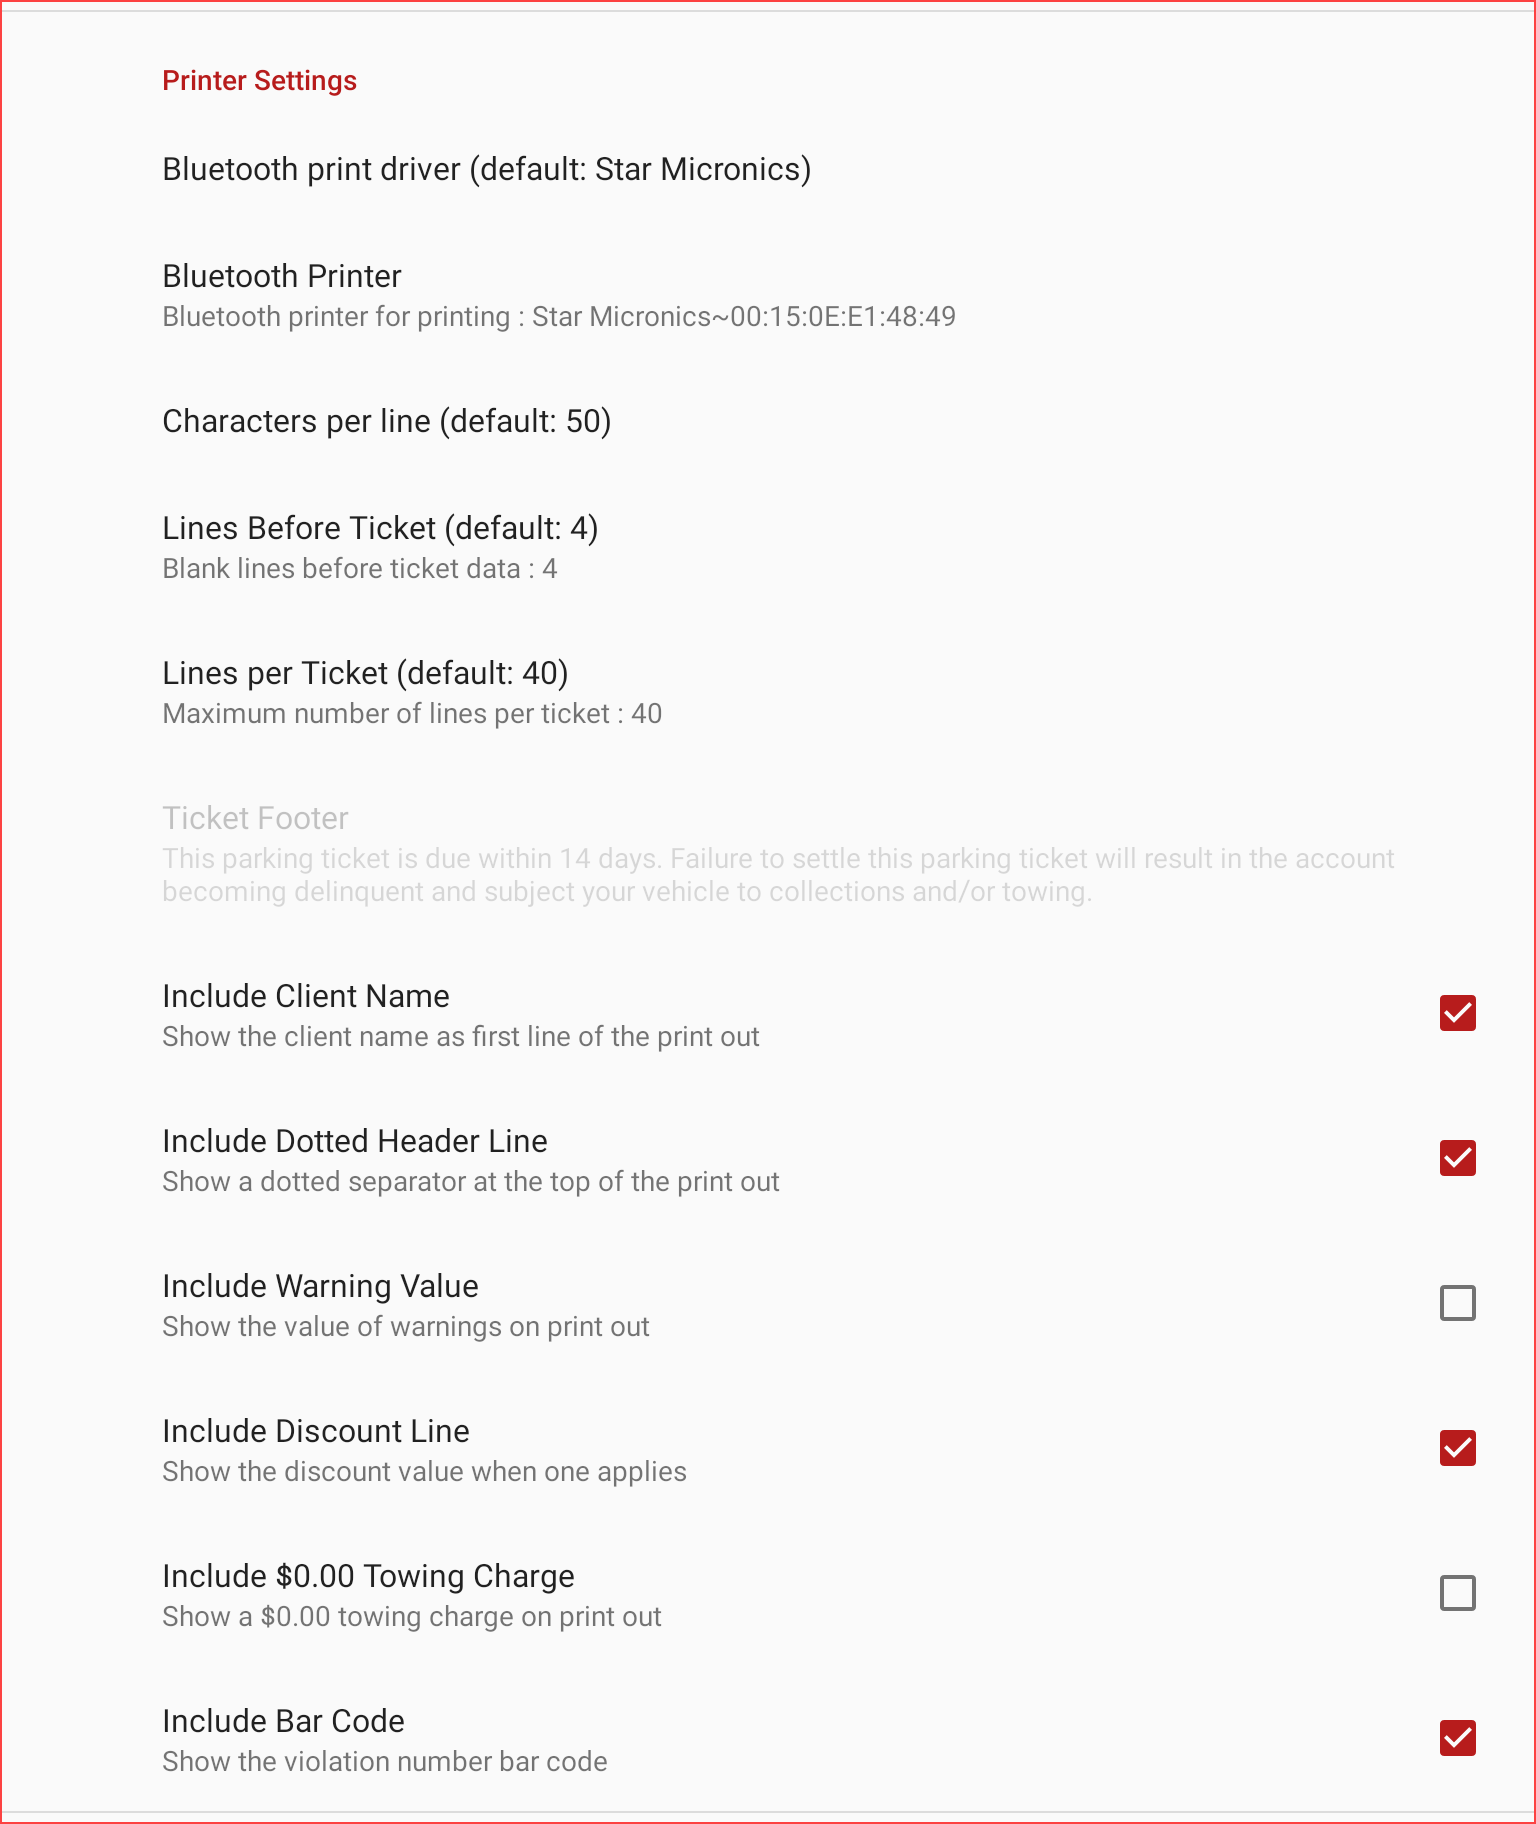
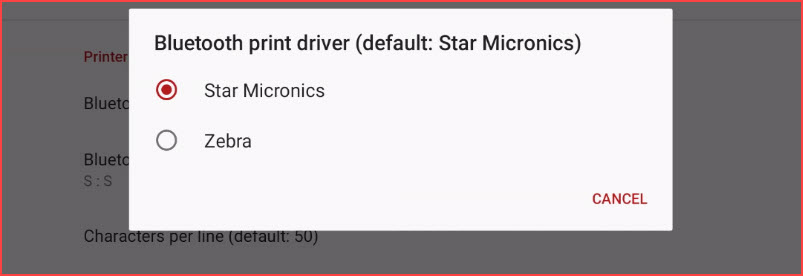
Bluetooth print driver: Tap to select the specific printer driver (default:e.g., Star Micronics):. -
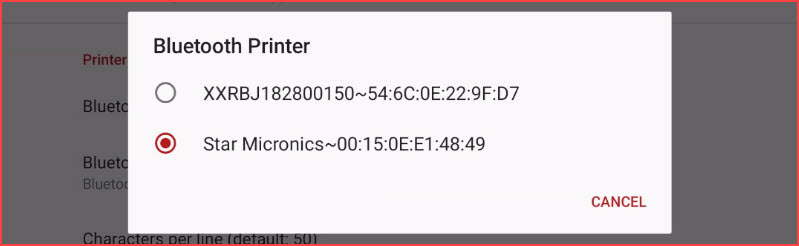
Bluetooth Printer:
SelectTap to select theprinterphysicalmodel you plan to use. (This must match what is selected in theBluetooth Printersetting.)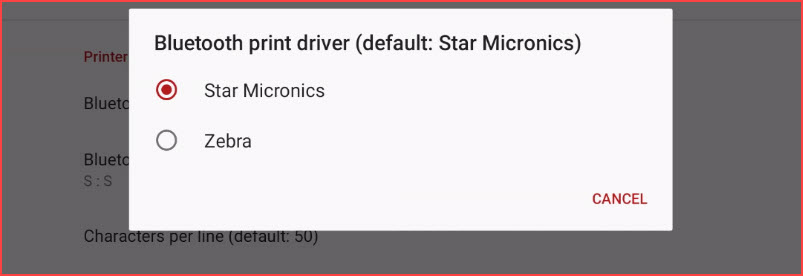
Bluetooth Printer: Select thepaired printermodel you plan to use. (This must match what is selected in theBluetooth printer driversetting.)
hardware.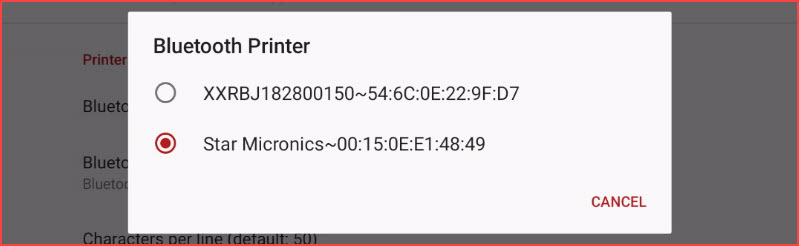
-
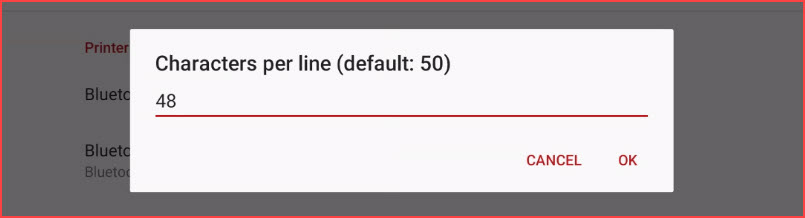
Characters per line:IndicatesTapthetonumber of characters acrossset the width limit ofatextprintedon the ticket.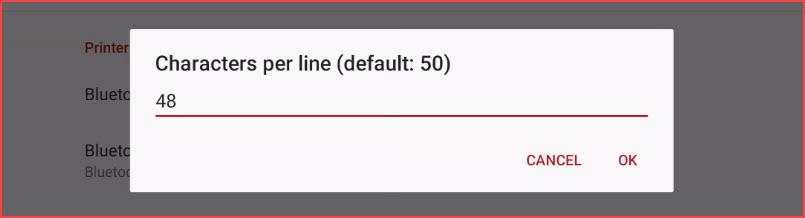
-
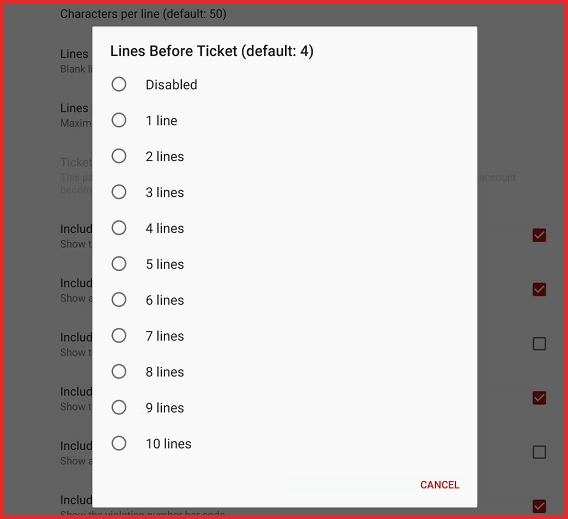
Lines Before Ticket:IndicatesTap to adjust thenumber ofblanklinesbufferbeforespace below thefirst line of text isprintedon the ticket.There is already a buffer zone where thecompanylogo is printed which allows further adjustment to this buffer zone.
logo.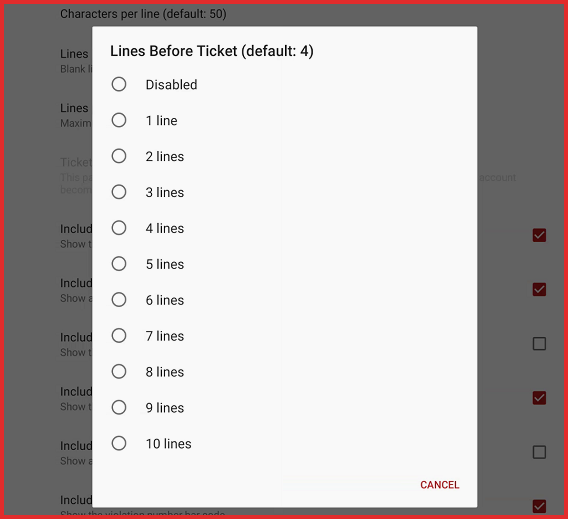
-
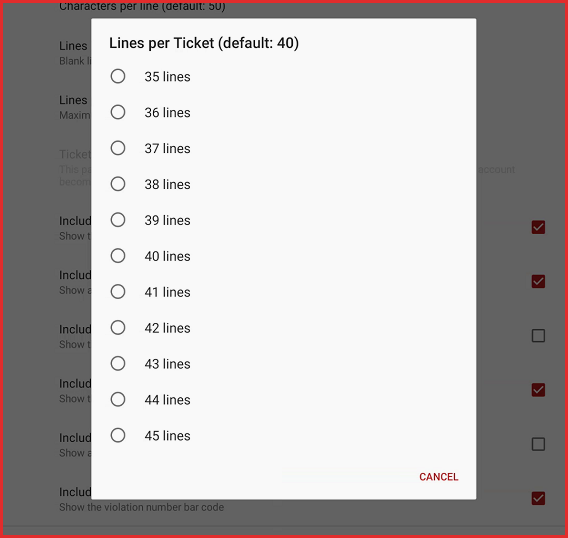
Lines perTicketTicket::SetsTap to set a maximum length for themaximum number ofprintedlines on the ticket.
citation.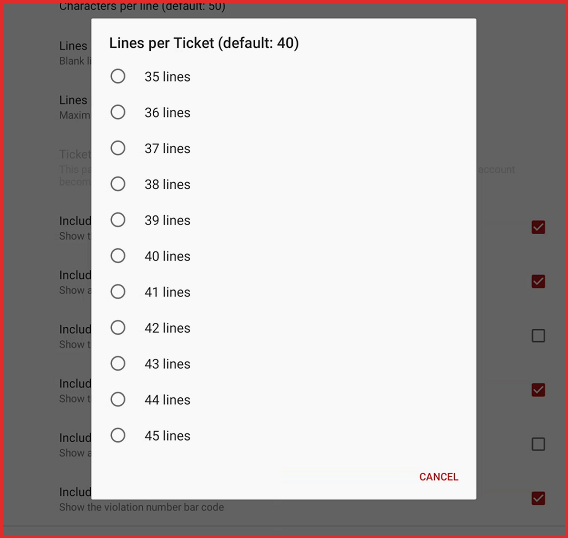
-
TicketFooterFooter::Displays the footermessage.messageThis message(this is not editableonlocallytheandhandheld unit. It canmust beaccessedchangedthroughvia the admin web tool in the Handheld Commonarea.
area). -
Include Client
NameName::InEnable to print thecaseclientwherename if thecompanyorganization's logo does not already includetheit.Client -
this setting can be toggled on to allow the client name to be printed at the time of the ticket being printed.Include Dotted
HeaderHeader::Select this itemEnable to printan optionala dotted lineunderseparator beneath the companylogologo.before -
body of the ticket.Include Warning Value:
Toggle onEnable to displaythe value of the warnings on the printout. This shows uswhat the fine would be ifthea warning ticketwaswerenotanaactualwarning.
violation. -
Include Discount Value:
Toggle onEnable to show the early-payment discountamountamount.assuming -
ticket is paid within a set time frame.Include $0.00 Towing Charge:
Toggle onEnable toshowdisplaythea placeholder towing cost on the ticket. -
Include Barcode:
Toggle onEnable to print the specific violation number as abar-codescannableon the ticket.barcode.
LPR Settings
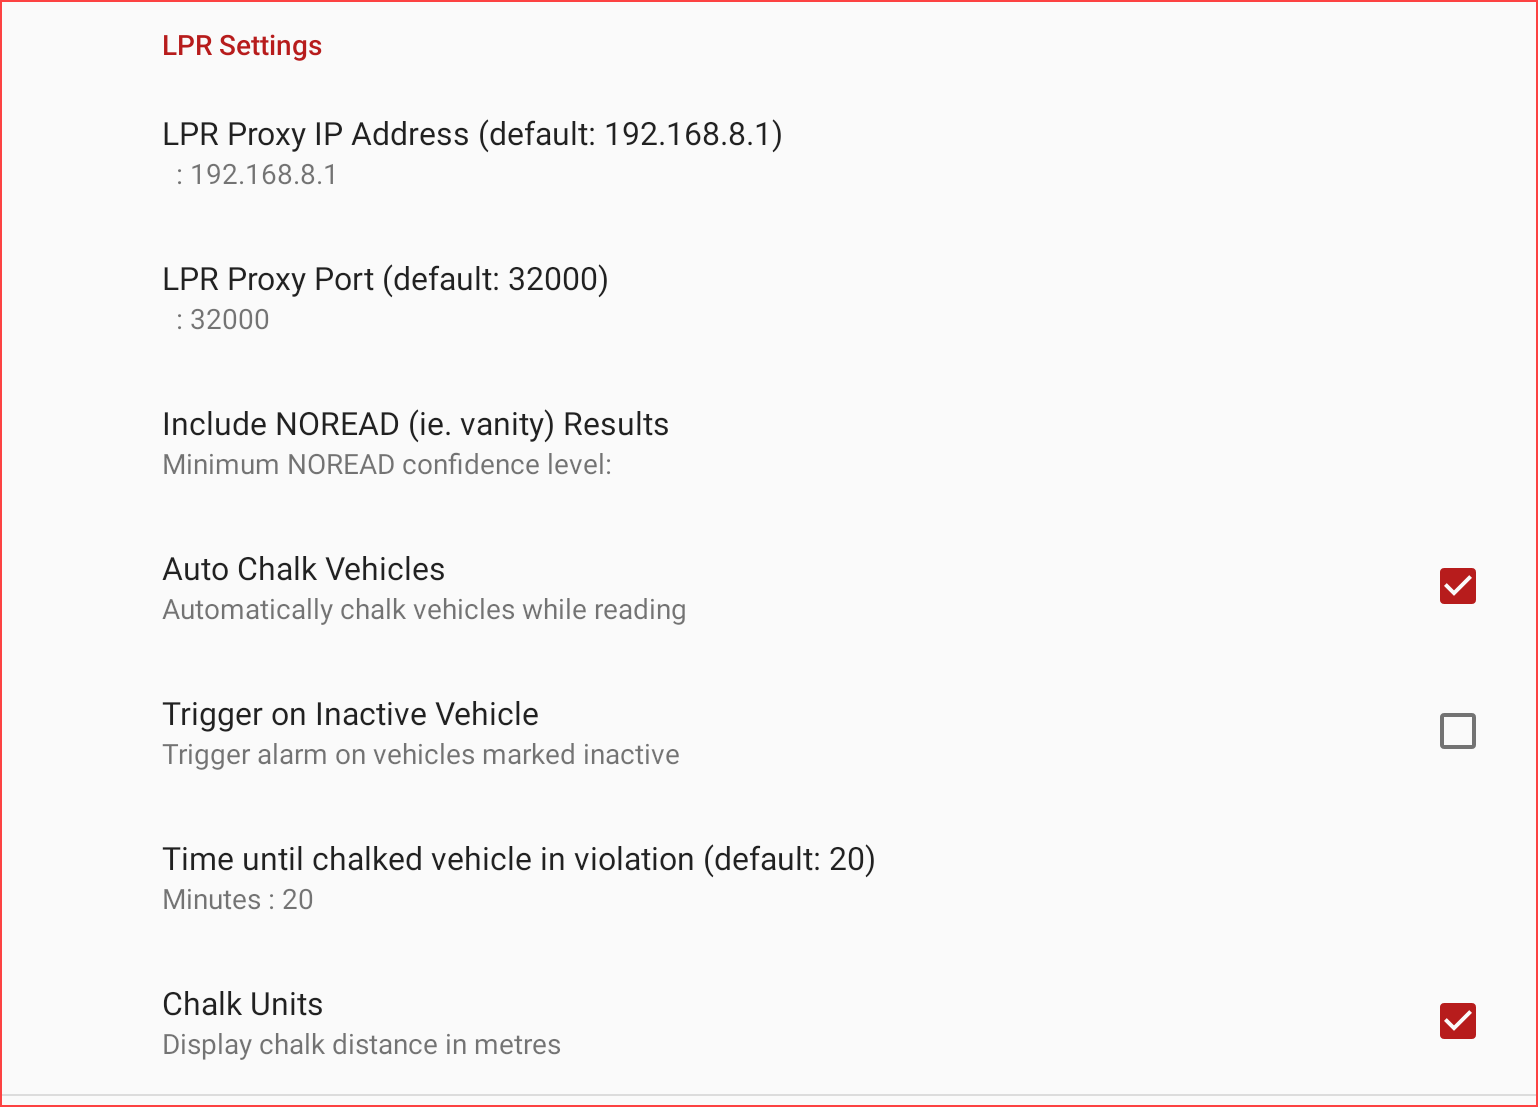
LPRTap Settingsthese are usedoptions to setconfigure upcamera a camera, enable chalking,connections and othervirtual chalking information related to the LPR device connected. rules.
-
Important NoteTo be able to use LPR on a handheld unit you must first toggle the functionality on in System Settings on the Admin Portal.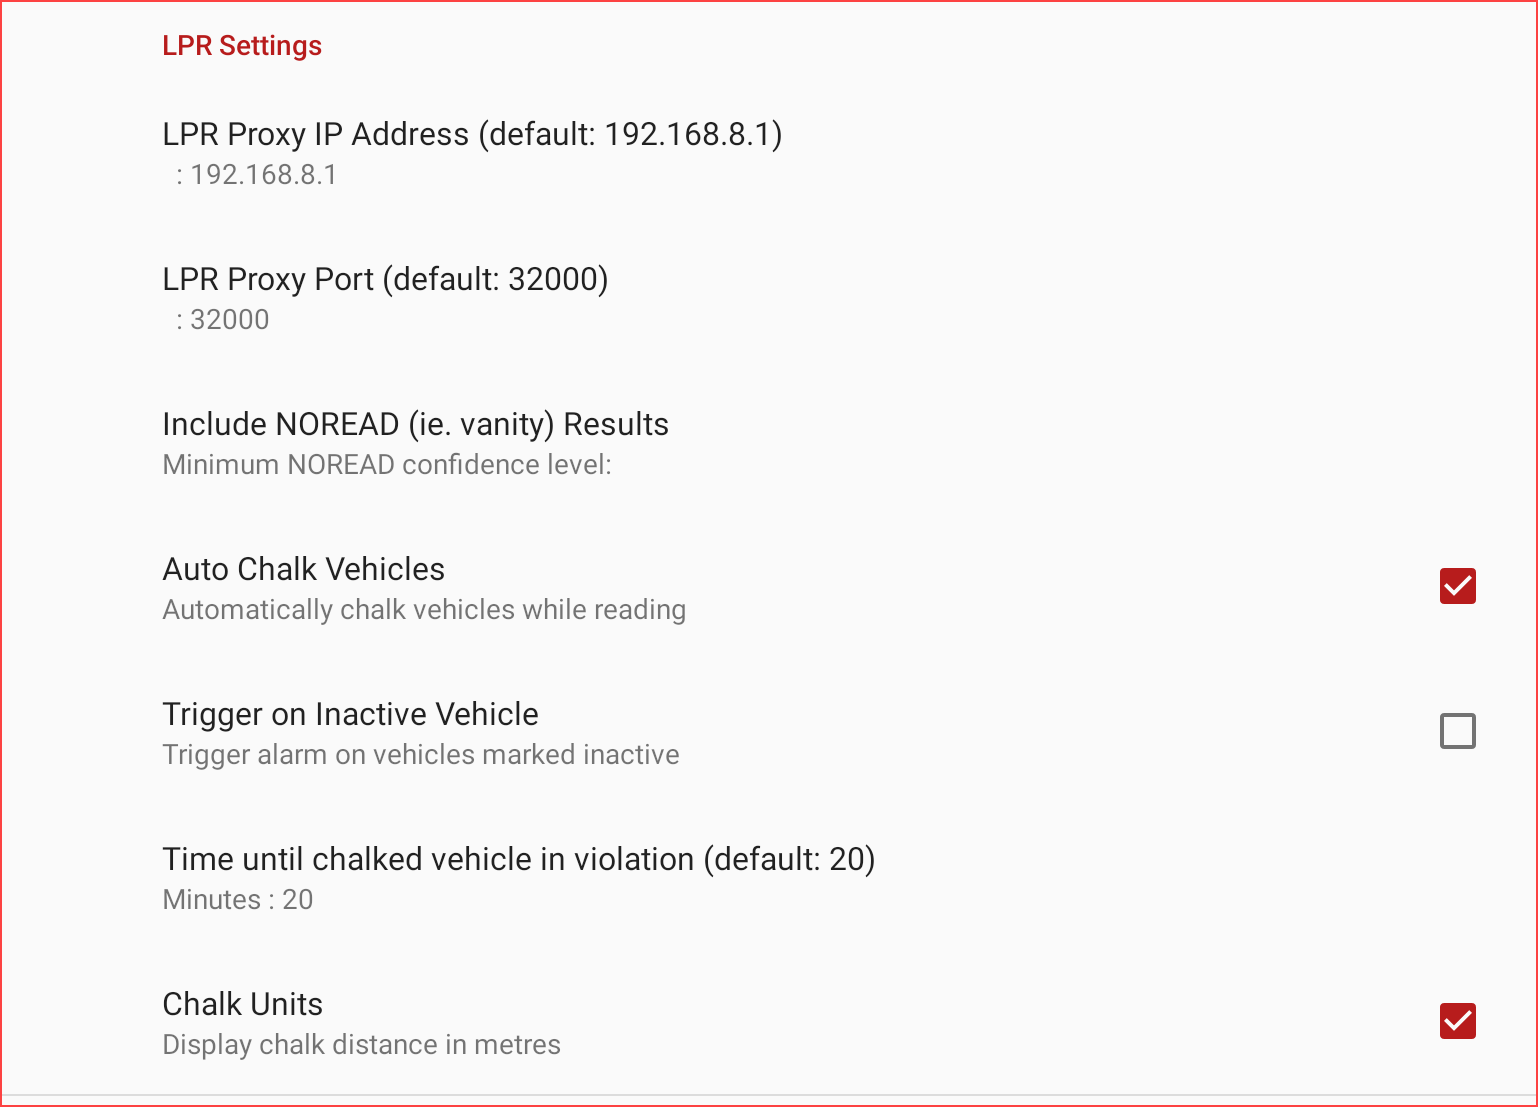
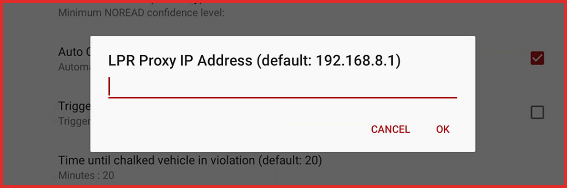
LPR Proxy IP Address:EnterTap to enter theLPR ProxyIPAddressaddress.(The default IP is 192.18.8.11, which is used to connect to aPL8RDR)
PL8RDR.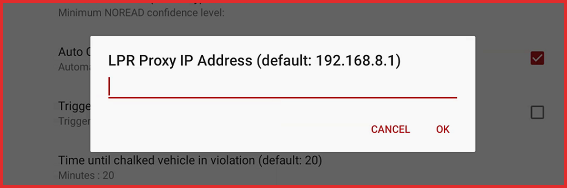
-
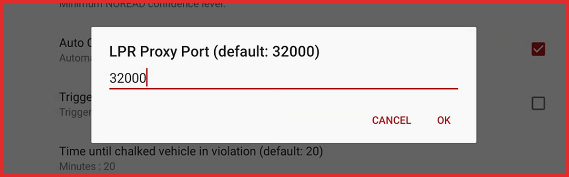
LPR Proxy Port:EnterTap to enter theport number for theLPR Proxy Port(The defaultproxy port number. The default is32000)32000. -
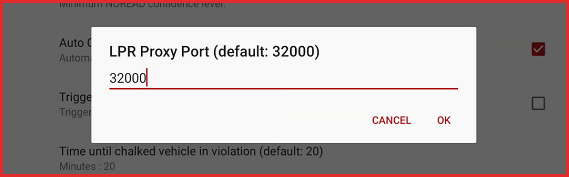
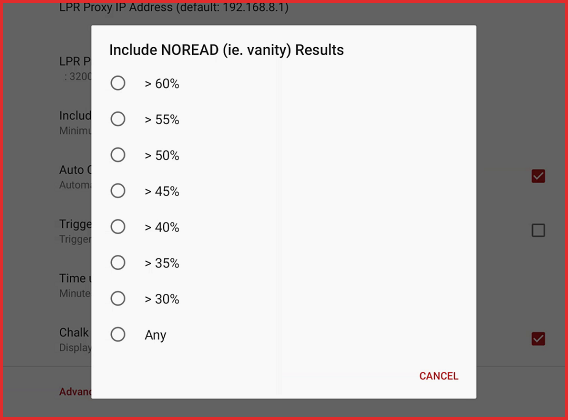
Include NOREAD Results:SetTap to set the acceptable read score percentage. Setting the levelofNOREADSthat you wishtoinclude.For example setting the levelgreater than 50%wouldensures the system onlyincludeincludes reads with a 50% or greaterreadconfidence score.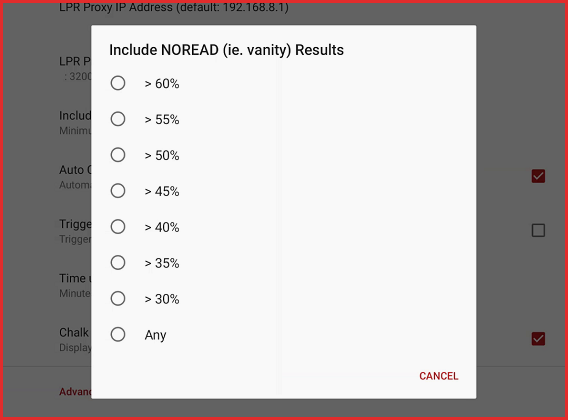
-
Auto Chalk Vehicles:TogglesEnableautotochalkingautomaticallyofchalk vehicles in the background while reading plates. -
Trigger on Inactive Vehicle:
ToggleEnablewhethertoor not you are senttrigger an alarm whenyou scanscanning a vehicle marked asinactive.
inactive in the system. -
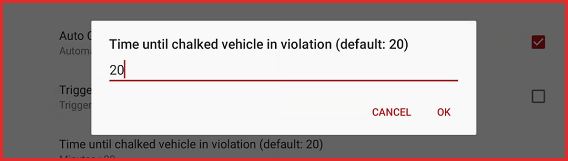
Time until chalked vehicle in violation:
This feature allows youTap to set theamountgraceofperiodtimedurationinbeforewhichaitchalkedtakesvehicle is officially flagged for avehicle that is parked illegally to be flagged as aviolation.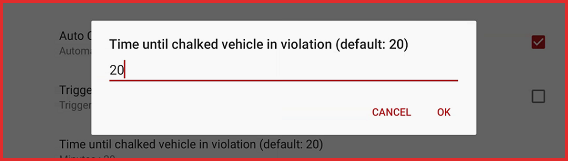
-
Chalk Units:TogglesEnablewhether or not youto displaythevirtual chalkinginformationdistances in meters.
Advanced Settings
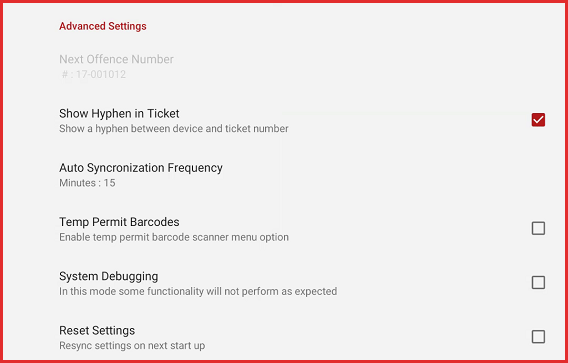
AdvancedTap settingsthese are usedoptions to adjust ticketbackend formatting, offence detailssynchronization and addinterface barcodes. behaviors.
-
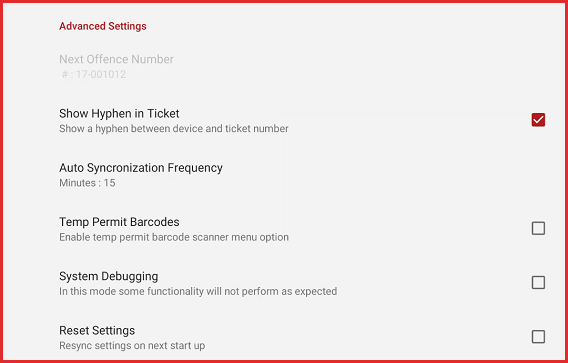
Next Offence Number: AThisread-only display of the next sequential ticket numberisassignedsettoonthis device by the adminside.portal.It -
be set to the next ticket number you wish to apply to the next offence written. (Next ticket number)Show Hyphen in Ticket: Enable
Togglestothe option of whether or not there isinsert a hyphen between the device ID and the ticket number. -
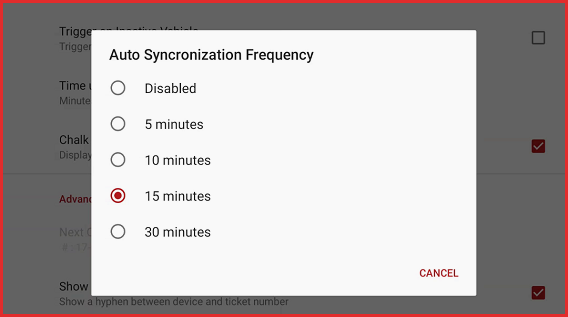
Auto Synchronization Frequency:
This sub-menu allows youTap tochangeselect how often theamounthandheldofautomaticallytimepushesbetweenandeach auto synchronization ofpulls data from thehandheld and themain database.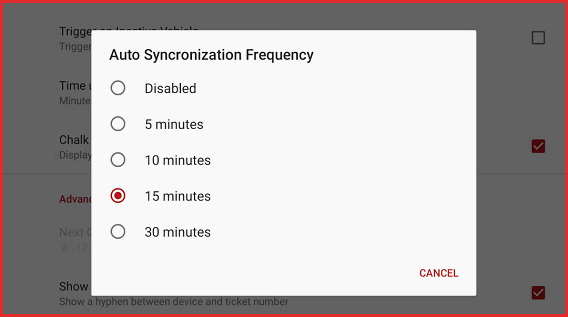
-
Temp Permit Barcodes:Toggles on or offEnable theTemporarytemporaryParkingparkingBarcodebarcodeScanningscanningFunction.
function. -
System Debugging:
Toggle onEnable to put the device into debug mode fortesting.
testing and support diagnostics. -
Reset Settings: Tap
Re-syncstothere-sync all settings withinformationtheoncore OPS-COM server, returning theOperations Commanderin order for youhandheld toreturn toits defaultsettings.state. -
addedEnable to hidemultimulti-menus for chalking and evidencephotophotos, streamlining the user interface.
Best Practices and Considerations
-
Match printer drivers to hardware: Always ensure the Bluetooth print driver matches the exact Bluetooth Printer selected. If these two settings do not align, the printer will fail to connect or will print unreadable code instead of a formatted ticket.
-
Leverage Auto Synchronization cautiously: Carefully consider your Auto Synchronization Frequency based on your field network reliability. Setting the sync frequency too high in areas with poor cellular reception can drain the device battery as it repeatedly attempts to connect to the database.