
Configuring SAML SSO with OPSCOM
What
The isConfiguring SingleSAML Sign-OnSSO (SSO)with
SingleOPSCOM Sign-On (SSO)feature simplifies user access to OPSCOM by allowing them to securely authenticate using their existing, managed corporate accounts. ThisIts eliminatesprimary purpose is to eliminate the need for separate OPSCOM usernames and passwords, significantly enhancing user convenience and security.overall system security through automated synchronization. This article detailsis theintended setupfor OPS-COM administrators.
Setup and configuration of SAML-based SSO with OPSCOM, explaining the necessary fields, metadata exchange, and user synchronization. For more general information about SSO and OPSCOM refer to this wiki article.
Prerequisites and Considerations
Configuration
Implementing SSO with OPSCOM, specifically using SAML (Security Assertion Markup Language),Language (SAML) requires coordination between your organization's Identity Provider (IdP) and OPSCOMOPS-COM as the Service Provider (SP).
Single
Your OPSCOM Client Success team will be happy to discuss these options to ensure a smooth and successful setup.
Once the prerequisites are addressed, the SAML setup involves configuring fields for both OPSCOM (as the Service Provider) and your external SAML system (as the Identity Provider).
Configuring SAML Setup
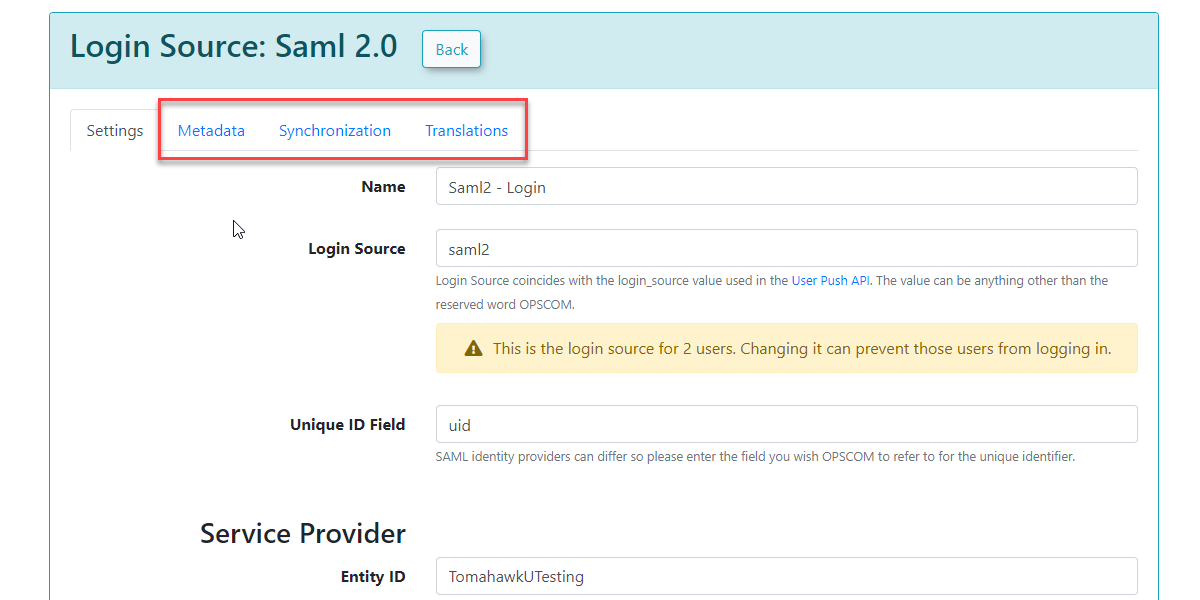
Hover over System Configuration, Users, and click Login Sources.- Click the pencil icon to edit your
login source youpreviously createdalreadySSOasloginmentionedsource.above. -
shouldFill
already have configuredout theloginServicesource to the point of the Unique ID field.
The settings below must be filled out correctlyProvider and saved before you will see the Metadata tab to continue.
When OPSCOM generates your SP metadata, it is available as a live URL — not just a downloadable file. The metadata URL follows this pattern:
https://[your-domain]/auth/saml2/[ENTITY_ID]/metadataWe strongly recommend providing your Identity Provider withfields thisdetailed URLbelow.
Click downloadedthe XMLSave file.Changes When an IdP is configuredbutton to pull from a live URL, it will automatically fetch fresh metadata andreveal the integrationrequired staysconfiguration current.tabs.
If
validUntilcacheDurationvalidUntilAzure AD note: When configuring the Enterprise Application in Azure, look for the option to enter a Federation Metadata URL rather than uploading a file. This is found in the Basic SAML Configuration section.
Service Provider Fields (Configured in OPSCOM)
OPS-COM)
These fields define exactly how OPSCOMOPS-COM will interact with your Identity Provider.
Identity Provider Fields (ConfiguredExternal in OPSCOM, Values from Your SAML System):
SAML)
TheseYou fieldsmust captureinput informationvalues from your external SAML system (Identity Provider). You will find these values within your SAML system's metadata (e.g.,into oftenOPS-COM. displayedThis undertypically Federation → Show Metadata on your SAML installation page).
⚠️ Important — Certificate Mismatch: The IdP x509 Certificate.
The IdP x509 Certificate field must contain the specific certificate issued by your Identity Provider — for example,(e.g., the certificate embedded in Azure's Federation Metadata XML.Metadata). Do not copy the OPS-COM SP certificate into this field. Entering the wrong certificate here will cause SAML assertion validation to failsilently silently,fail.
Synchronization usersTab willConfiguration
-
Click the Synchronization tab.
-
Enable the Auto Create/Update User checkbox to
logallowin.theIfsystem to automatically create or update user profiles upon their first SAML login. -
Map the user attributes from your SSO system directly to the corresponding fields in
doubt,OPS-COMdownload(e.g., mapping your IdP'sFederation"email"Metadata XML and extract the certificate from within it.Once these settings have been completed and saved in OPSCOM, you will gain access to additional tabs:MetaData,Synchronization, andTranslations.Additional Settings ReferenceWhen you open your Login Source configuration, you will see several additional fields below the core SP and IdP sections. The defaults are appropriate for most integrations, but the following are worth understanding:SettingDefaultWhat It DoesRequested Auth ContextfalseWhen set tofalse, OPSCOM does not specify an authentication method in its requestattribute to theIdPOPS-COM—emailthefield).IdPdecides. Set totrueto require password-based authentication (PasswordProtectedTransport). Leave asfalsefor most Azure AD integrations.Require Name ID PolicyEnabledIncludes aNameIDPolicyelement in the SAML request, specifying the Name ID Format.Disable this if your IdP is Microsoft ADFS— ADFS frequently rejects theNameIDPolicyelement and returns anInvalidNameIDPolicyerror. Azure AD (Entra ID) handles it correctly and this should remain enabled.Require Encrypted AssertionsDisabledRequires the IdP to encrypt SAML assertions. Only enable if your IdP supports it and your SP certificate and private key are configured. Not required for standard Azure AD integrations.Sign Logout Requests / ResponsesDisabledRequires the SP certificate and private key to be configured. Not required for standard Azure AD integrations.Using this Feature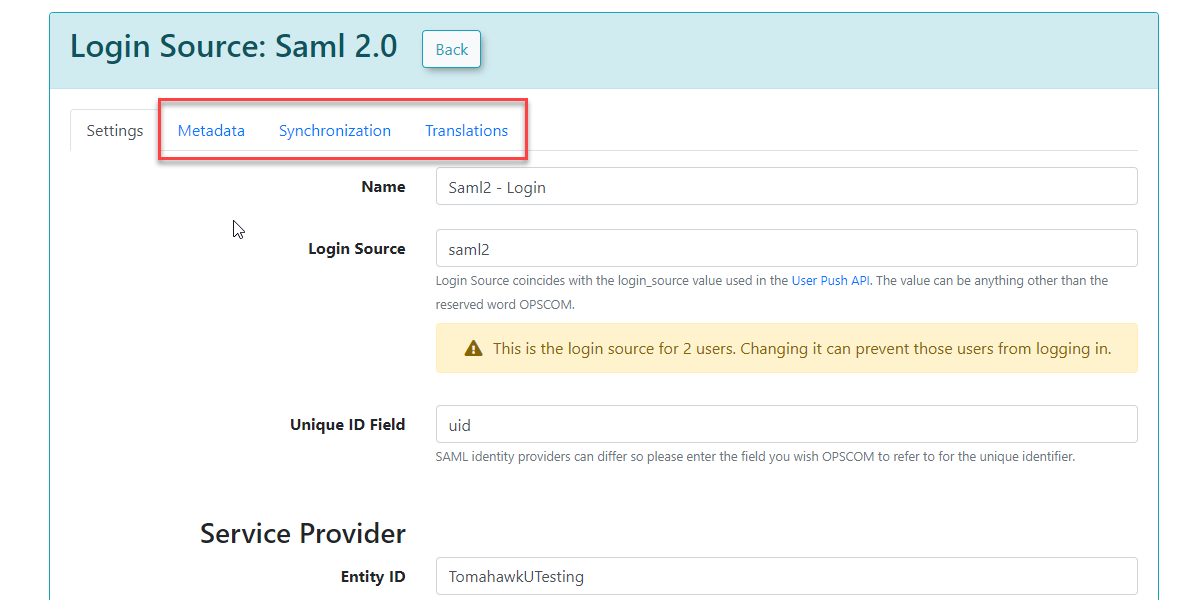
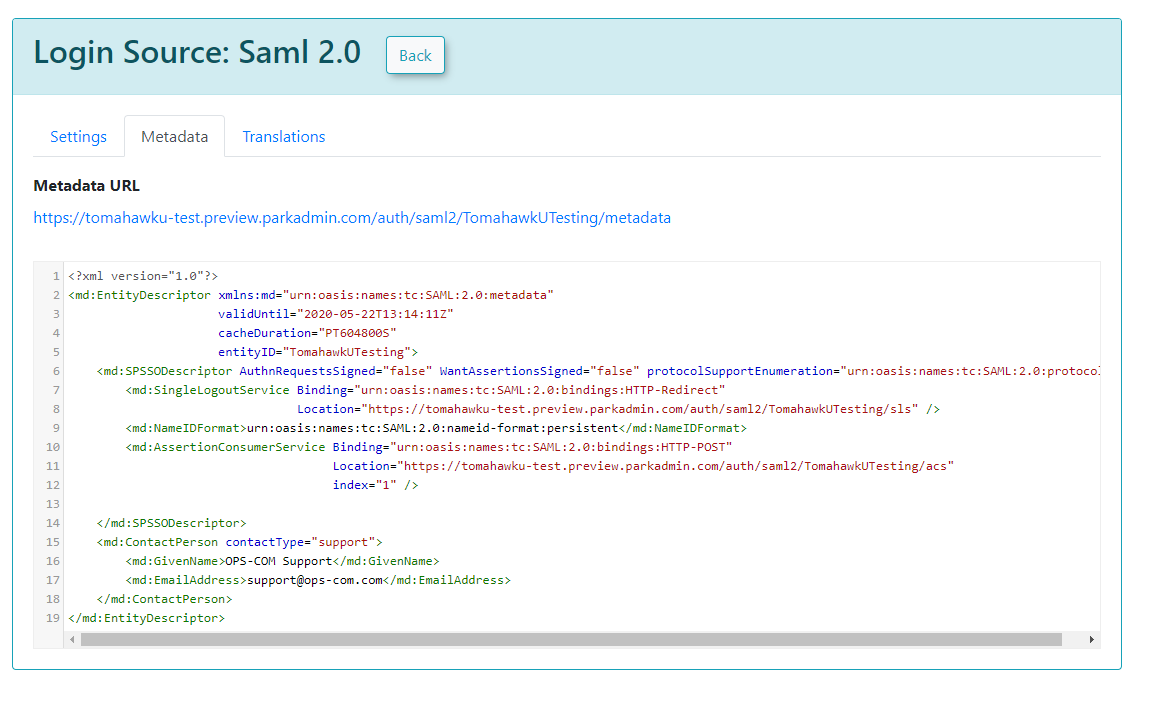
Metadata Tab -
TheMetadatatab in OPSCOM provides the XML code that you will need to provide to your Service Provider (OPSCOM, in the context of SAML communication from your IdP's perspective). This XML contains all the necessary information for your Identity Provider to communicate correctly with OPSCOM.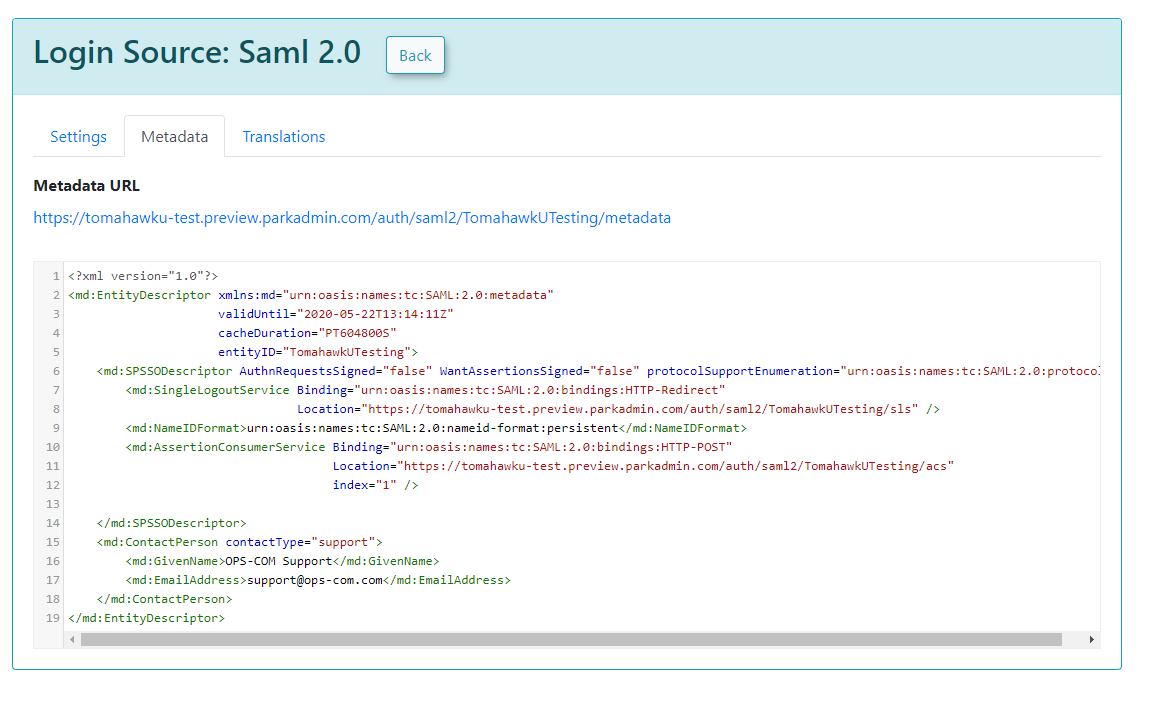
Sample XML FileSample XML File Explanation: When your external system (e.g., a SimpleSAMLPhp service set up as the identity provider) sends a response back to OPSCOM, it includes ansaml:AttributeStatementtag containing several attributes. These attributes are required for OPSCOM to match to a user within its system. The most important field in this attribute section is the value used as the permanently unique identifier for a user. For example, if the XML response shows[uid] => Array ( [0] => 6ddf4027-3397-4e45-8628-0189f60fe91e ), thenuidshould be entered asClick theUniqueSaveID FieldChangesin yourIdentity Provider Fieldsconfiguration within OPSCOM. If the unique ID is something else, such asSAMaccountName, then that should be used instead.button.
|
⚠️ Do not rename your Login Source after users have been associated towith it. The Login Source value is permanently stored against every user record created via SSO. IfChanging youit changewill it,immediately lock out those users will no longer be matched to this login source on their next login attempt, effectively locking them out. If a rename is ever necessary, contact OPSCOM Support to arrange a coordinated update of all affected user records.attempt.
Synchronization Tab
The Synchronization tab allows you to configure how user information is managed between your SSO system and OPSCOM.
After you have provided the information in each field, click Save Changes.
Your users will then begin to be created or updated automatically upon their SSO login attempts. If any of the supplied fields are incorrect or don't match, the corresponding information will be blank in OPSCOM when the user logs in, or it will remain unchanged if the user already existed.
What to enter in the field mapping boxes:Each field mapping box accepts theattribute name exactly as your Identity Provider sends itin the SAML assertion. These names vary between IdP systems. The sample values shown (such asfull name,,uid) are from a SimpleSAMLphp test installation and will be different for other identity providers.
ForAzure AD (Microsoft Entra ID), the attribute names depend on how the claims were configured in the Enterprise Application. Azure uses two formats:
Short-name format(if you created custom claims): e.g.,first_name,last_name,emailaddressFull URI format(Azure defaults): e.g.,http://schemas.xmlsoap.org/ws/2005/05/identity/claims/givenname
To confirm exactly what your Azure AD tenant is sending, use theTestbutton on the Single sign-on page of your Azure Enterprise Application. The test result displays every claim name and value as it will arrive at OPSCOM.
⚠️ Azure AD does not send a combined "full name" attribute by default. If you map the First Name field to a full name or displayName attribute, the user's entire display name (e.g., "Sarah Knowles") will be stuffed into the first name field. Map First Name and Last Name to separate attributes (givenname / surname, or first_name / last_name if configured as custom claims in Azure).
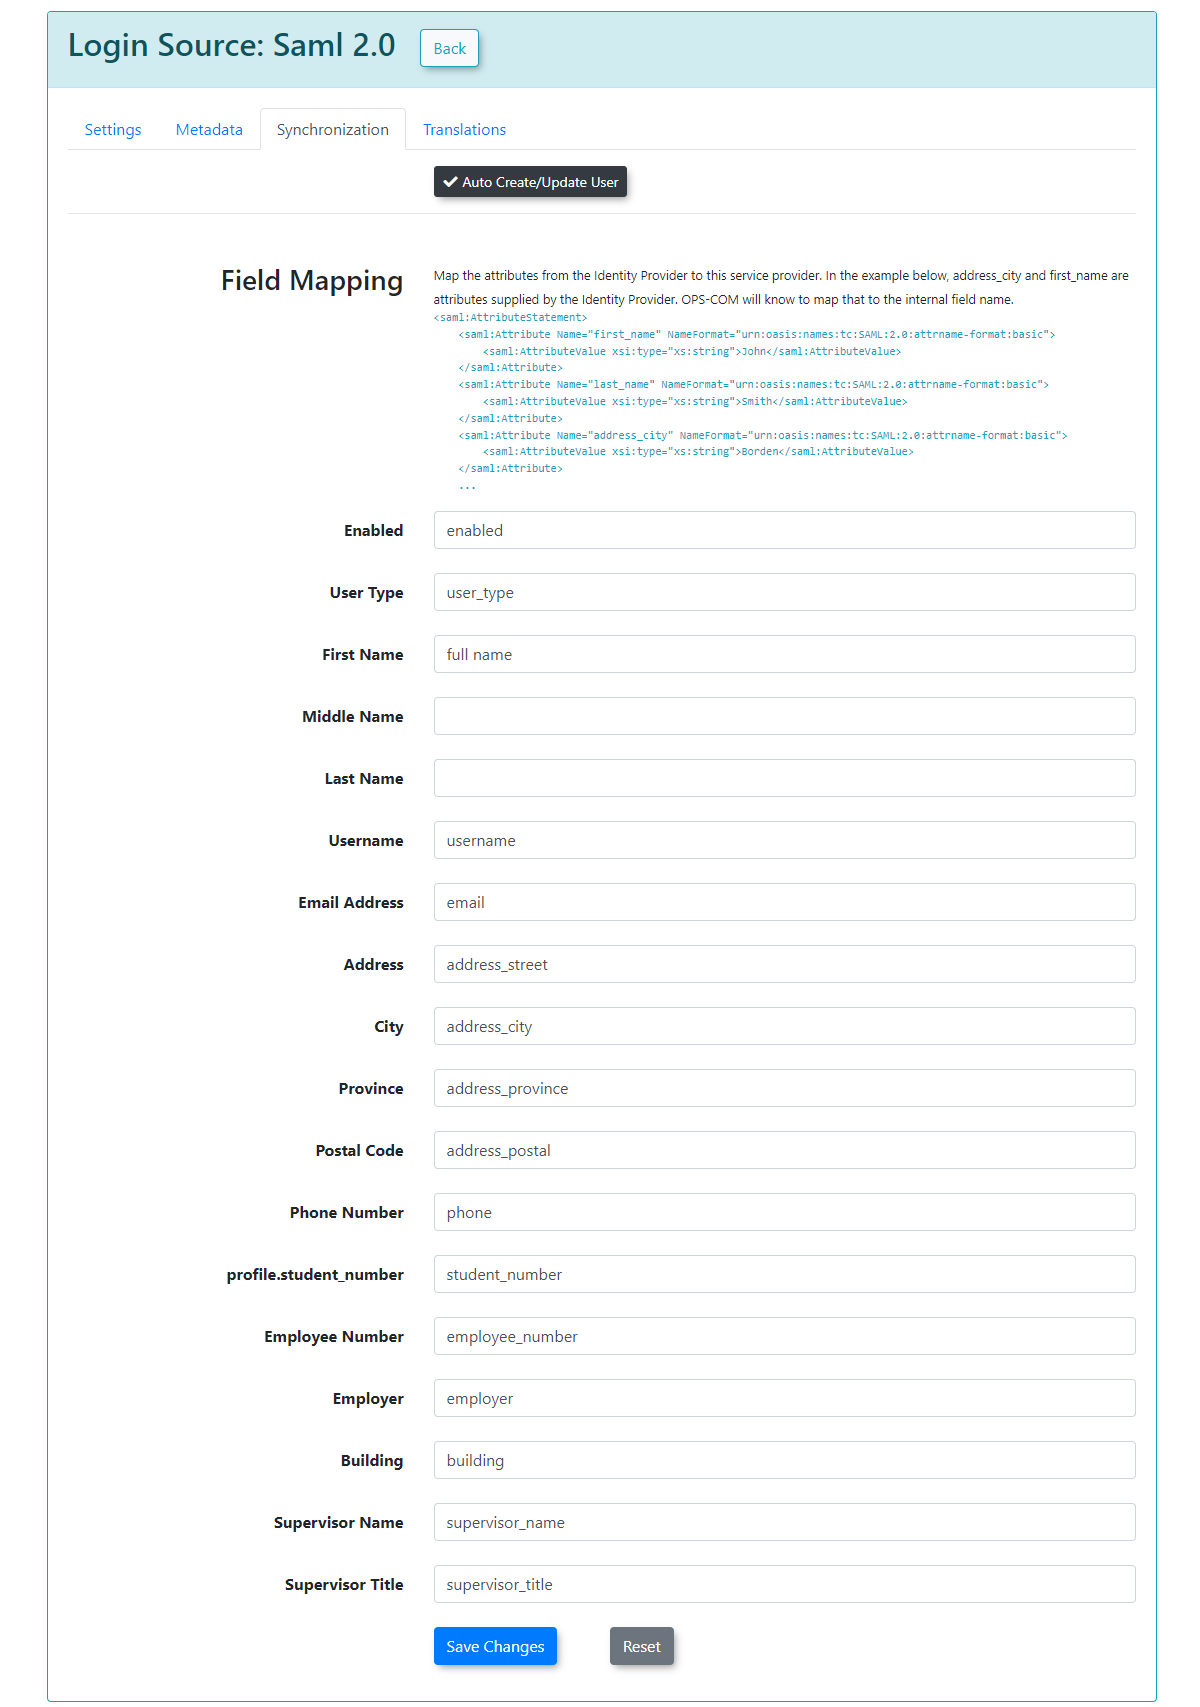
The exact sample values from our test system may differ from your actual SAML system attributes.
Translations Tab
Configuration
-
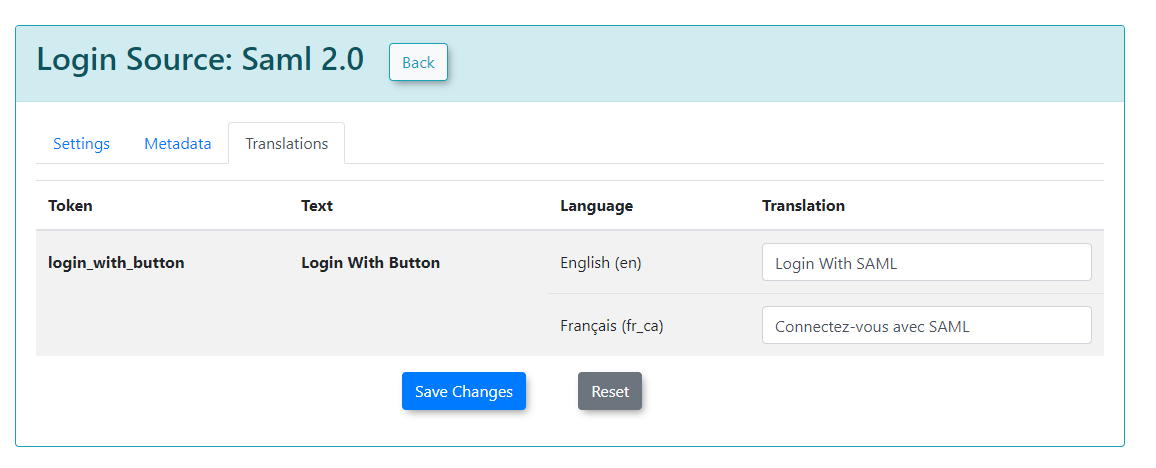
TheClick the Translationstabtab.allows -
to customizeCustomize the text displayed on
yourthe login buttonfromfor the userside.portalYoutocan create as many different translations as are available in your system (e.g., English and French). This ensures thatensure theSSO loginexperience is localized for yourusers.specific audiences.
Side:
ErrorEnd-users Handling:do CommonPproblemsnot interact with the SAML setup. Once configured, they simply navigate to the User Portal and Theirclick Causesthe newly customized login button to seamlessly authenticate with their corporate credentials.
Using this Feature
Administrators interact with this feature primarily by establishing the initial metadata handshake and monitoring the system for synchronization errors.
Exchanging Metadata
To establish the connection, you must provide your Identity Provider with the OPS-COM Service Provider metadata.
-
Click the Metadata tab to view your system's XML code and integration URL.
-
Copy the live metadata URL (e.g.,
https://[your-domain]/auth/saml2/[ENTITY_ID]/metadata). -
Provide this live URL directly to your Identity Provider.
We strongly recommend providing your Identity Provider with the live URL rather than a downloaded, static XML file. When an IdP pulls from a live URL, it automatically fetches fresh metadata, ensuring the integration stays current and bypasses strict expiration timestamps.
Troubleshooting Synchronization
If users encounter issues logging in, administrators should review the following common causes:
-
User
cannotnotlogfound: Verify that the Unique ID field in/OPS-COM"userperfectlynot found" — The Unique ID Field in OPSCOM does not matchmatches the attribute name being sent by theIdP,IdP.or the user has not been assigned to the application in the IdP. -
Assertion validation
failurefailure:—CheckThethe IdP x509 Certificate field to ensure it contains thewrongcorrectcertificateexternal(oftencertificate, not the OPS-COM SPcertcertificate.copied -
by mistake).InvalidNameIDPolicy
error —error: Disable the"Require Name IDPolicy"Policytogglesetting within the login source configuration (this is highly common with Microsoft ADFSIdPs)integrations). -
Incorrect
user data onauto-createdaccounts — A field mapping value doesn't match the attribute name the IdP is actually sending.data: Use your IdP'stest/debug tool toseeconfirm the exact claim names in theassertion.assertion, Loginandsourceadjustmismatchyour—SynchronizationThetabLogin Source value was changed after users were created. Contact OPSCOM Support.OPSCOM's SSO debug log (when enabled) will display the full incoming user array, which makes attribute name mismatches straightforwardmapping toidentify.match.