Incident Entry
1.The Incident Entry feature allows administrators and dispatchers to formally create and document new security or operational events within the system. Its primary purpose is to capture comprehensive event details, including involved individuals, vehicles, and missing property, to ensure accurate case management and reporting. This article is intended for OPS-COM administrators and security personnel.
Setup and Configuration
The Incident Entry feature is a core component of the incident management module and requires no specialized system setup. However, administrators must have the appropriate incident creation and editing permissions assigned to their user role to access this page and generate new reports.
Using this Feature
The incident entry process is broken down into two main phases: searching for and linking related entities (people, vehicles, property), followed by entering the specific narrative details of the event.
Accessing the Form
-
Hover over the
selectclick IncidentEntry.Entry.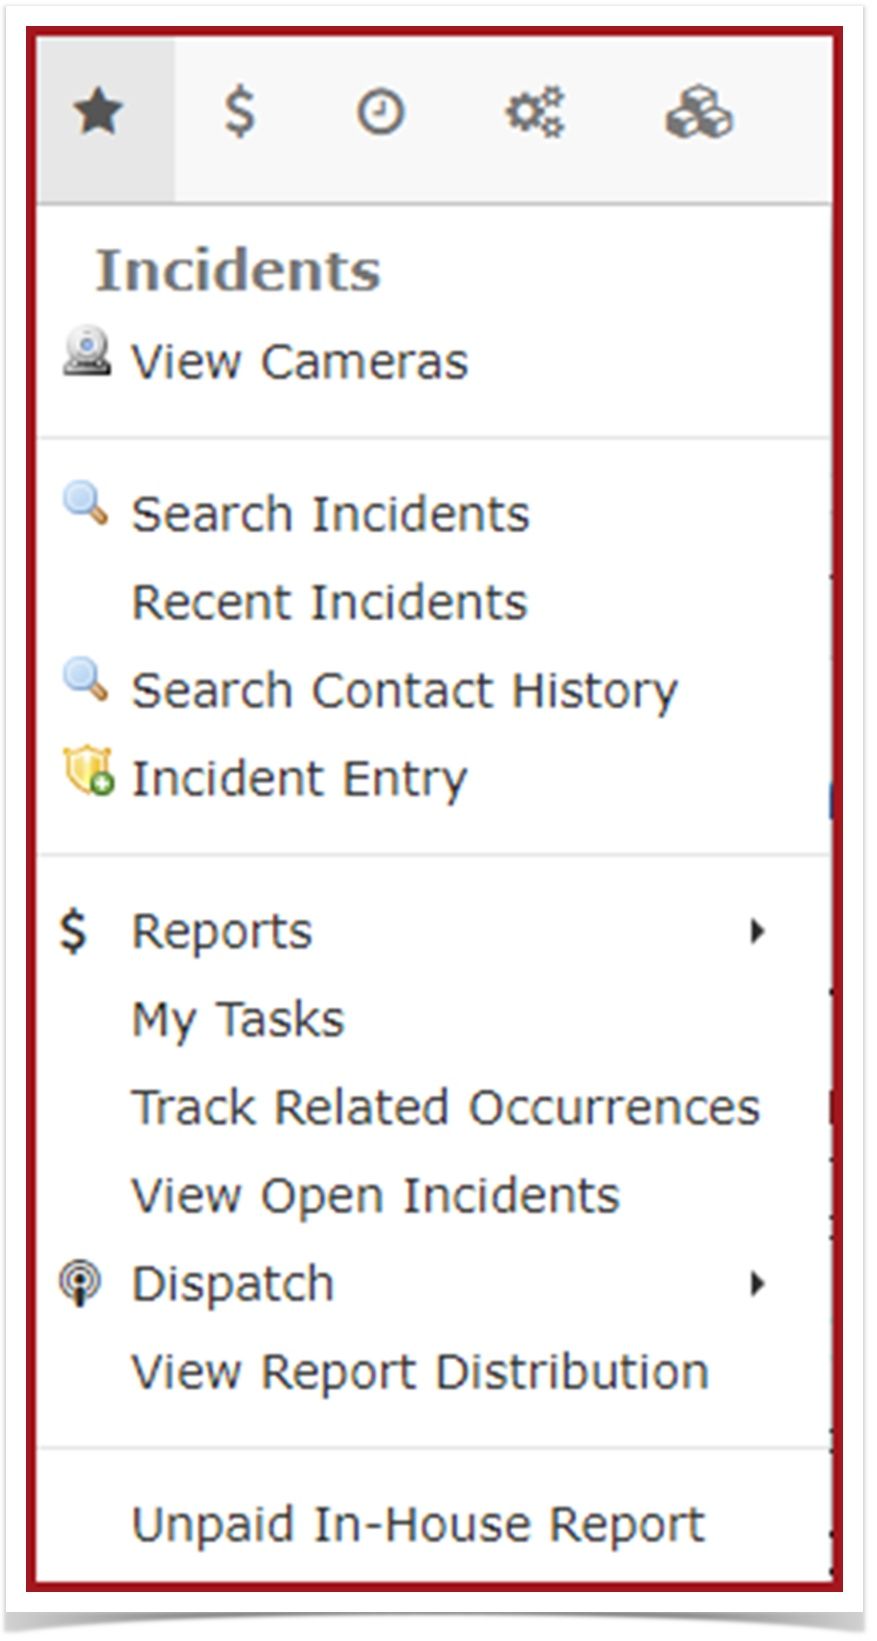
-
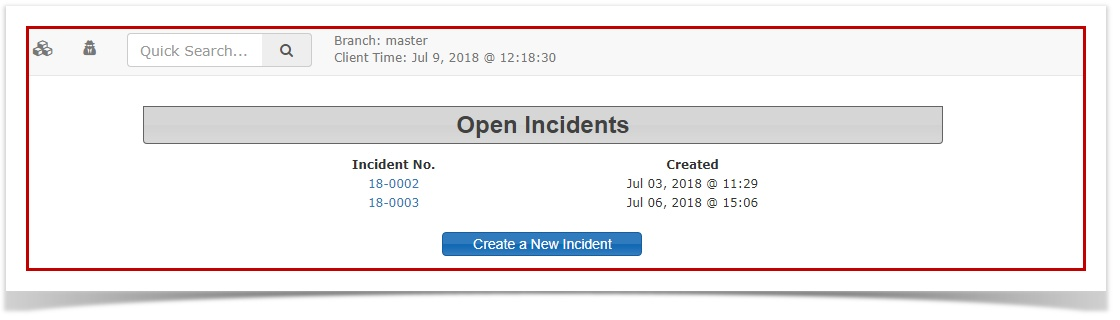
2. This will take you toClick the Create a New Incident button on the Opened Incidentspage.pageHeretoyou can select the link forbegin aparticularnew report, or click a specificthatanparticularexistingincidentactiveor you can select theCreate aNewIncidentbutton.incident.
Step
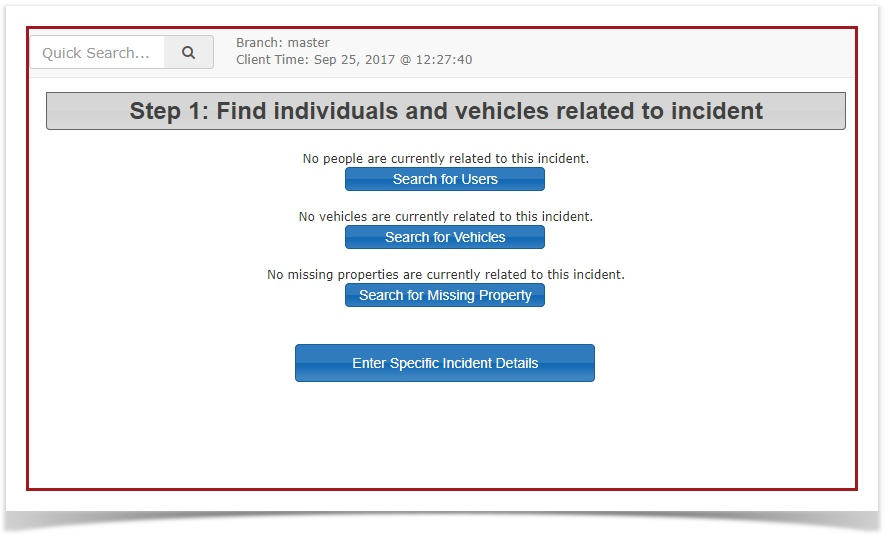
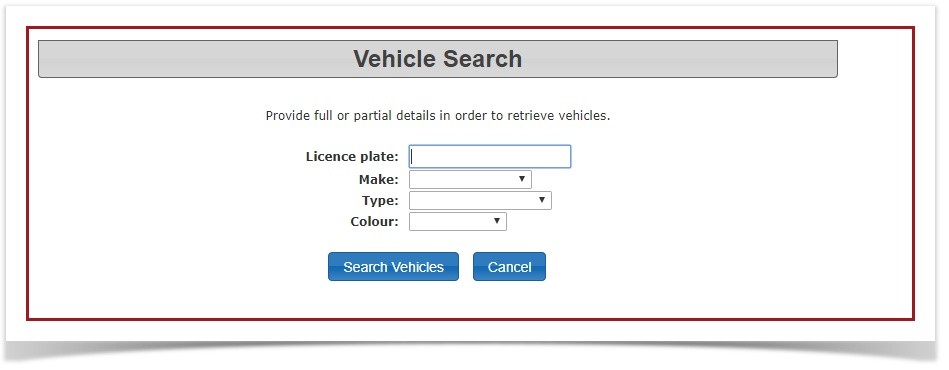
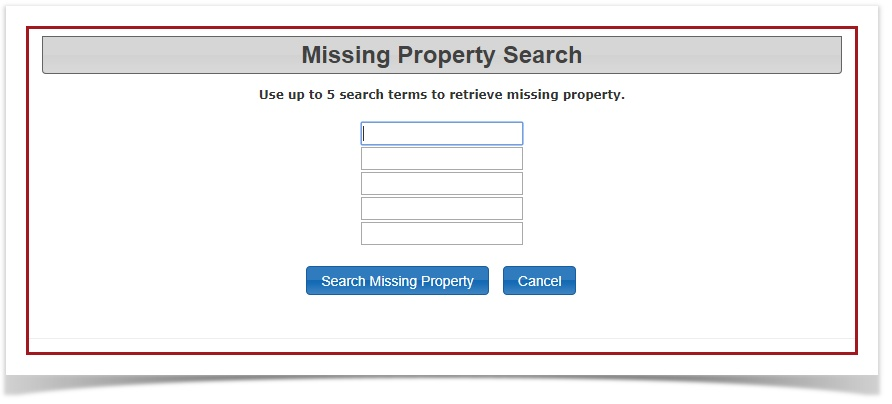
13.Linking WhenPeople you select the link to Enter New Incidents, this will take you to STEP 1: Finding individualsVehicles and vehiclesProperty
related
-
an incident. SelectClick the appropriate link on the Step 1 screen to search by
Users,Users, Vehicles, or MissingProperty.Property. -
IfClick the Enter Specific Incident Details button to bypass this step entirely if the incident is not associated withaanyparticularspecificuser,individuals,vehiclevehicles, ormissingproperty.property, -
Click the
"Enter Specific Incident Details" button.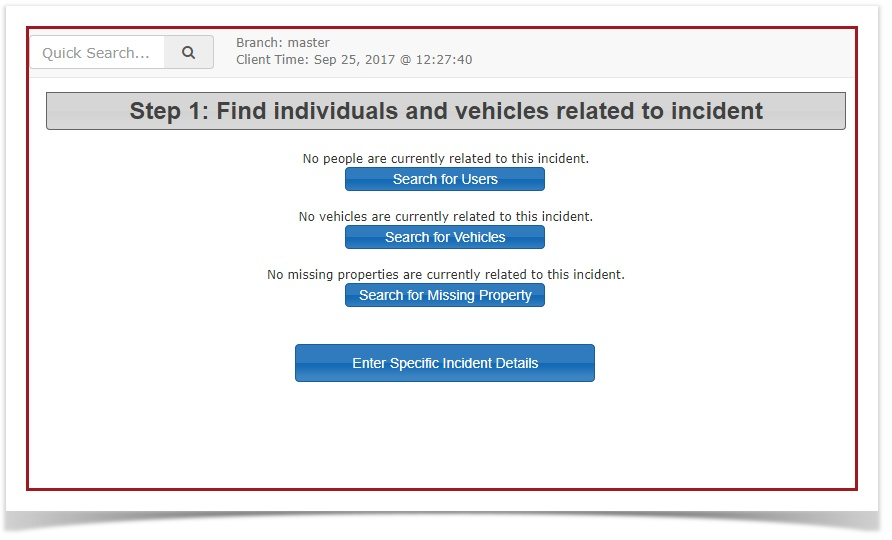
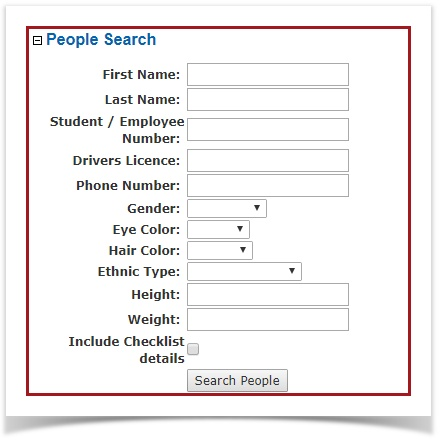
right4. Once you find the user that you are looking for, select the "Add User toIncident"Incident button at the bottomright.Ifoncethereyouis no user found withlocate theinformationcorrectyouindividualare searching, you can selectvia the"search fields. -
Click the Add a New Individual to the Database
"buttonatifthenoveryuserbottom,isinfound.the center.This will
take you toopen theSTEP 1:Quick Registration Form where you can enterallthe new individual's details into thedetailssystem.that -
have onSelect the
classificationindividual.appropriate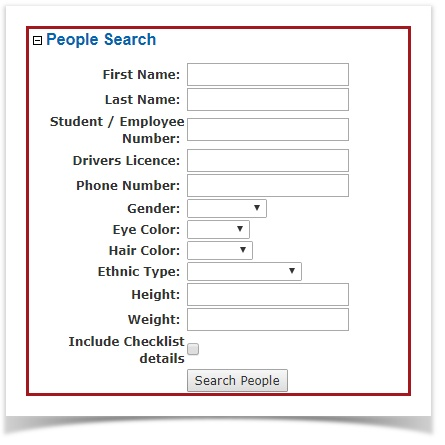
5. Oncefrom theuserRelationisdrop-downselected or added you will be takenmenu toa page where you canidentifyspecifics abouttheindividuals involved in the incident. Fill in all the details that you have. You must fill in theRelationfield which identifiesperson's exact relationship to the incident (e.g., victim, witness, primesuspect, etc.)suspect). -
SelectClick the"Save UserDetails"Detailsbuttonbutton.to -
Click the
details. Select the "Search for Additional Individuals"button toaddlinkothermoreindividualspeople,involvedorinuse theincident.appropriateYoulinkscantoalso addattach vehicledetailsand propertydetails by selecting the appropriate link.details. -
You can also selectClick the"Enter Specific IncidentDetails"Details button at the bottom rightiftothere are no other detailsproceed toaddtherelatednexttophase of the report.
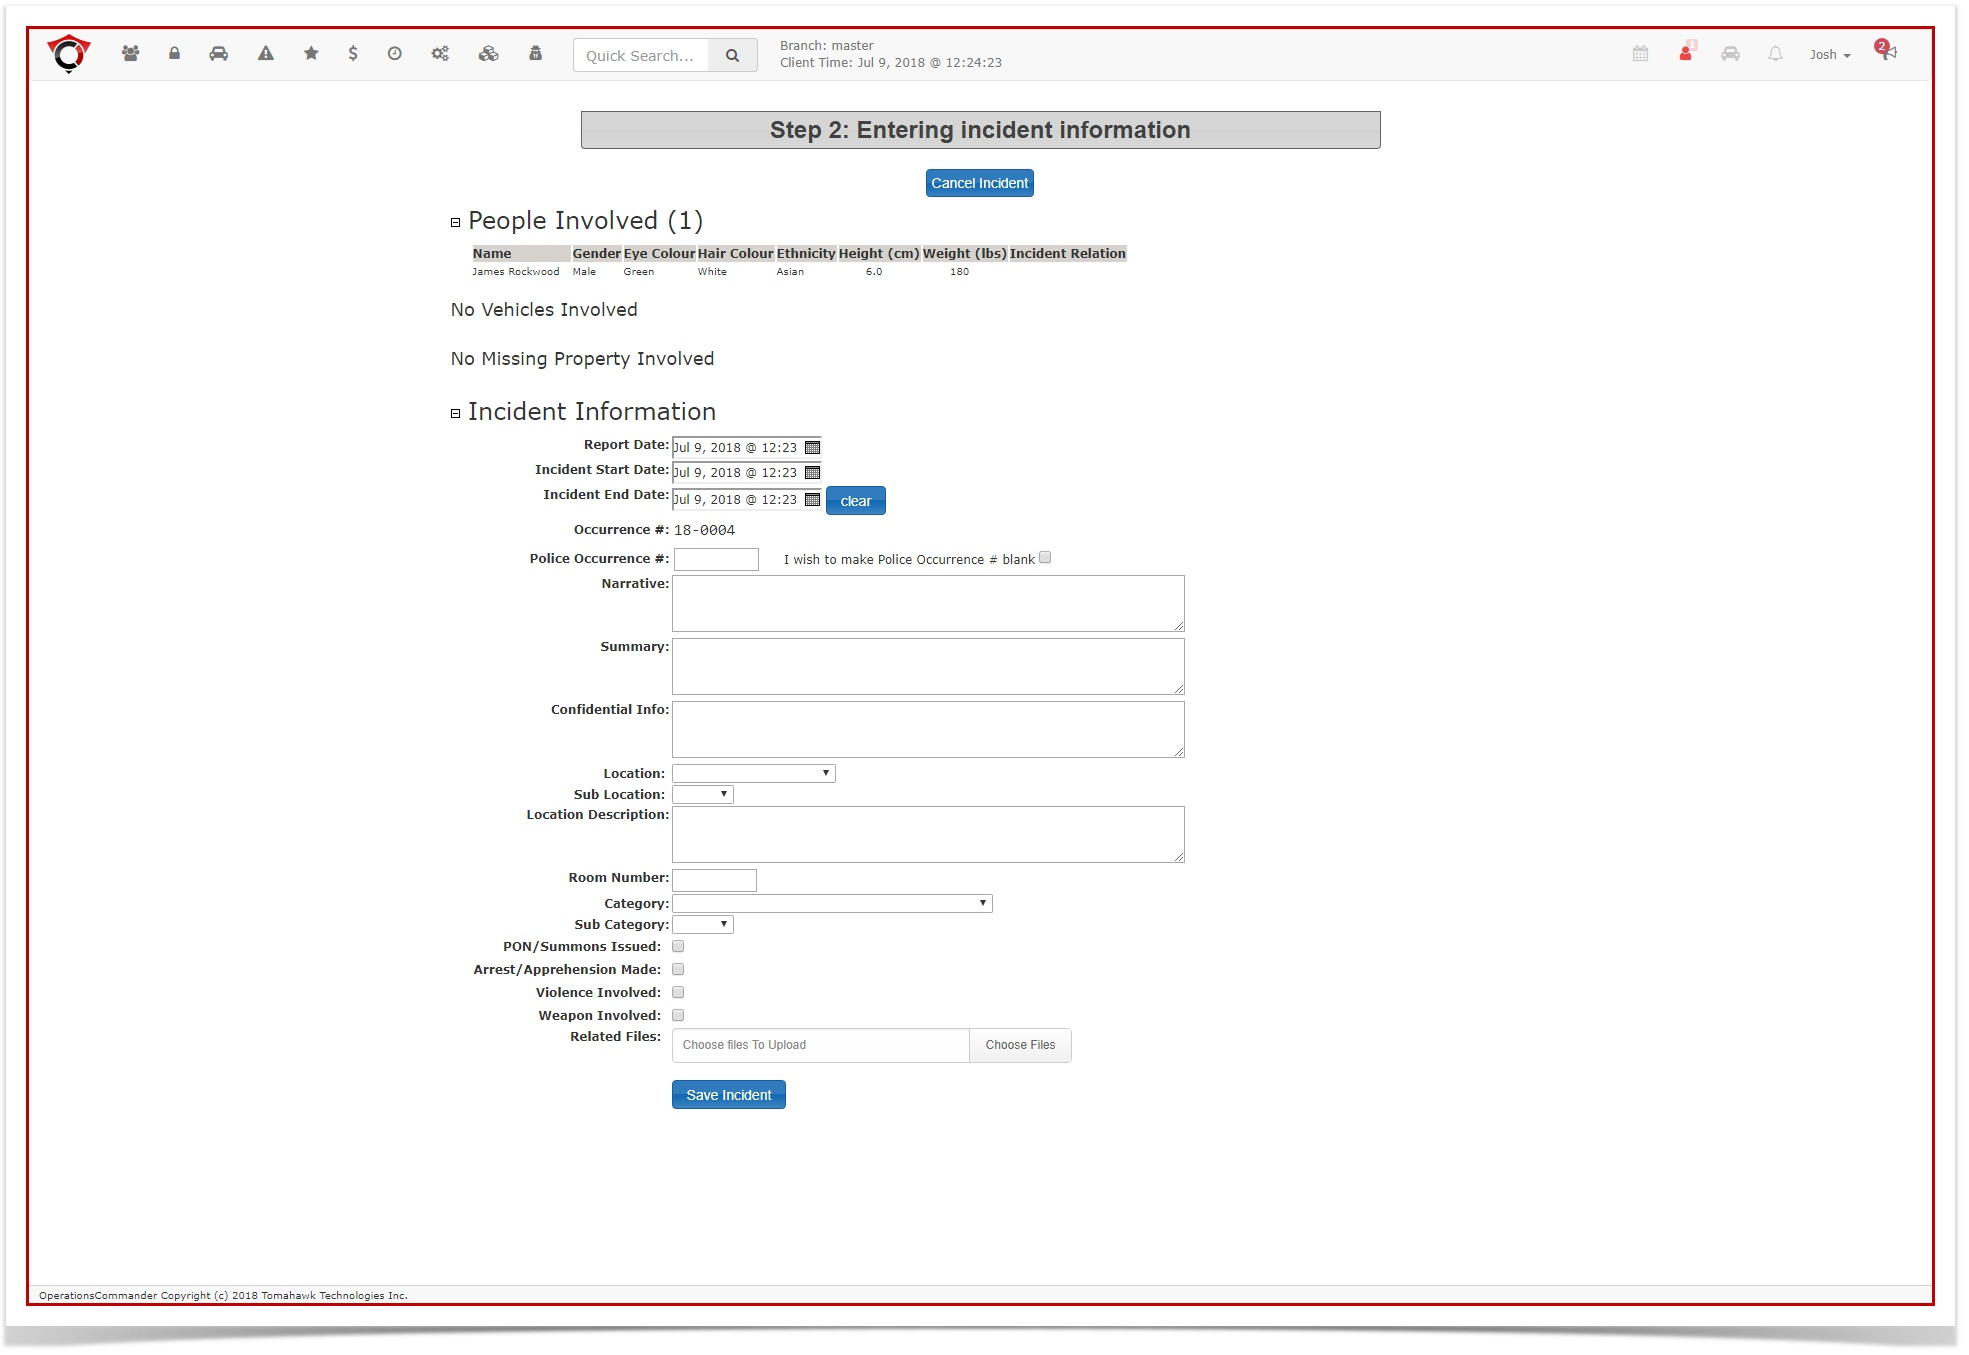
Step 2 Entering Incident Information
-
Review the summary of the people, vehicles, and
property.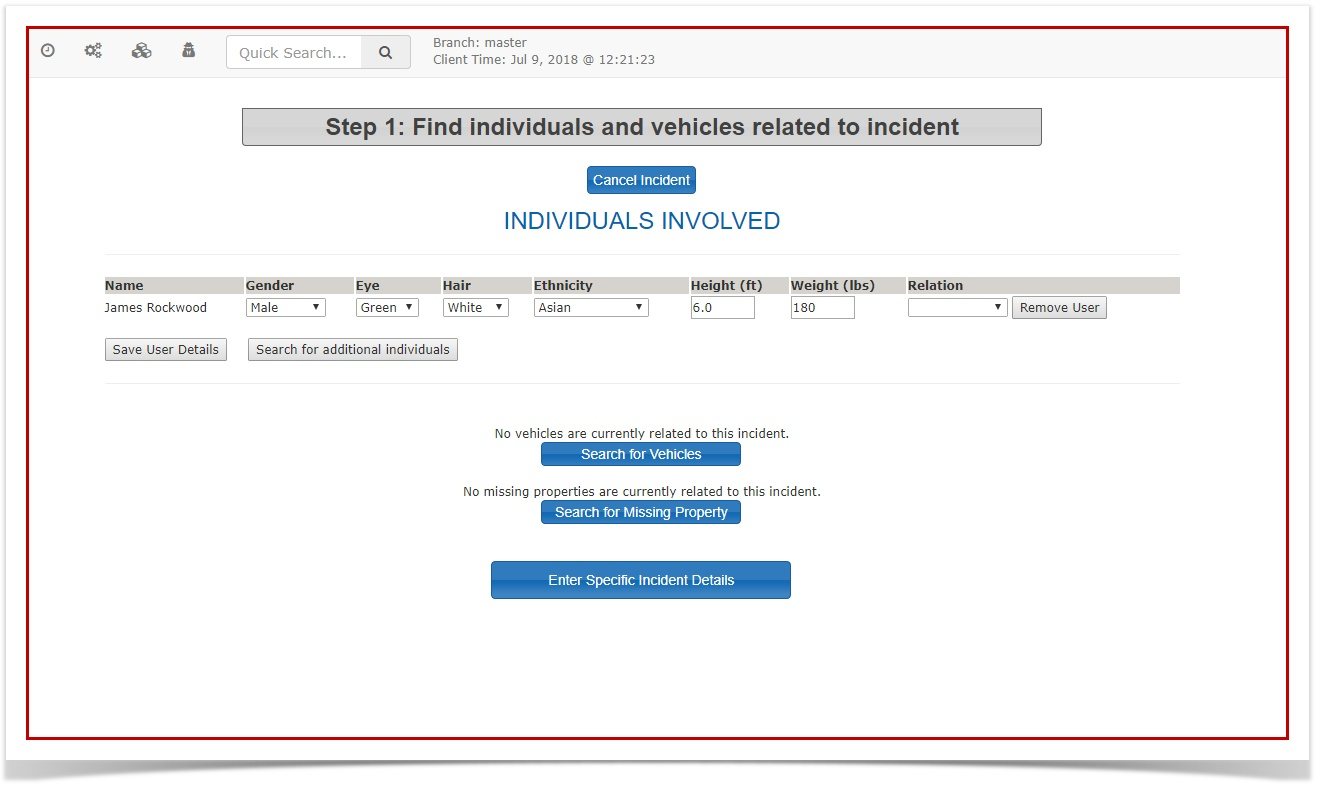
Sample Vehicle Search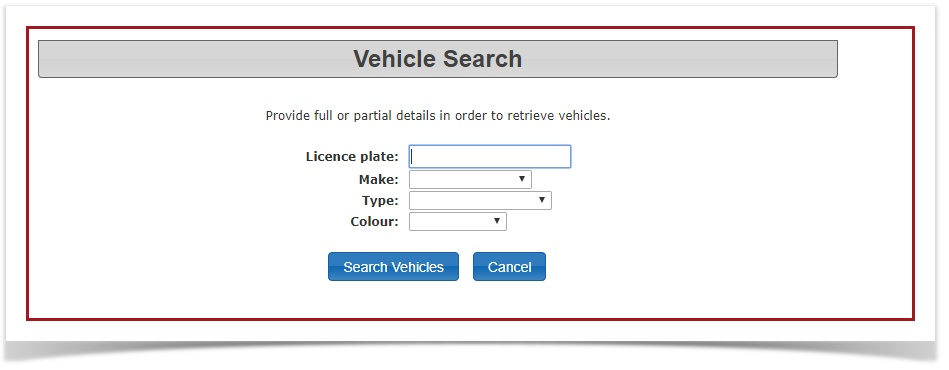
Sample Missing Property Search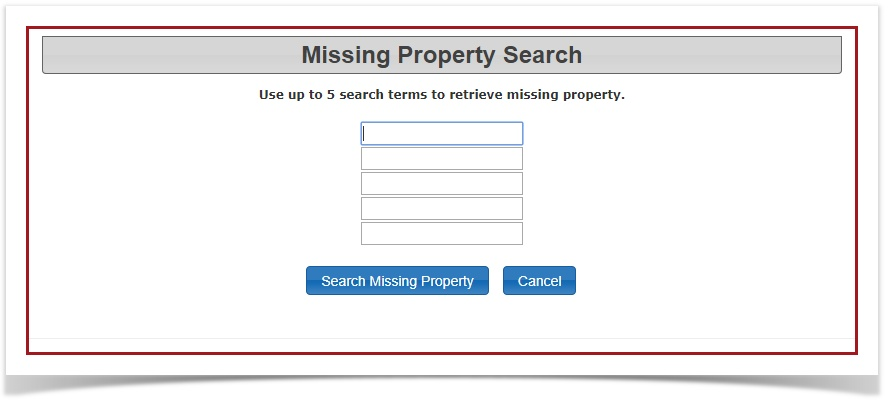
6. Once you select the"Enter Specific Incident Details"button you will be taken to STEP 2: Entering Incident Information.A summary of the people involved, vehicles involved and/or themissing propertyinvolvedyou linked, which will now appear at the top of the Step 2 page.Next, -
willEnter
findthe comprehensive narrative and factual details of the event into the provided Incident Information fields. -
Click the
IncidentChooseInformationFilesectionbuttonwherebesideyouthewillAttachfillImageinline, select your local file, and click Open to upload and attach photographic evidence to the report. -
Click the Save Incident button at the bottom of the page once all information
thathasyoubeenhavesubmitted.
When filling out the specific details on the incident.incident (form, OPS Number is an abbreviation for the Other Police Services Number used for trackingexternal thetracking, incident.and PON Summons is an abbreviation for Provincial Offences Notice Summons.)
To
Post-Creation attach images, select the "Choose File" button beside the line for Attach Image, find and select the file that you want to attach and select the "Open" button. This will upload the file and attach it to the incident.Actions
When all information is submitted in the Incident Information section, select "Save Incident" at the bottom of the page.
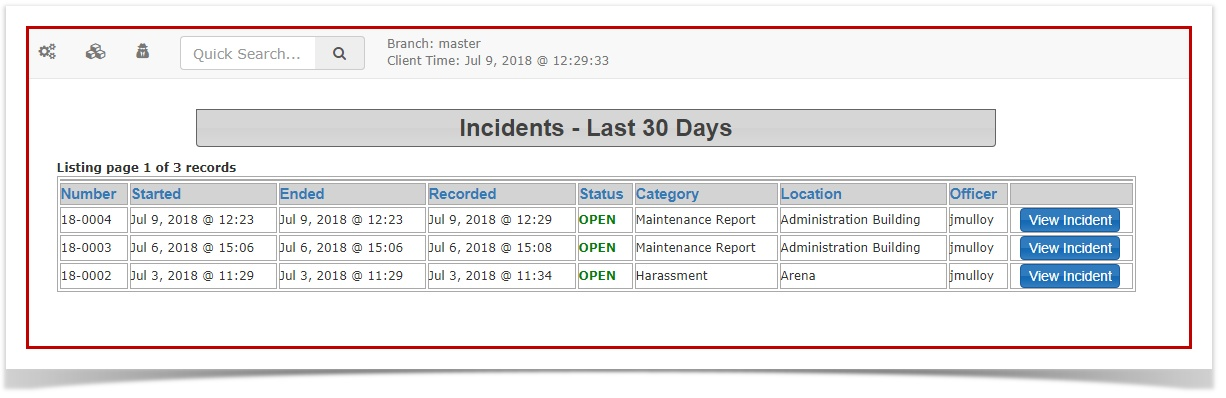
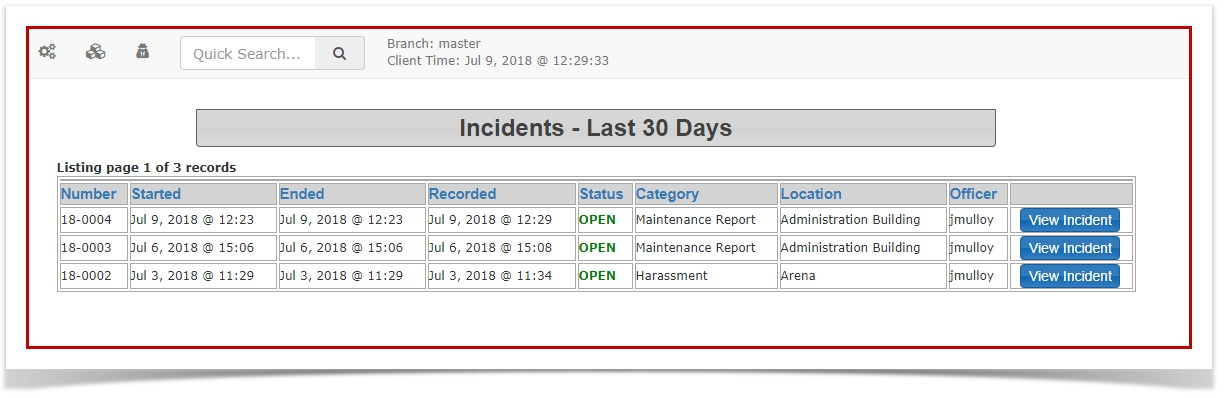
7. Once the incident has been savedsaved, youthe system will beautomatically takenredirect you to the "Recent Incidents -Summary Report (Last 30 Days"Days) screen.
-
View Incident:
summaryClickscreen. If you need to edit any details, select the"View Incident"this link to the right oftheyour newly created incidentthatif youwantrealize you need toreopen.reopen the file and edit any details.
Best Practices and Considerations
-
-
Accurate Relations: Ensure the Relation field is accurately selected for every attached user. Misclassifying a witness as a suspect, or vice versa, can lead to severe data integrity and compliance issues down the line.
-
Upload Evidence Immediately: If you possess photographic evidence at the time of report creation, attach it immediately using the image upload tool rather than waiting until the case is updated later.