
Parking Logix - Parking Sensor Integration
This article outlines how to configure and enable the Parking Logix integration within OPS-COM, allowing administrators to sync parking sensor data for real-time monitoring and display. This feature is intended for OPS-COM administrators responsible for system configuration and user-facing parking maps.
Setup and Configuration
Follow these steps to integrate Parking Logix sensors with your OPS-COM system.
Enable Parking Logix Integration
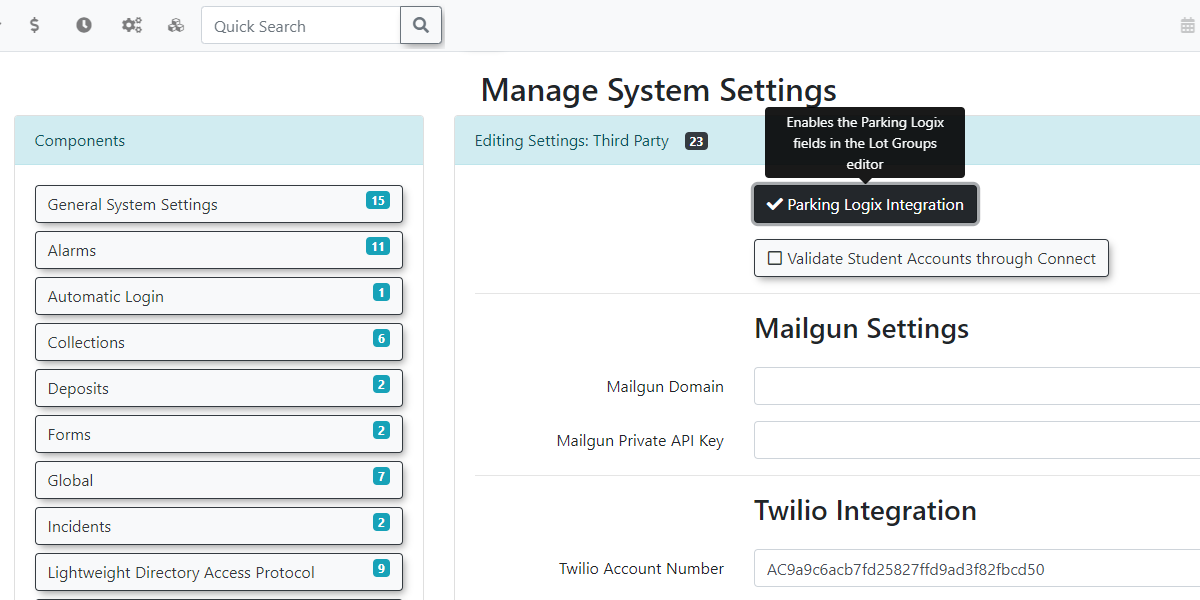
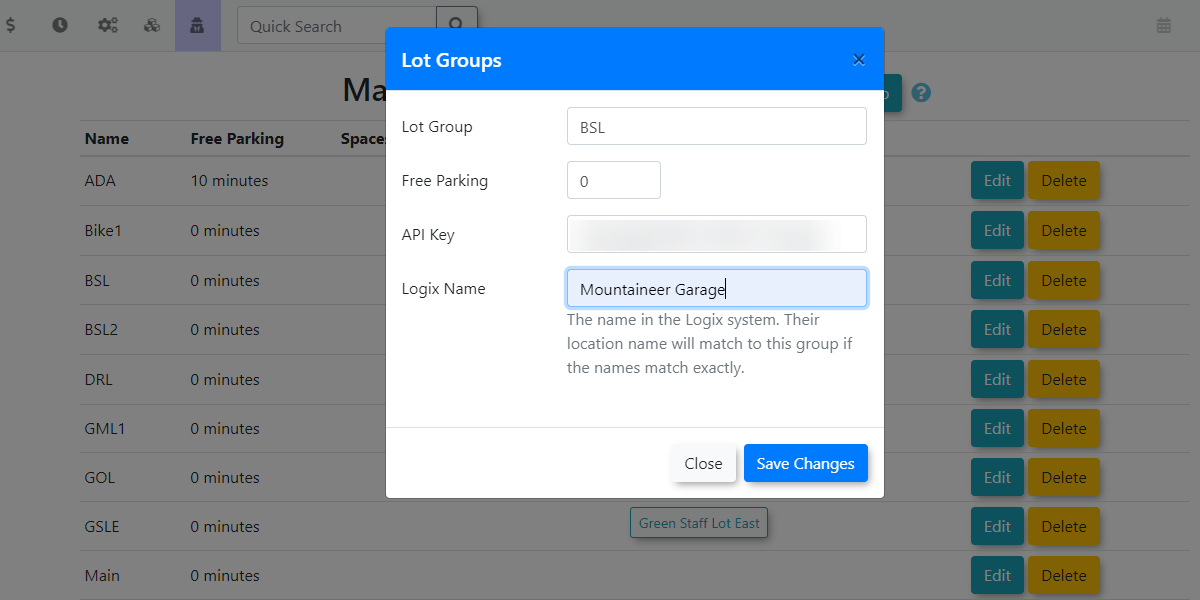
Adding the Lot Group
-
Create a new lot group for each lot where you are collecting sensor data.
-
Enter the required API code when configuring each group.
-
Note: It is possible, though unlikely, to have multiple API keys if lot access is split across several keys.
-
-
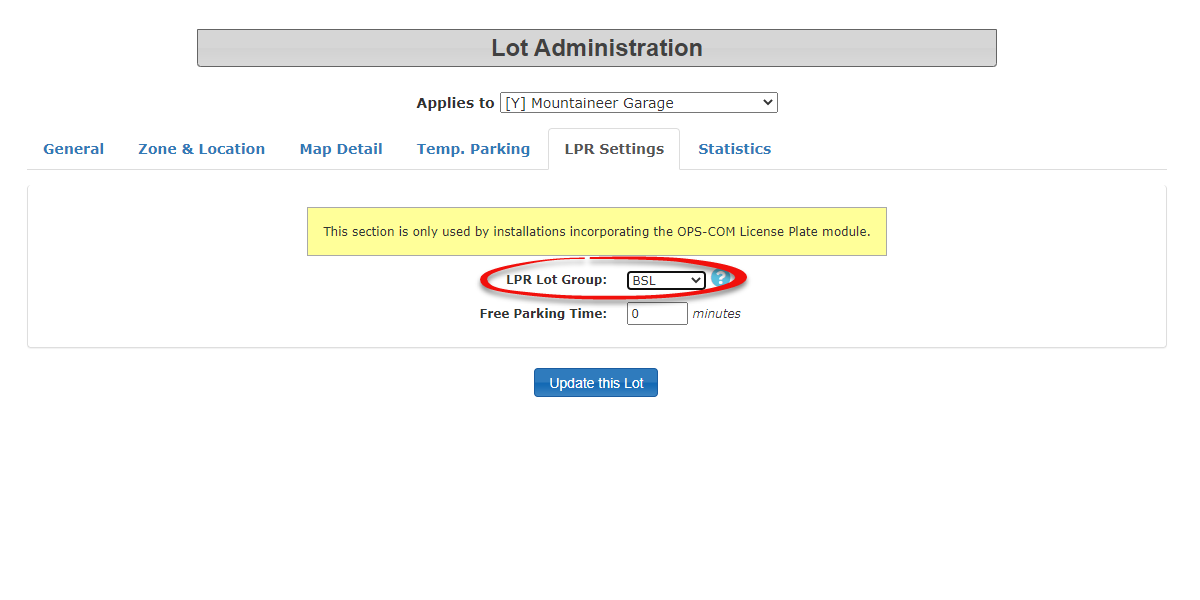
Navigate to the Lot Administration tool.
-
Open the LPR Settings Tab for the desired lot.
-
Assign the previously created lot group to the lot.
Enable the System Task
-
Contact OPS-COM support by emailing support@ops-com.com to enable the required system task for sensor communication.
-
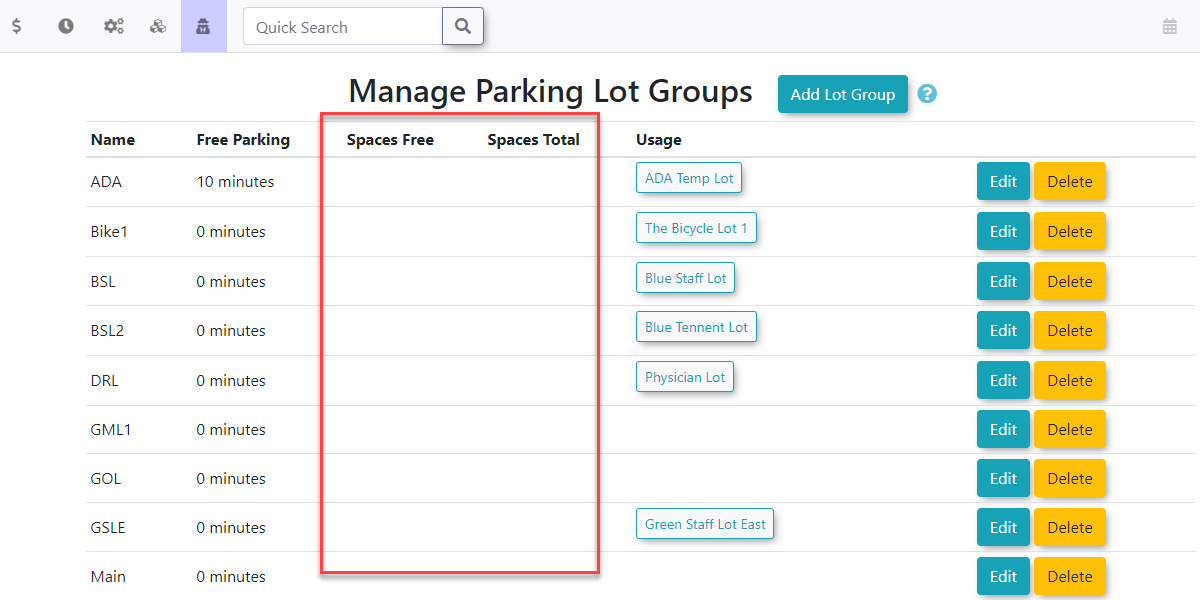
Once the system task is active, verify the integration by navigating to Manage Parking Lot Groups to confirm that lot counts are updating correctly.
Displaying the Map on the User Side
To display the parking map to end users, you must insert the integration short code into your site pages.
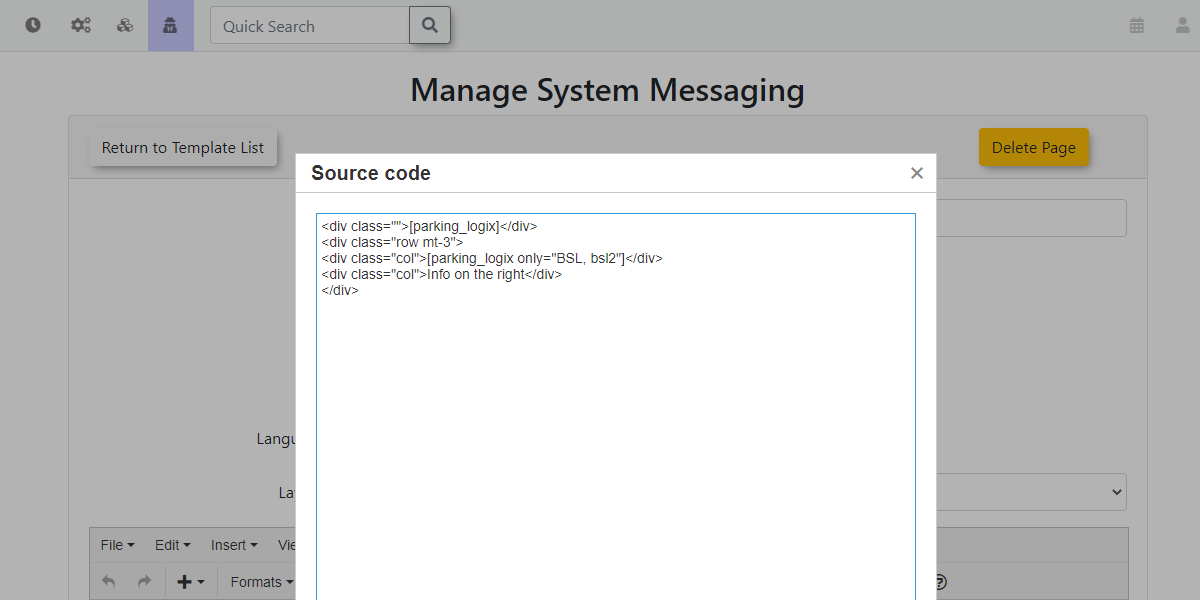
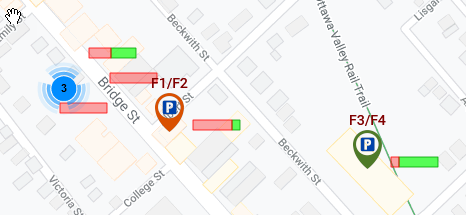
By design, the map will only display lots that have a group assigned and a valid API key stored.
Best Practices and Considerations
-
Data Accuracy: Ensure that every lot intended for display is correctly linked to a lot group containing a valid API key, otherwise, the lot will not appear on the user-facing map.
-
Support Coordination: Because the system task must be enabled by the OPS-COM integration team, initiate your support request early in your setup process to avoid delays in data synchronization.
-
Parameter Usage: Use the filtering parameters within the [parking_logix] short code to provide users with a clean, relevant view of specific parking areas rather than the entire system inventory.