Locker User Types
QuickLocker Steps:
User Types
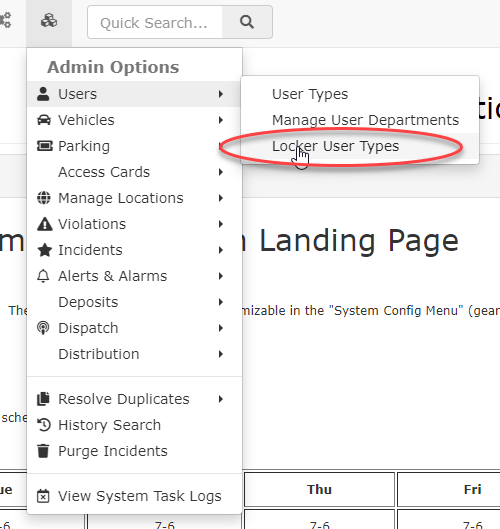
You must create the Locker User types you wish to use in OPS-COM. To do so Hover over Admin Options and click Users.
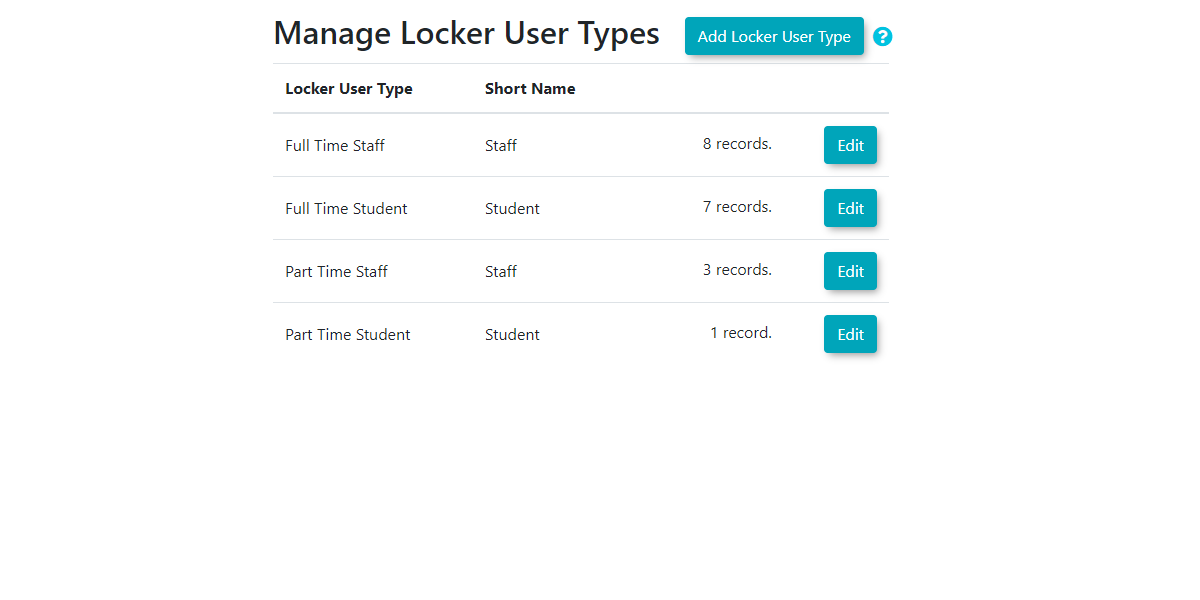
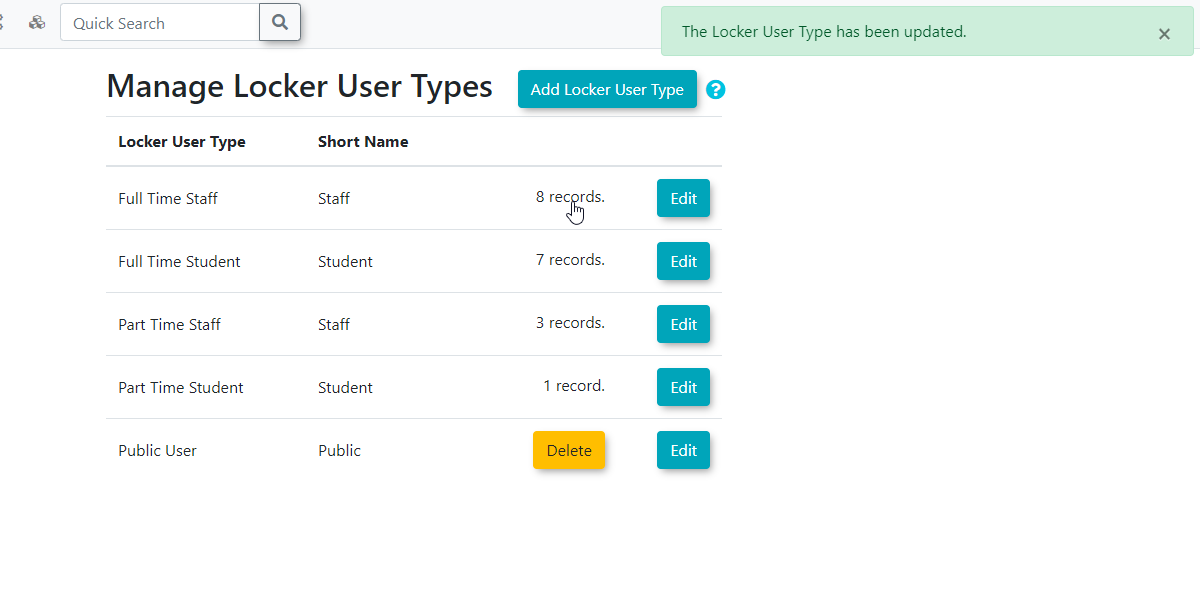
The Manage Locker User Types screen appears listing any existing Locker User Types.
The list will include the name of the locker user type, the configured short name, and the number of user records which indicates how many of each user type are in the system.
To add a Locker User Type click on the Add Locker User Type button.
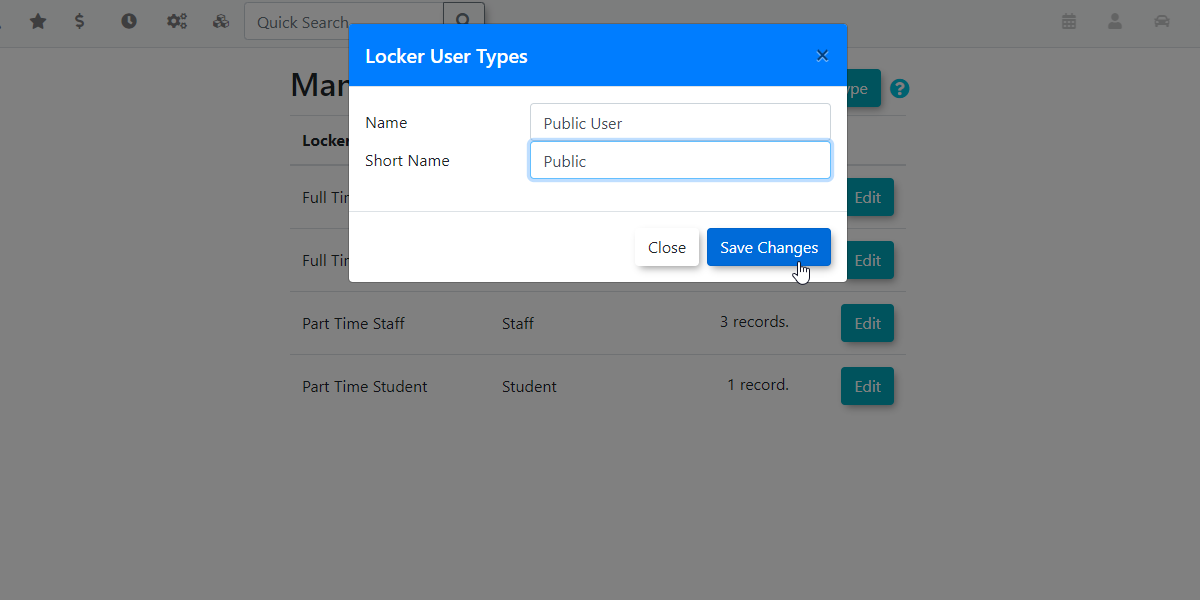
A Locker User Types screen will open where you enter the Name andof the User Type along with the preferred Short Name. for
In our example we are creating a Public User with the usershort type.
The Manage Locker User Types screen will refresh. Note that the new user type appearshas inbeen added to the list.
NOTE: You can see the new user type that was added has an associated delete button. Locker user types can only be deleted if that have not yet been used.
Once a user has been assigned the Public User type as an example, that user type will no longer display the delete button.
You can assign Locker User Types to profilesany profile by editing the user profile and changing the Locker User Type.
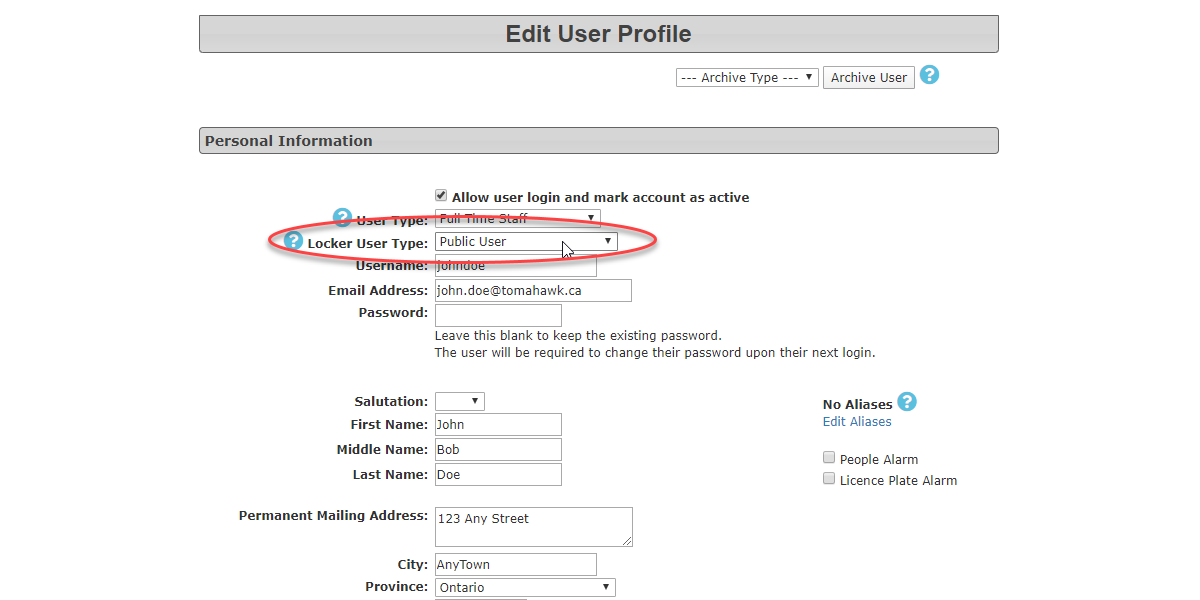
Please Note, Locker User Types is not editable or viewable on the User Side. These must be assigned by the Admin only.
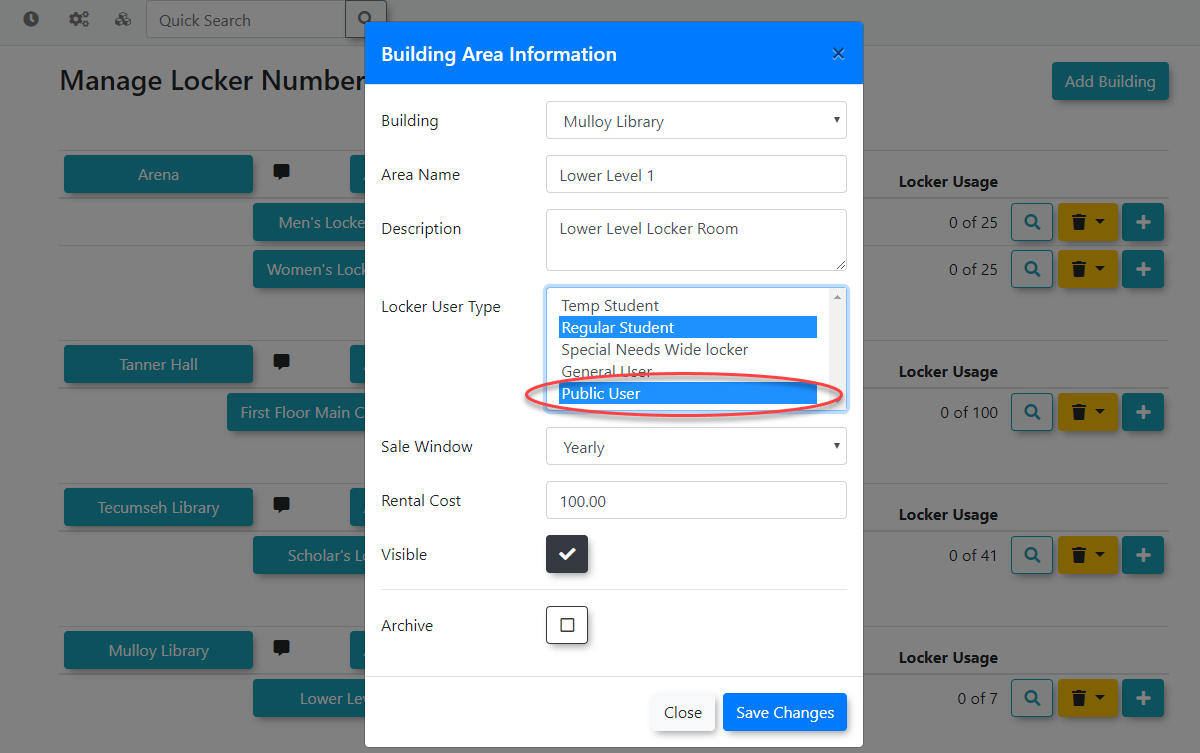
You must assigned your Locker user types by editing the Locker Building Area and choosing the Locker User Type as needed.
For