Locker User Types
Locker User Types
in OPSCOM allow administrators to categorize users specifically for the purpose of locker management. This enables flexible control over who can access and utilize certain locker areas or types, enhancing organizational efficiency and tailored access to locker resources.
Setup & Configuration
YouLocker User Types must createbe created within OPSCOM before they can be assigned. This is done via the Manage Locker User typesTypes youscreen.
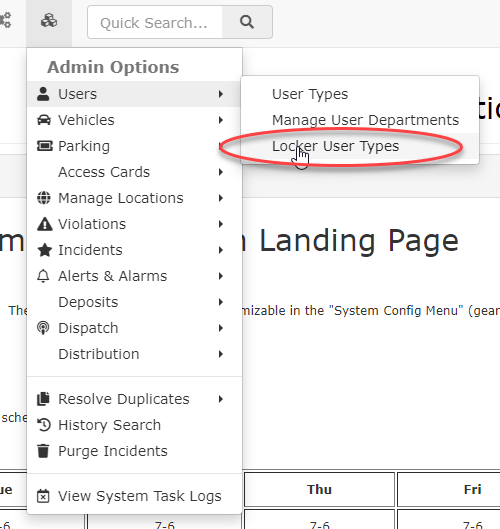
- Hover over
AdminSystemOptionsConfiguration, Users, and clickUsers, then selectLocker User Types.
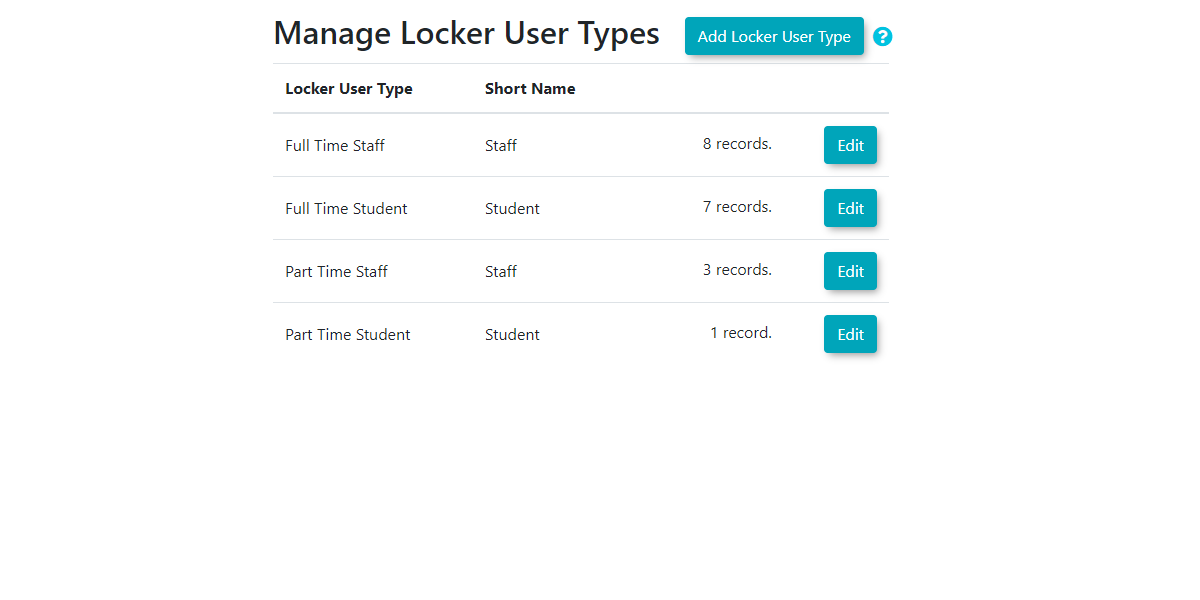
The Manage Locker User Types screen appearsappears, listing any existing Locker User Types.The This list willtypically includeincludes the nameName of the locker user type, the configured short name, and the numberNumber of user records whichassociated indicatesto howthat manytype. of each user type are in the system.
To add
Adding a New Locker User Type
- Click on the Add Locker User Type button.
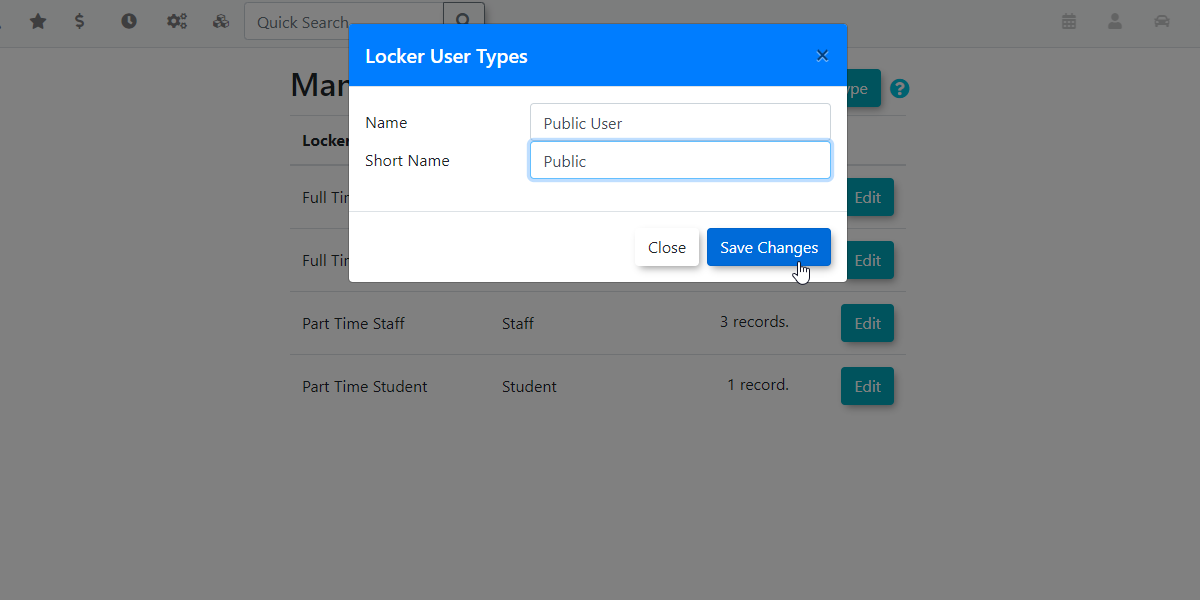
- Enter the full Name of the user type (e.g., Public User).
- Click Save Changes (or similar button).
AThe Manage Locker User Types screen will openrefresh, whereand you enter the Name of the User Type along with the preferred Short Name.
In our example we are creating a Public User with the short name Public.
The Manage Locker User Types screen will refresh. Note that theyour new user type haswill beenbe added to the list.
Using this Feature
Assigning Locker User Types to User Profiles
- Hover over User Management and click User Search.
- Search for the user you want to edit.
- Edit their profile and choose the Locker User Type from the picklist.
- Click Submit Profile Information, review the submission and click the Information Correct button.
NOTE:Locker YouUser Types are not editable or viewable on the User Side portal. They must be assigned by administrators only.
Assigning Locker User Types to Locker Areas
Once Locker User Types are created and assigned to users, they must also be associated with Locker Building Areas to control user access to specific lockers.
Refer to this wiki article for information about assigning Locker Types to Building areas.
Best Practices & Considerations
- Logical Categorization: Create Locker User Types that align with your organization's locker access policies (e.g., "Student Dorm," "Staff Locker," "Gym Member," "Public Day Use").
- Deletion Policy: A Locker User Type can
see the new user type that was added has an associated delete button. Locker user types canonly be deleted ifthatnohaveusersnotareyetcurrentlybeenassignedused.
to it. Once a user has been assignedthetoPublica Locker Usertype as an example,Type, that user type will no longer display the delete button.
You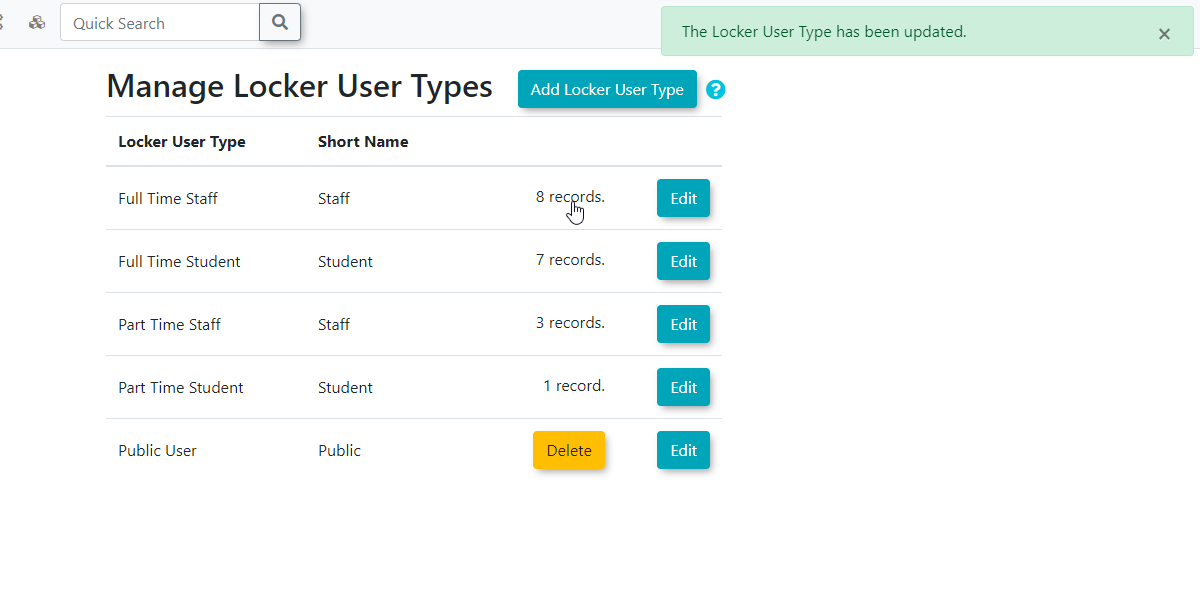
Youmust reassign all users from a Locker User Type before it canassignbe deleted. - Clear Naming: Use clear and concise names for both the full Name and Short Name to avoid confusion.
- Coordinate with Locker Areas: Remember that simply assigning a Locker User Type to a user profile is not enough. You must also link the Locker User Type to the relevant Locker Building Areas to define actual access permissions.
- Admin-Only Assignment: Since Locker User Types
toareanynotprofilevisible or editable byeditingusers,theensureuseryourprofileadministrative staff are properly trained on how to assign andchangingmanagethethem.

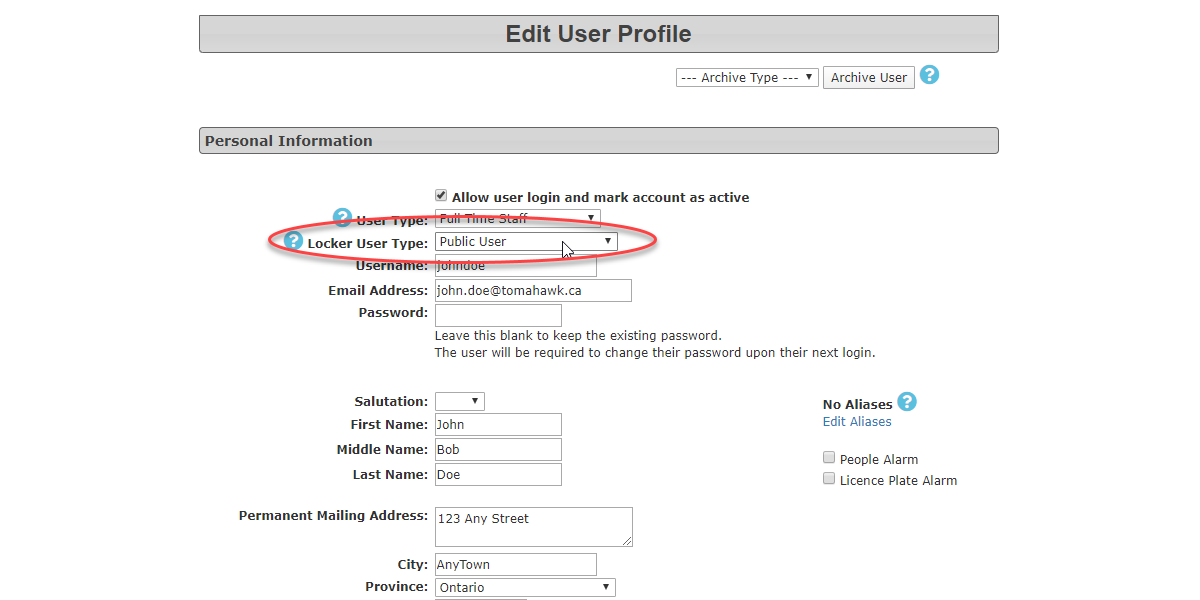
Please Note, Locker User Types is not editable or viewable on the User Side. These must be assigned by the Admin only.
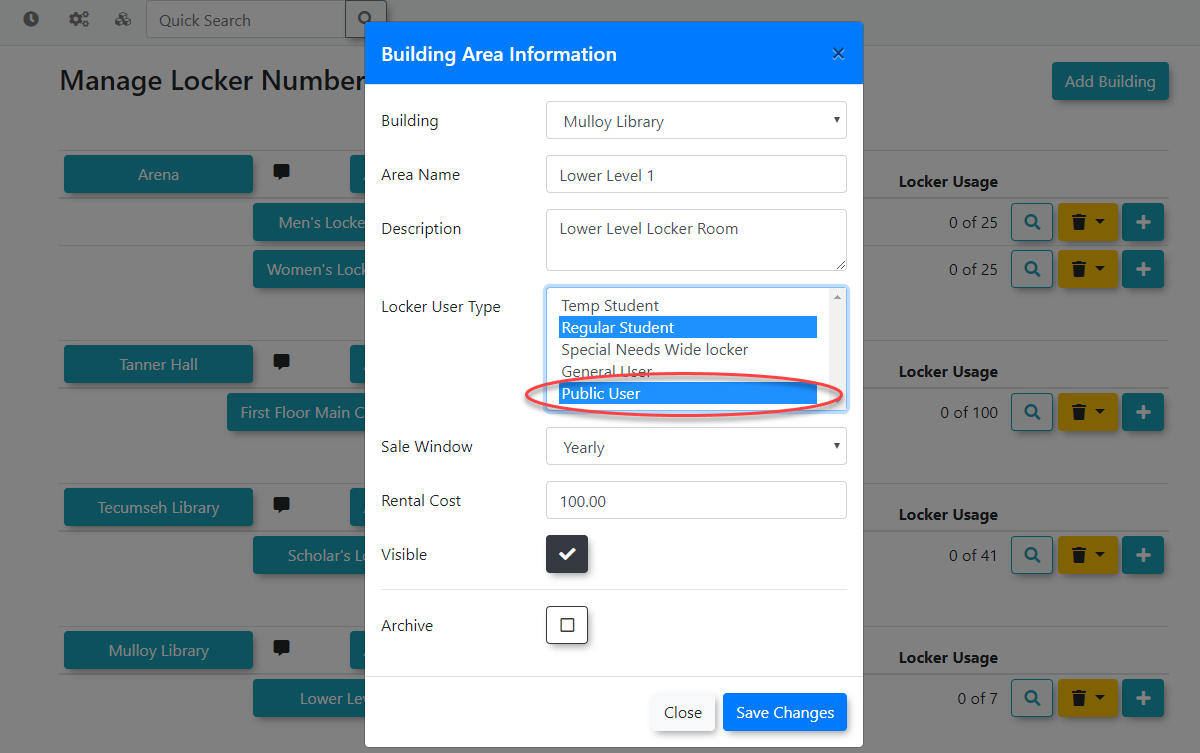
You must assigned your Locker user types by editing the Locker Building Area and choosing the Locker User Type as shown. You may select one or multiple user types.For more on Building Areas please see this wiki article.