
Hang Tag Printing
InThe Hang Tag Printing feature allows administrators to batch search, email, and physically print parking permit hang tags. Its primary purpose is to streamline the distribution of physical permits by generating appropriately formatted print files that fit standard windowed envelopes and perforated hang tag paper. This article is intended for OPS-COM administrators responsible for permit fulfillment and physical tag distribution.
Setup and Configuration
This feature relies on existing permit data and user profile configurations. However, specific physical printer settings must be configured locally to ensure the hang tags print correctly.
Admin Side: Administrators must configure their local web browser print settings to match the required margins before printing. Do not select the "Shrink to Fit" setting; instead, always use "100%" scale.
Recommended Printer Margins:
| Margin | Inches | Millimeters |
| Left | 0.88 | 22.35 |
| Right | 0.254 | 6.45 |
| Top | 0.96 | 24.38 |
| Bottom | 0.169 | 4.29 |
User Side: End-users must have the correct mailing address properly filled out on their profile if the permits are being physically mailed to them.
Using this Feature
Administrators can use the following instructions to retrieve, email, and print physical hang tags.
Retrieving Permits for Printing
-
Hover over Parking Management, hover over the Permit Management icon, and click Hang Tag
Printing.
Printing. -
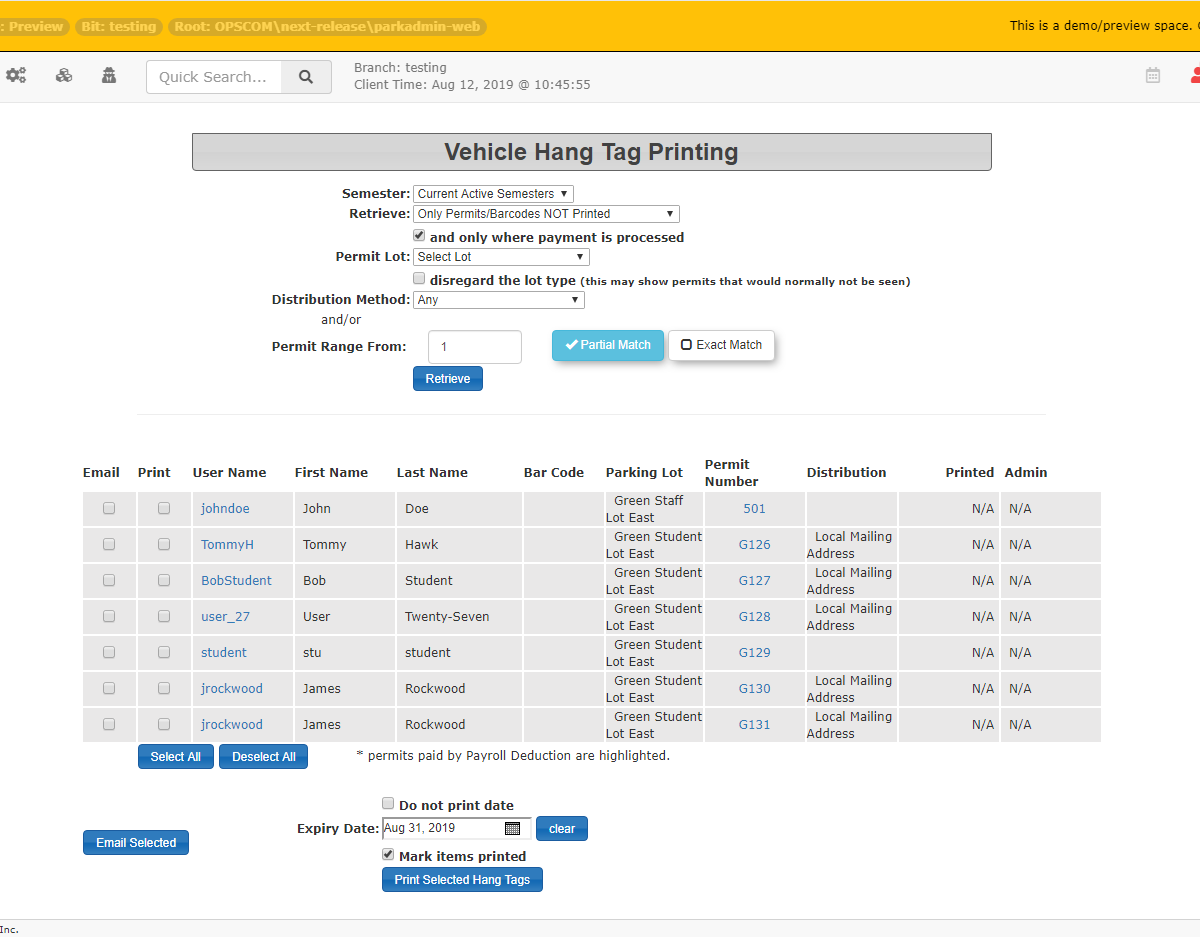
TheSelect the specific time period from the Semester drop-down menu on the Vehicle Hang Tag Printingscreen will display.screen.Select theSemesterfrom the drop-down menu.-
Select the files that you want to retrieve for printing.
-
Enable the checkbox if you only want to print tags for which the payment has been fully
processed.processed. -
Select the lot from the
from thedrop-downmenumenu, or enable the corresponding checkbox to disregard the lot type. -
Select the distribution method and the permitted range.
-
Click the Retrieve button to submit the search criteria.
Cues & Status Indicators
The search results will display below theAvailable Actions and Buttons
Once your list is generated, you can interact with the results using the following options:
-
Username: Click
thethisUsernamelink to see an overview of the user. You can also select the User Profile icon to openthetheir complete user profile. -
Click thePermitNumberNumber: Click this link toseeopen the parking permitinformation.information screen.
Select All / Deselect All: Click these buttons to quickly manage your bulk selections for printing or emailing.
Email Selected: Enable the Email checkbox(es)checkboxes next to chosethe desired users and click this button to send the hang tag bydigitally. email to. Click the Email Selected button, then fillFill in the details of your email.email in the resulting prompt.
ToPrint printSelected hangHang tagsTags:, enable the Print checkbox(es). If you wish to print hang tags for all users, clickEnable the SelectPrint Allcheckboxes button. Clickfor the Deselectdesired All button to clear all selections.users. If you do not want to include an expiry datedate, onenable the permits being printed, ensure that the 'Do not print date'date checkbox is enabled.checkbox. Otherwise, select the expiry date to be printed on the hangtag and click thethis Printbutton. Selected Hang Tags button.
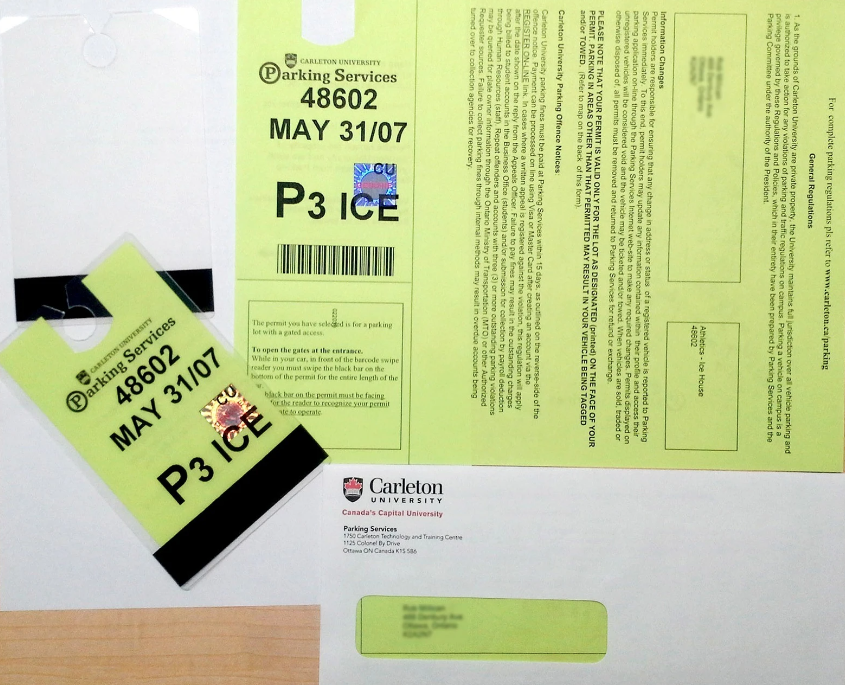
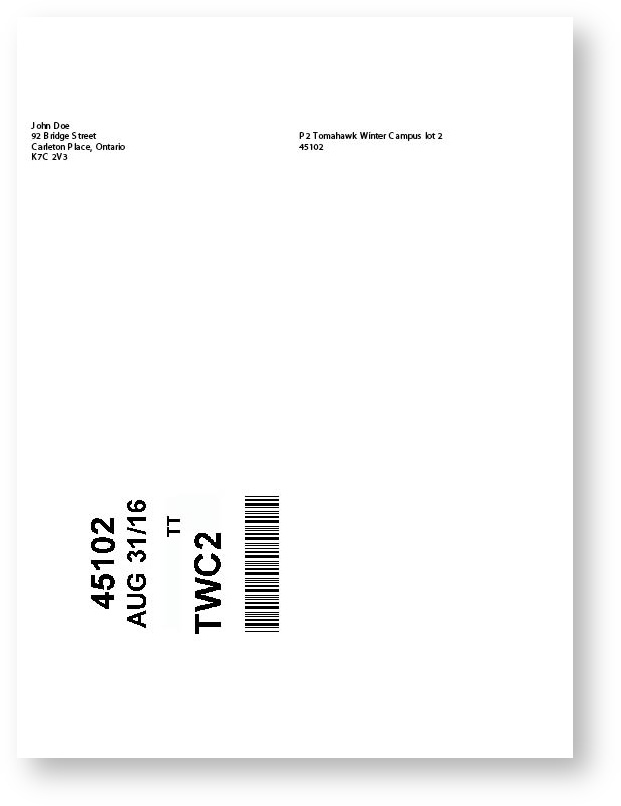
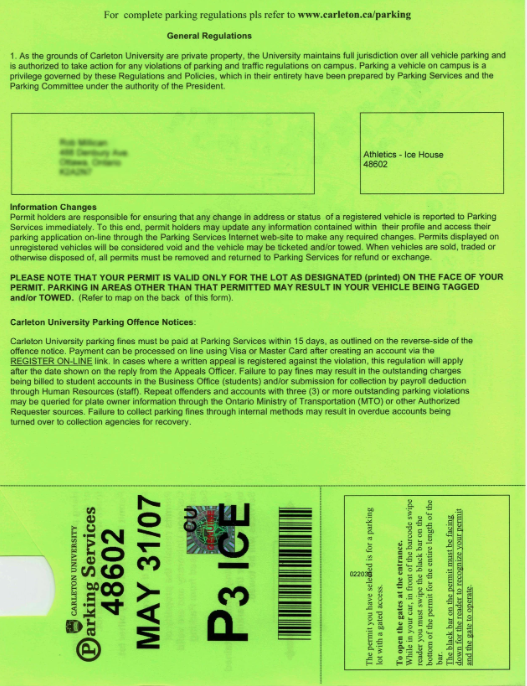
This willaction open upopens a new window displaying the username and address (positioned to fit in a windowed envelope) in the top left, the lot long name and permit number in the top rightright, as well asand the actual permit at the bottom.
Best Practices and Considerations
-
Verify user address settings: In order for the correct address to display on the hangtag, you will need to have the Mail Permit to field selected on the user's profile, and the corresponding address fully completed. For example, if you select Local Mailing Address as the destination, but the user only has their Personal Mailing Address completed, the address will securely remain blank and will not print on the hangtag. See the Edit User Profile guide for details.
-
Note,Optimizesomeyourorganizationsphysicalusematerials: Consider using perforated paper to make it easier for users to remove and display thepermits to be laminated.permits. The empty space on both sides of the paper can be pre-printed to provide parking information,rulesrules, and regulations to your users. Some organizationswillalso purchase custom holograms togo on the permit as well.Expected ResultsImportantIn order for the correct address to display on the hangtag, you will need to have theMail Permit toselected on the user's profile, and the appropriate address filled out. For example, if you selectLocal Mailing Addressand the user only has theirPersonal Mailing Addresscompleted, the user's address will not be printedapply to thehangtag.printed permit(SeeforEditaddedUsersecurity.Profile -
AfterCheckprintingprinterthescaling:hangtagAlwaysand placing it in its cover, the completed print job could look something like this: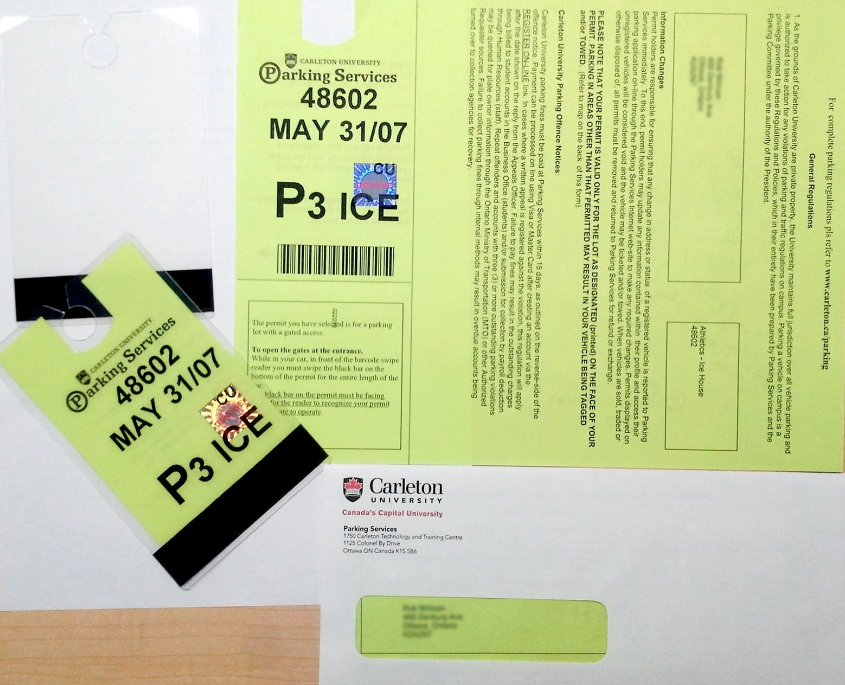
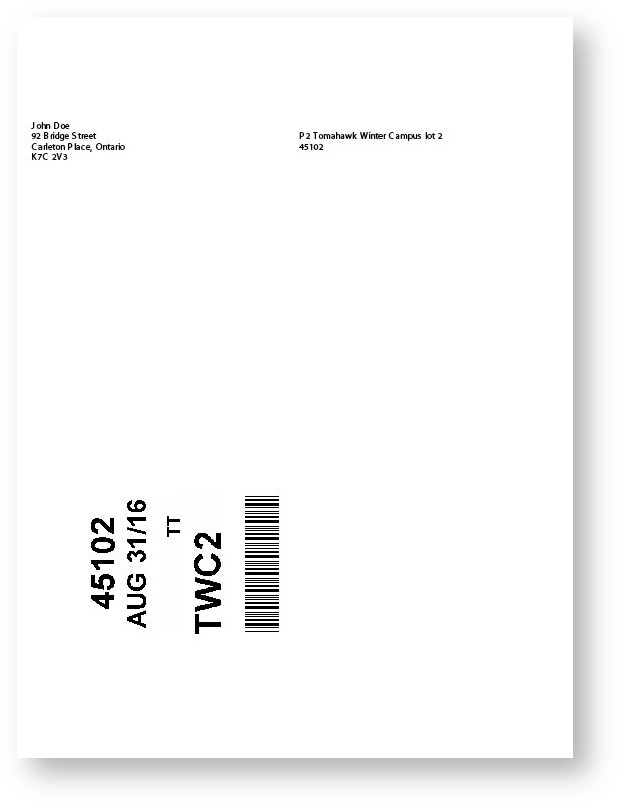
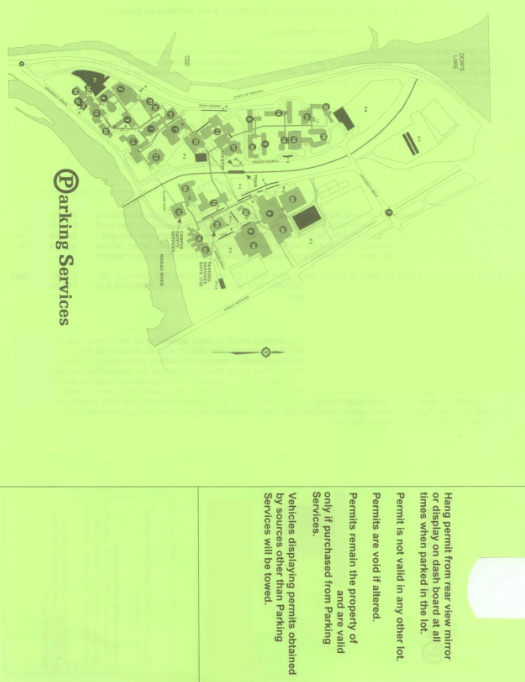
Selectselect the print option from your browser (Ctrl+PP) and ensure your scale is set to exactly 100%. Incorrect scaling will cause theprint shortcut). A sampleprintedparking permit front and back would look similaraddress tothis:
misalign with physical windowed envelopes.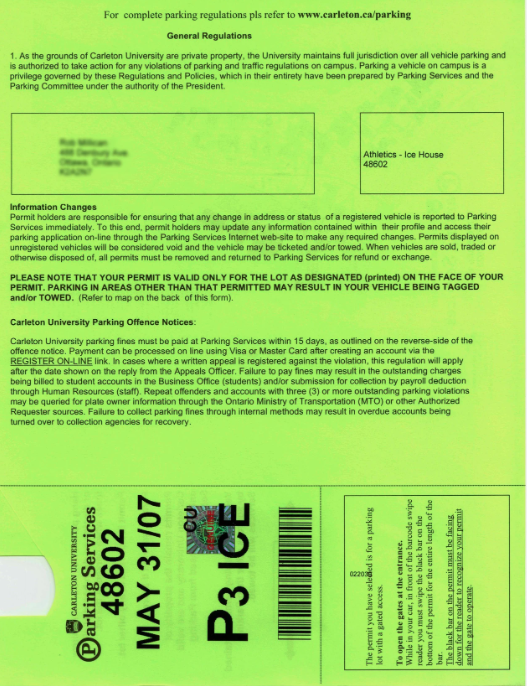
Printer Settings
Below are sample margin settings.
|
|
|
|---|---|---|
|
|
|
|
|
|
|
|
|
|
|
|
Do not select "Shrink to Fit" and instead always use "100%".