
Incident Distribution Feature
This article describes theThe Incident Distribution feature, whichfeature allows dispatchers to email incident details directly to pre-configured user groups. Its primary purpose is to streamline communication and enable faster response times by eliminating the need to manually copy information to external email clients. This guide is intended for OPSCOMOPS-COM administrators and dispatch personnel.
Setup &and Configuration
Before this feature can be used,utilized, an administrator must create distribution departments. and assign users to them. These departments define the pre-configured recipients for incident emails.emails.
-
GoHovertoover System Configuration,thenclick Distribution, andclickselectonDepartments and Users
Creating a Distribution Department
Creating a New Distribution Department.
On the DistributionDepartment Dashboardpage, click theList Allbutton beside forDepartments. Then click the plus button.-
Click the List All button beside the Departments section.
-
Click the Plus button.
-
Enter a descriptive name in the Department Name
field (e.g.,Patrol Group A,Security Supervisors).field. This name will be visible to dispatchers. -
Click Save Changes.
Adding a Contact to a DistributionDepartment
Department
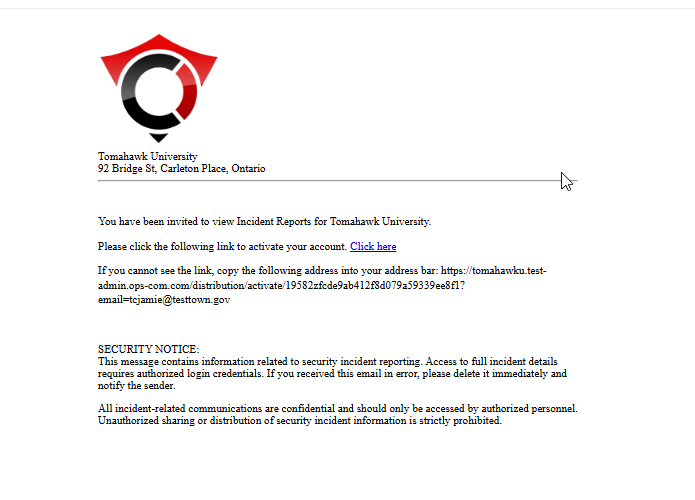
Once you click the button to save and send, this email address will receive an invitation with a link inviting them to view internal incident reports. This is why the email address is required. Contacts who are invited to view distributions are not the same as standard parkers, or admin users.users. They canexist onlystrictly to access the incident distribution module.module, and they receive a specific invitation link to view internal incident reports when you click save and send.
Managing Existing Distribution Groups
Using this Feature
Once distribution groups are configured, dispatchers can quickly send vital incident details directly from an active incident's main information page.
Sending an Incident Email
Key Information
inDisplayedEmail
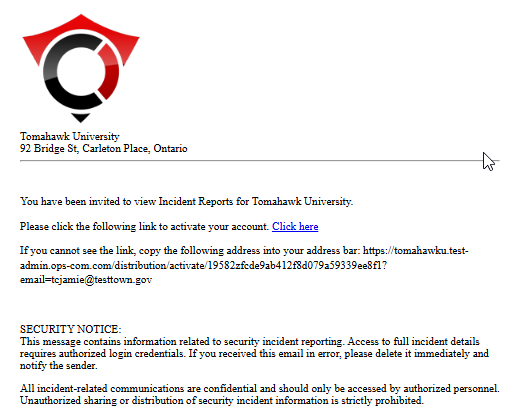
The Theautomated email sent to the distribution group automaticallywill includesextract and display the following key details from the incident report:
-
Incident Number
-
Location
-
Time of Incident
-
Description of Incident
-
Any optional
commentscomments added by the dispatcher
Best Practices and Considerations
The invitation email looks like this:
Best Practices & Considerations
-
Audit Distribution Groups: Regularly audit your
DistributiondistributionGroupsgroups to ensure the email lists are completely up-to-date. Outdated contact information can lead to severely delayed or missed incident notifications. -
Use Intuitive Naming: Create clear and intuitive
GroupgroupNames.names.NamesTitles like "Day ShiftPatrolPatrol" or "WeekendSupervisorsSupervisors" are much more effective and recognizable for dispatchers than generic names like "Group11". -
Pre-Notify Contacts: Remember
theto send invitedDepartmentdepartmentContacts/Userscontacts a separate message letting them know about thesystem,system.soThis ensures they expect the automated invitation and do not accidentally delete yourmessage,message orlooselose it inthetheir spam folder.