Validator Admin Groups
User Level Capabilities within the Validator Tool
Here is a description of what each user level can do with the Validator Tool.
-
The Super Admin can set up new Groups with a Group Name, as well as assign Managers and Group Members. Only the Super Admin can add Managers and Admins.
- Definition: The Super Admin will also be any Primary Admin with permissions in OPSCOM to manage the Validator; they can create groups and have the ability to add users to the group. The permissions that the Super Admin assigns to the individual group members will determine their access level on the system. All permissions must be added or removed by the Super Admin and cannot be done by any other user.
- Definition: The Super Admin will also be any Primary Admin with permissions in OPSCOM to manage the Validator; they can create groups and have the ability to add users to the group. The permissions that the Super Admin assigns to the individual group members will determine their access level on the system. All permissions must be added or removed by the Super Admin and cannot be done by any other user.
- The Super Admin will be able to see all current, pending, past and archived (deleted) validations.
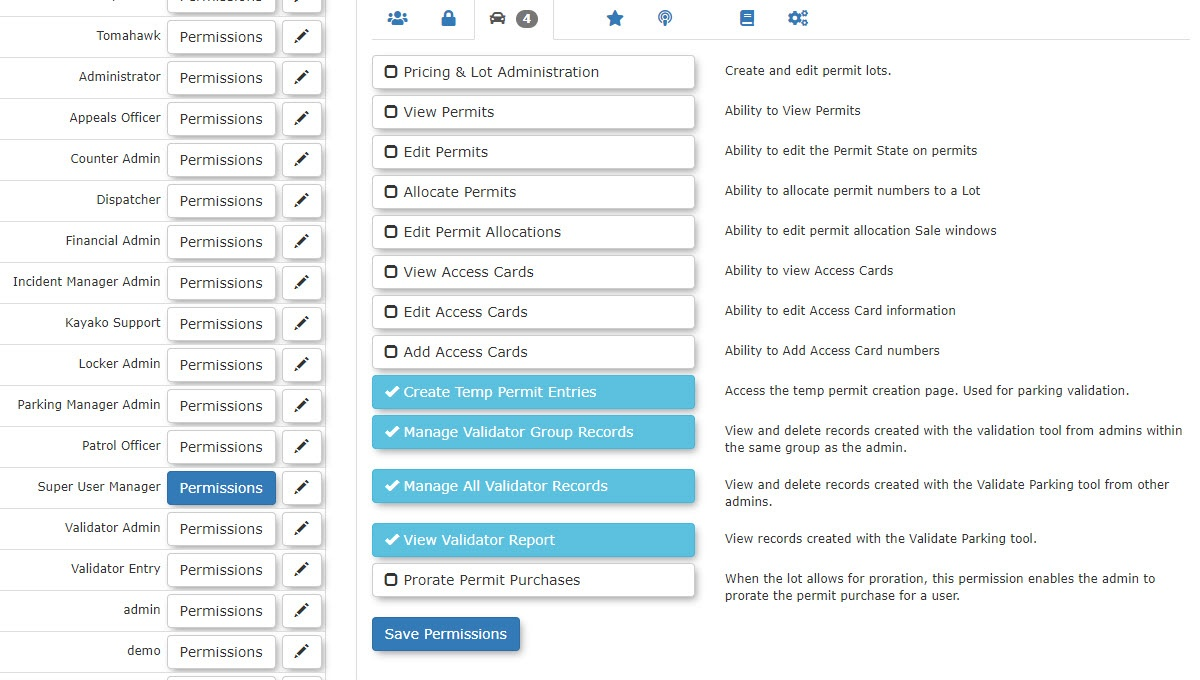
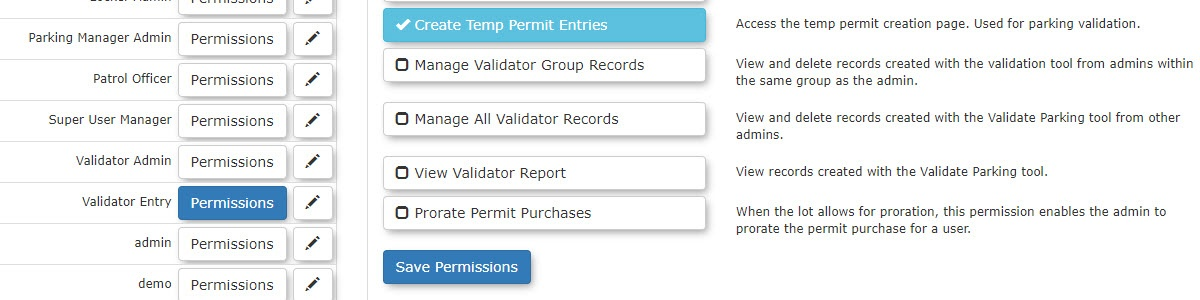
These are the permissions required to use the Super User Manager role.
- Group Managers and Admins will be able to see all of their Groups, current/pending validations and delete future/current validations up to the 15-minute mark of the Start Date. Group Managers can only manage one group at a time.
- Please note that deletions would only be available from the Manage Validations page.
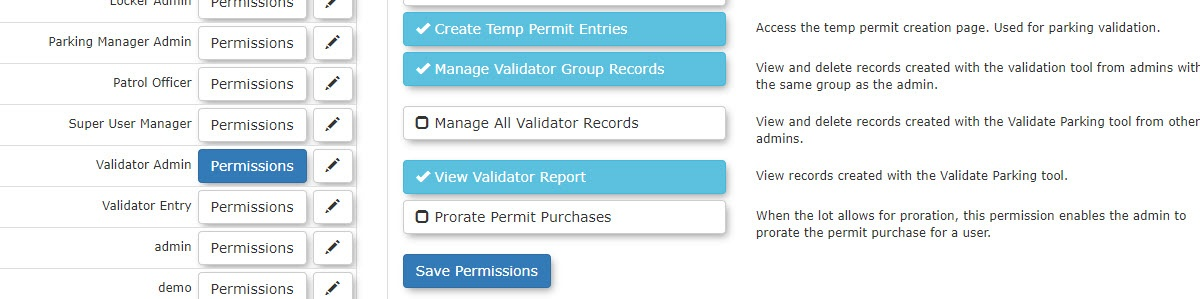
These are the permissions required to be the Validator Admin role:

- Please note that deletions would only be available from the Manage Validations page.
- The Super User will be able to delete any future, current, and past validations.
- Please note that archived is considered deleted. Archived information is not purged from the system. This is due to the need to keep system data integrity.
These are the permissions required to be the Validator Entry role:
- Please note that archived is considered deleted. Archived information is not purged from the system. This is due to the need to keep system data integrity.


User Level Display within the Validator Tool
Here is the description of what each user level can see in the Validator Report and Manage Validations tools.
-
The Super Admin will be able to see all Validator Groups via the drop-down menu of All/Individual Validators within each group. The Super Admin should be able to delete any entry at any time, pre or post validation.
-
Group Managers will only be able to see their own Validator Groups within a drop-down of All/Individual Validators within their group. They will also be able to delete any entry pre-validation.
-
Admins will only be able to see and delete their own entries pre-validation or within a 15-minute leeway (as described below).
-
Please set-up a 15-minute grace period on deletions. This will allow a current validation to be deleted up to 15-minutes past the start date, in the case of an input error. (Setting)
-
Users will be able to search for a partial or full plate, by entering the time period. No admin name or lot should be required. If the entry was made within the appropriate time period, it should show accordingly. If an Admin name is required then an All Admins option, and individual admins within their group are required.
How to createCreating a Validator Group
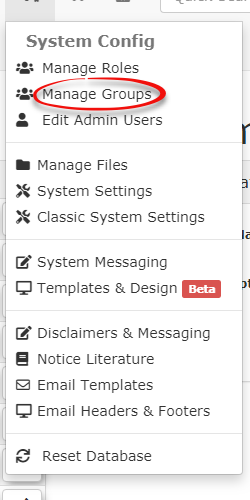
- Navigate to System Configuration, then Admin Management, and click on Manage Groups
underSystem Config.
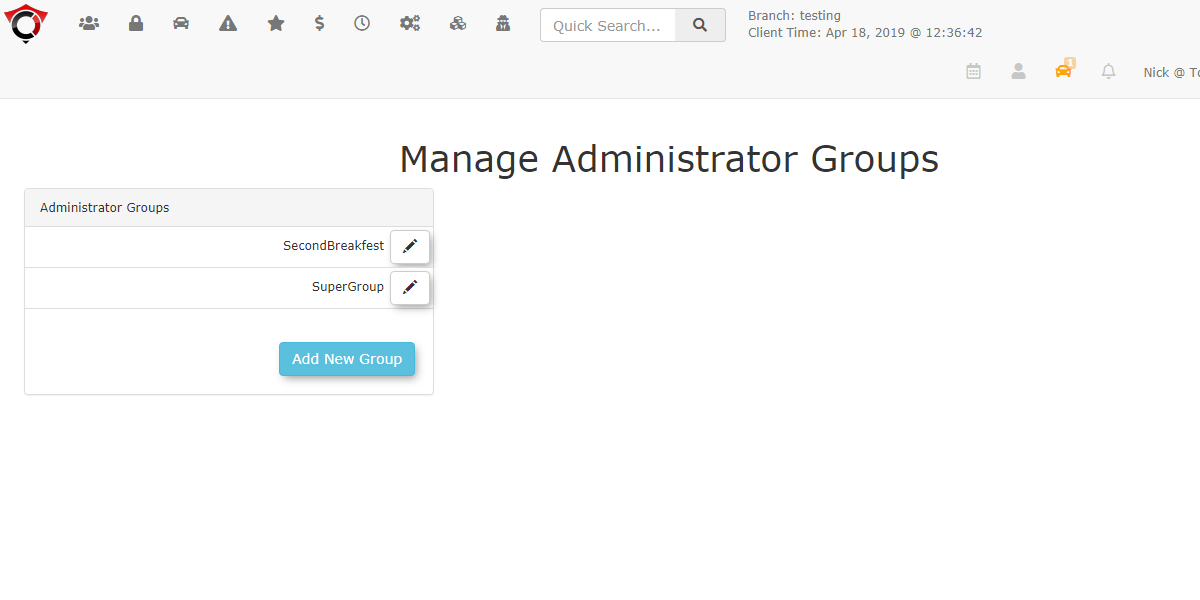
- This brings you to the Manage Administrator
RolesGroups
To create a group click on Add New
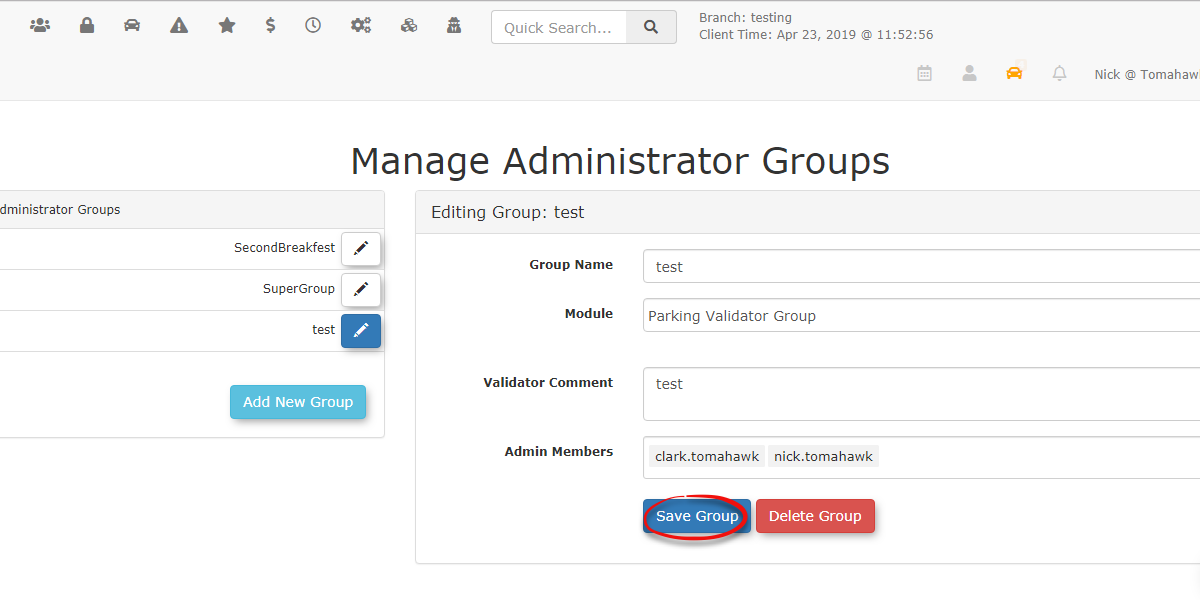
Groupunder Administrator Groups and the Addinga newNew Group window willappear.appear with the following options: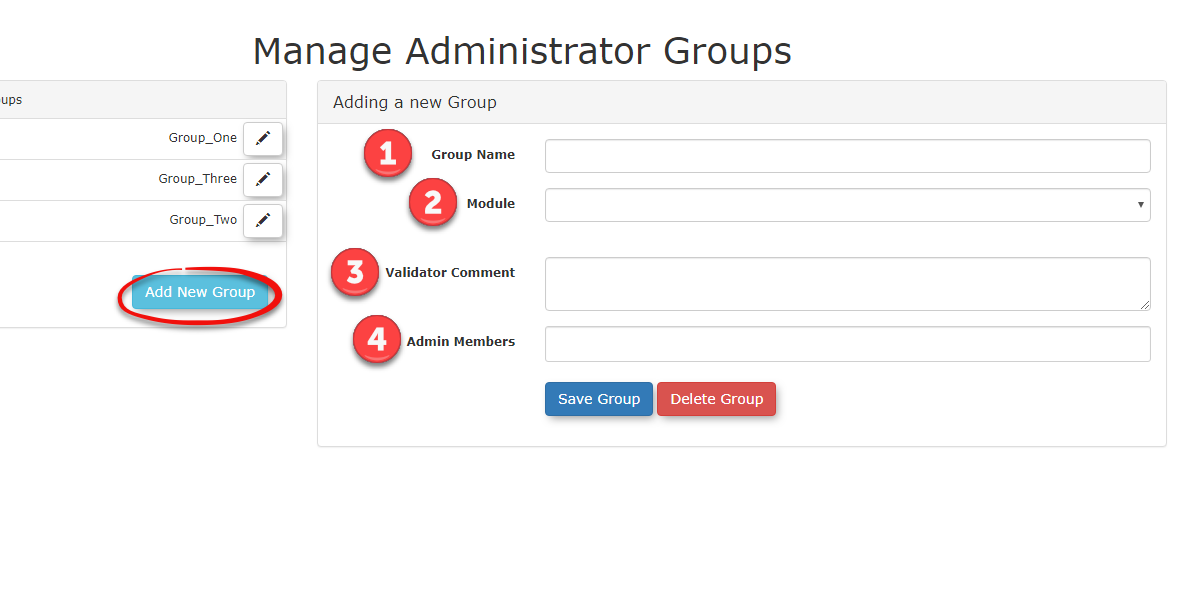
Adding a new GroupOptionsInfo 1. Group Name
The Group Name is how you change the name of a group. 2. Module The Module is where you can set the purpose of the group. 3. Validator Comment The Validator Comment is a spot where you can add any comments that you need to. 4. Admin Members The Admin is the area in which you can add admin members to the group
5. Default Validation Hours The Default Validation Hours is where you can set a default permit duration.
Note: There is currently no way to enforce a strict limit or prevent admins from overriding the default duration. The value serves only as an automatically populated preset and can be manually adjusted.
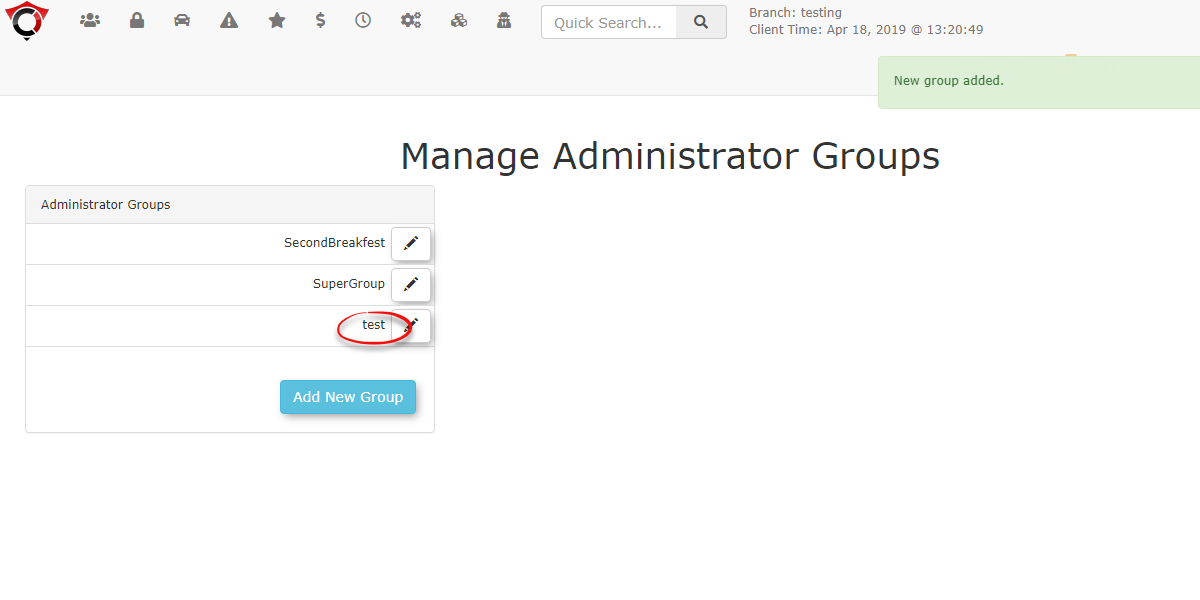
- When you are finished click the Save Group button. You will see your group added to the bottom of the Administrator Groups.


How to AddAdding Members to a Group
First, you will haveNavigate tonavigateSystemtoConfiguration, then Admin Management, and click on Manage GroupsunderSystem Config.
You can edit a group by clickingClick theblueEdit buttonwith a pencil iconnext to the AdministratorGroupsGroup you wish to edit.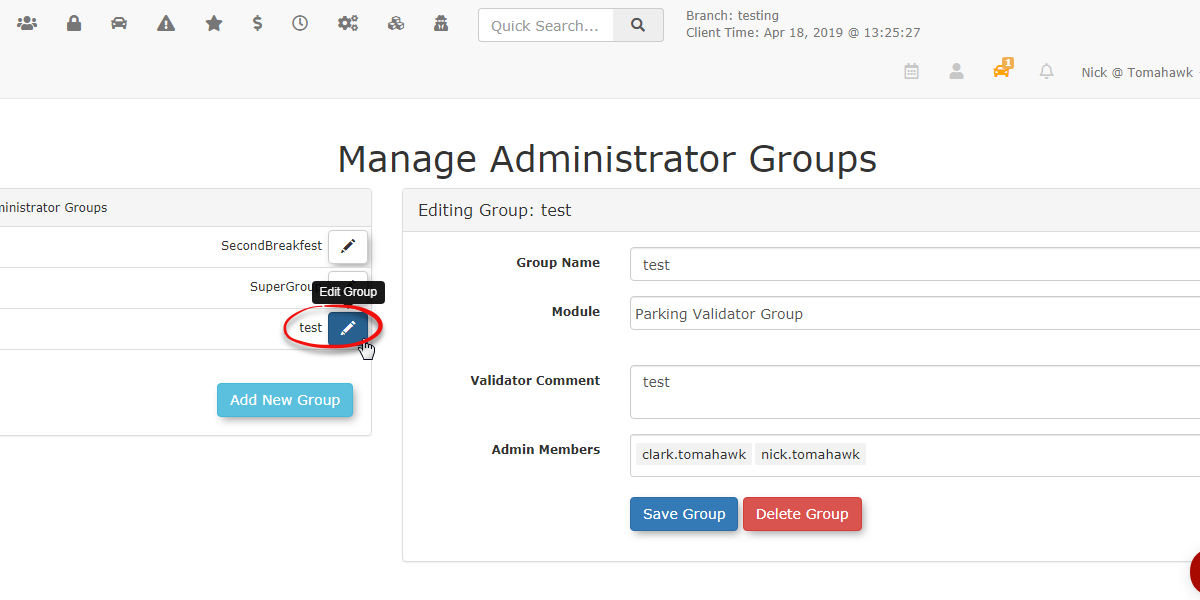
You can then clickClick on the Admin Members bar to add more members to the group.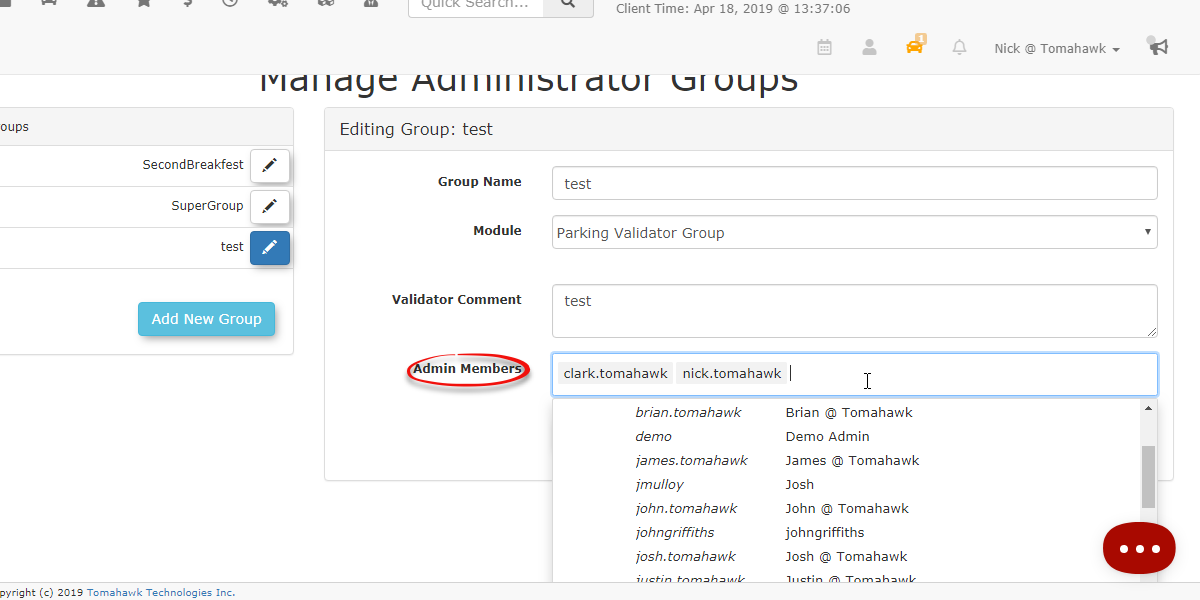
- When
finishedfinished, click the Save Group button found at the bottom of the Editing Group.


Zones and How They are Assigned
- Navigate to System
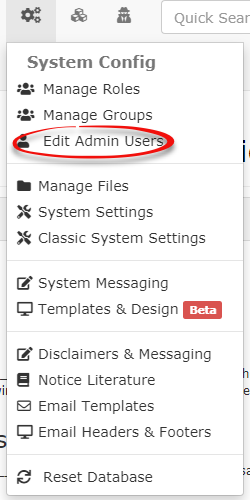
ConfigConfiguration,→then Admin Management, and click on Edit Admin Users
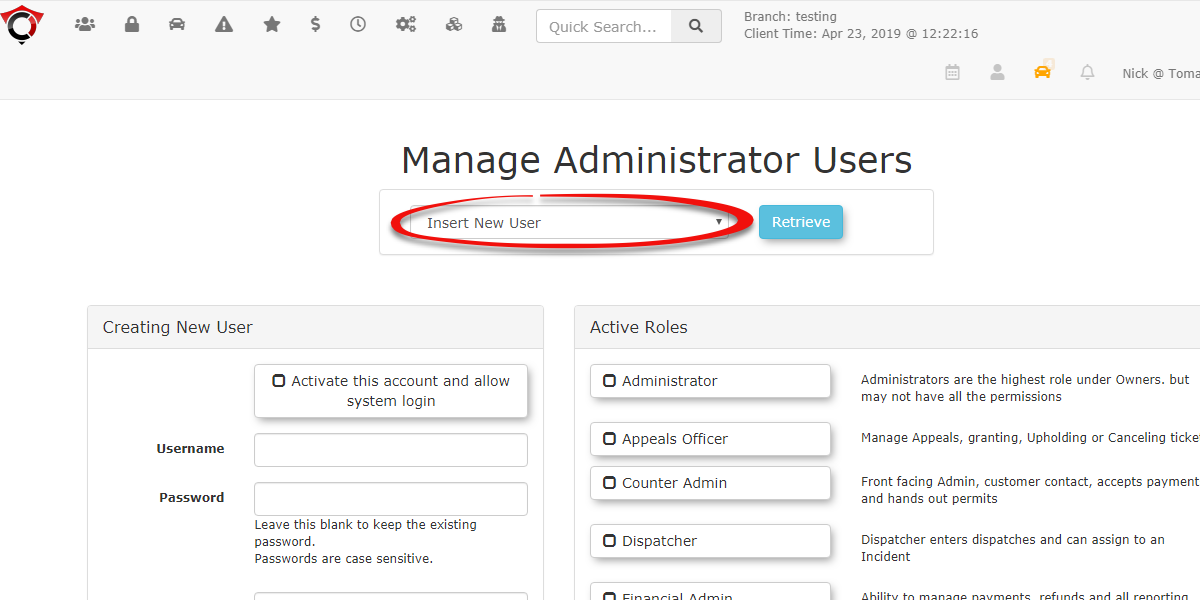
. - Select an Admin User which you want to edit and apply the Parking Validation Lot Zones they will manage.

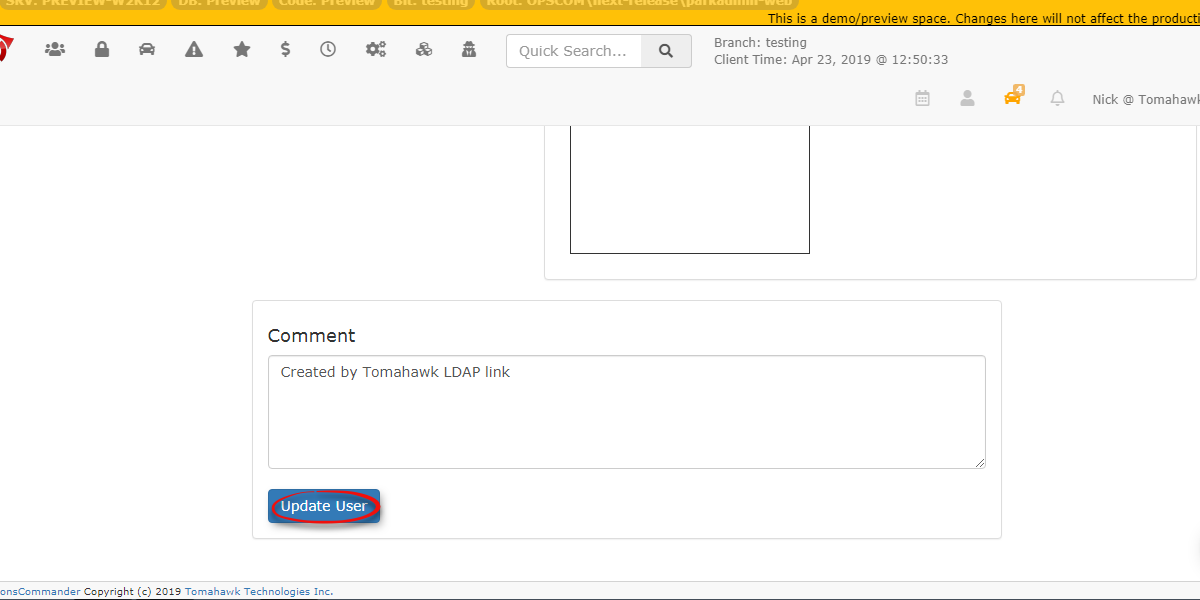
- Scroll to the bottom of the page to find the Parking Validation Lot Zones window. Select the Zone(s) in which this admin will be managing validations.
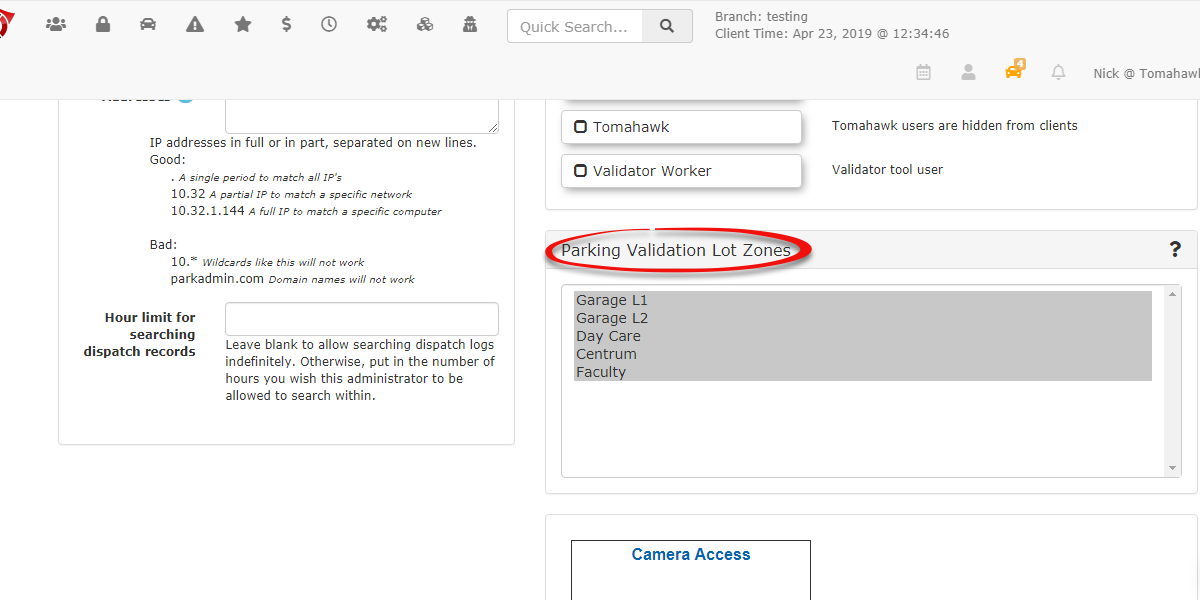
- Click any Zones that apply to this Admin and click Update User at the bottom of the page to finish.