Bambora Checkout
Bambora Configuration:
Order Settings:
 |
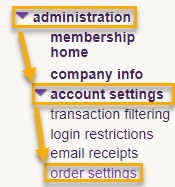
Login to your Bambora account, then on the left navigation select Administration → Account Settings → Order Settings. |
API access passcode:
On the Order settings page scroll down to "API access passcode". If there is nothing in the API access passcode field click the "Generate New Code" button. After generating your API access passcode make sure to scroll down to the bottom of the page and click "Update" to save your changes.
Merchant ID (MID):
 |
Your Merchant ID can be found in the top right of your Bambora account. |
Encode API Passcode:
 |
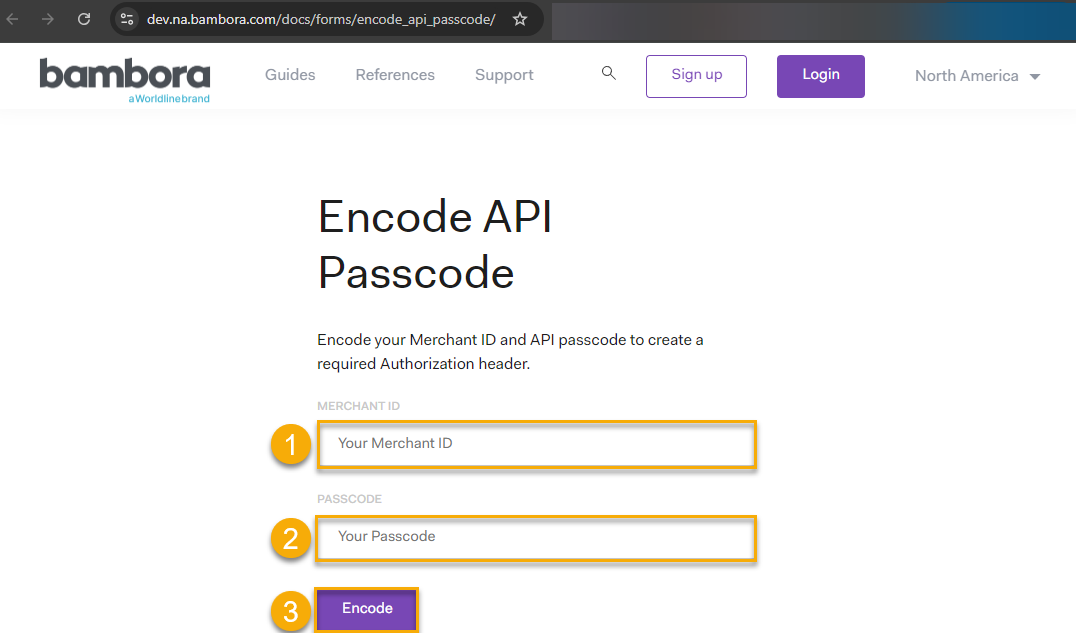
Now that you know your API access passcode and Merchant ID go here. Copy and paste your Merchant ID (1) and API access passcode (2) into the appropriate fields, then click "Encode"(3). |
Create new Payment Type in OPS-COM:
|
|
 |
Login to your OPS-COM system with an administrator account that has permission to edit payment types.
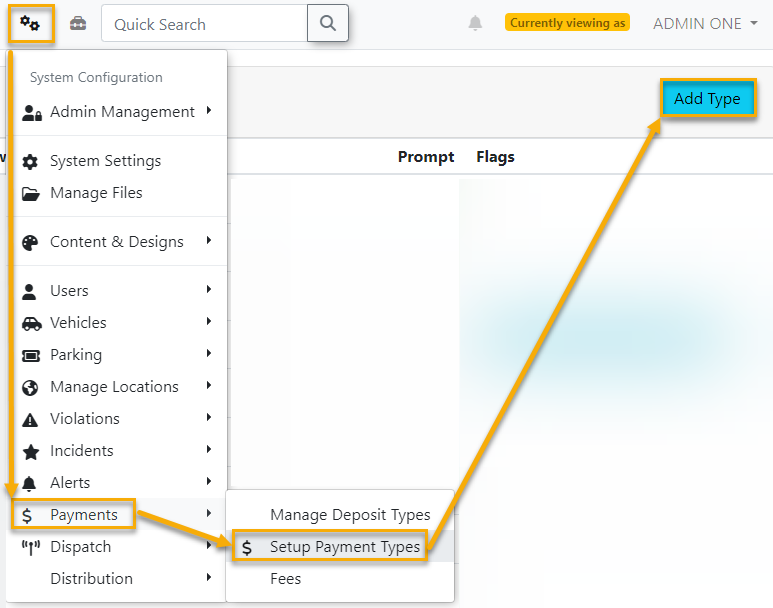
In the OPS-COM menu select System Configuration → Payments → Setup Payment Types → Add Type.
Select "Bambora - Checkout" from the Provider list.
|
Edit Payment Type - Enabled for User Types:
|
|

|
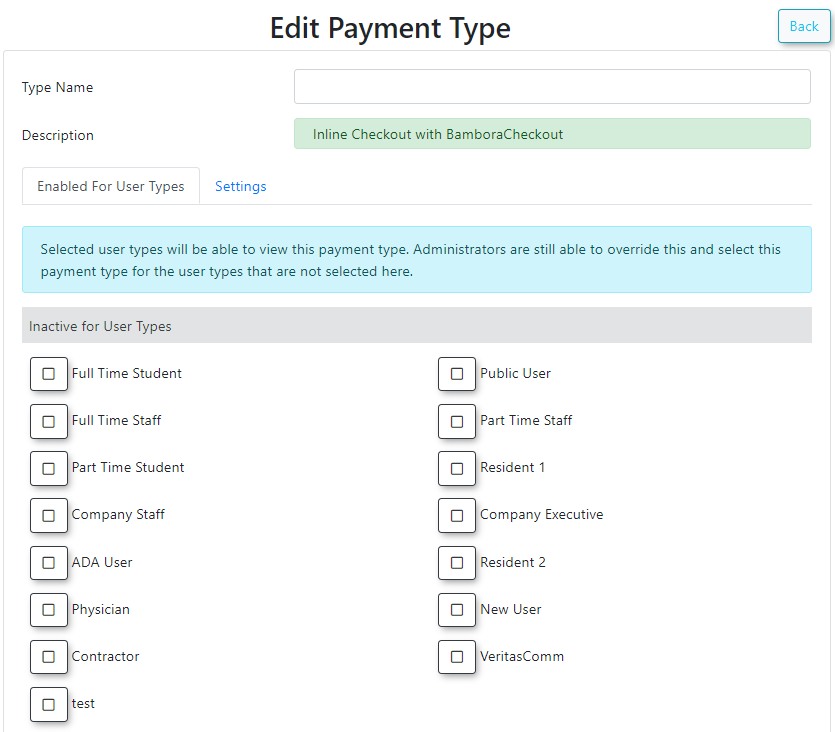
Type Name: The Type Name can be whatever you want it to be, though please note this will also be the name displayed to users during payment checkout when they are prompted to select a payment method.
You can reference the specific hosted payment provider or something more generic such as "Online Credit Card Payment", "Online payment", "Credit Card", etc. Really it's up to you and what you think makes most sense to your site users when making a payment.
Enabled for User Types: Select the User Types you wish this new Payment Type to be visible to so they can select it during payment checkout. You can change these user types at any time.
Once done make sure to click the "Update Payment Type" button at the bottom of this page.

|
|
|
|
|
|
|


