
Setting Up Your Survision LPR Camera
Note: This is assuming you have a PL8RDR computer already set up. See the PL8RDR information section below for more details.
Powering the Camera
Your Survision camera should come with a cable. This is only used for providing power to the camera; the camera connects to the PL8RDR wirelessly. Power on both the PL8RDR and the Survision camera.
Connecting to a Handheld Device
You will find the information for connecting to the PL8RDR here.
Positioning the Camera
Choose a plate on a vehicle to be your reference. Park your enforcement vehicle behind it and to the side, as if you were driving past a street-parked car. The camera on your vehicle should be 5 meters away from the reference plate, and angled less than 30 degrees off the front of the plate.
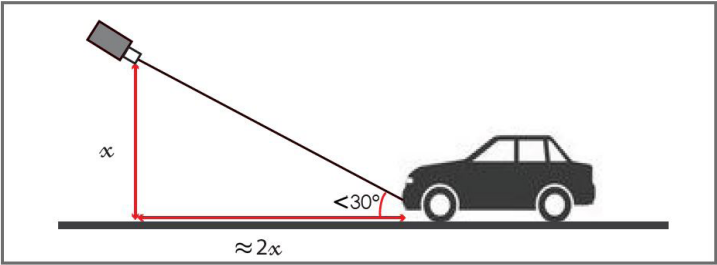
(This diagram shows a vertical angle, but the same applies horizontally.)
Connect to the pl8rdr.opscom Wi-Fi network on a device of your choice. The screenshots in this demonstration are from a phone, but any laptop or mobile device will work.
On your tablet (or other connected device) open a web browser, enter the IP address of the camera.
For OPSCOM's test cameras, use the IPs below:
One camera: 10.42.0.11
Two cameras: 10.42.0.11 and 10.42.0.12
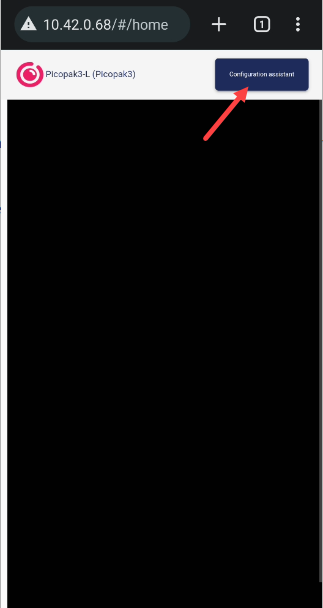
Click on "Configuration assistant".
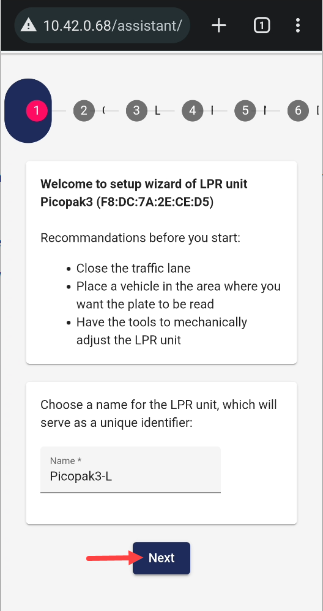
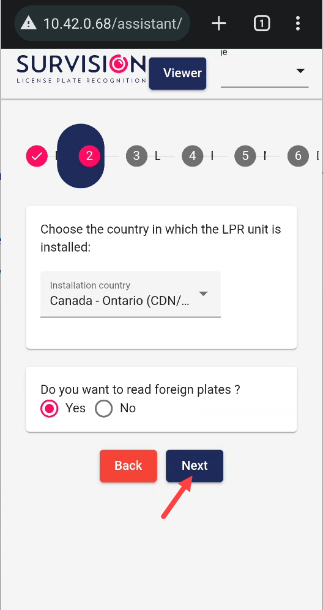
Proceed through the first 3 screens by clicking "Next" each time. These settings will have already been configured for you.
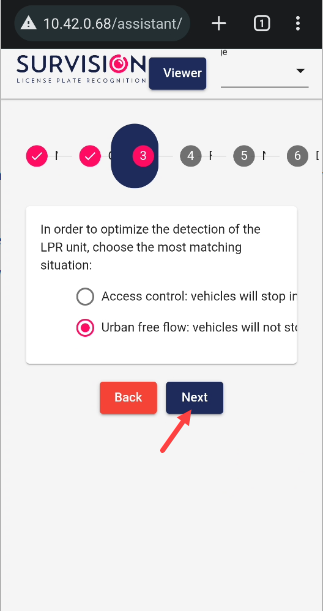
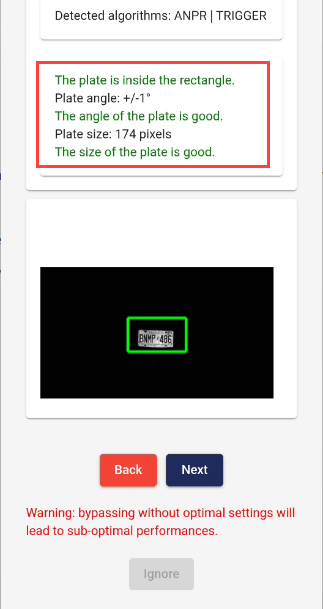
On the 4th screen, you will be prompted to set the camera angle. Adjust the camera on your vehicle until the plate you have chosen as your reference point is centered in the green box. The lines of text above the camera feed should all turn green when it is set correctly. When you are done, click "Next".
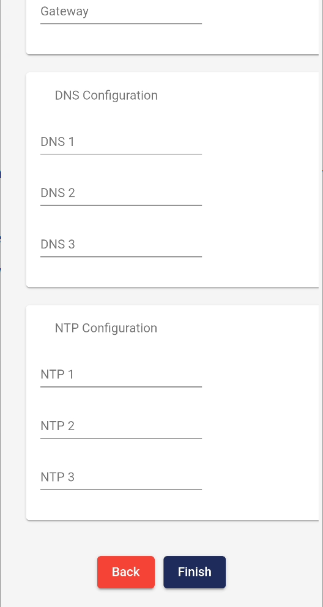
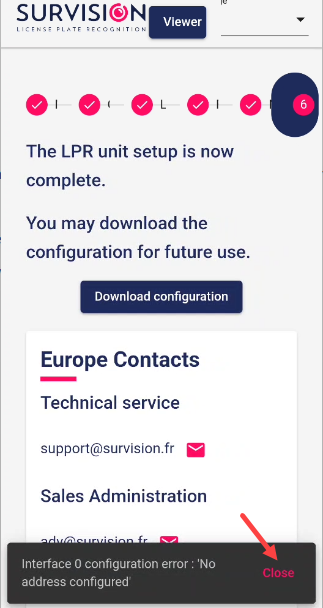
On the 5th screen, leave all the fields blank and click "Finish". The next screen may display an error message saying no address is configured. You can safely ignore this; the address is configured on the PL8RDR.
Your camera should now be set up at the correct angle. You can go through this quick setup process every time you need to reposition the camera on your vehicle.