Issuing a Plate Violation
Issuing Violations by Plate
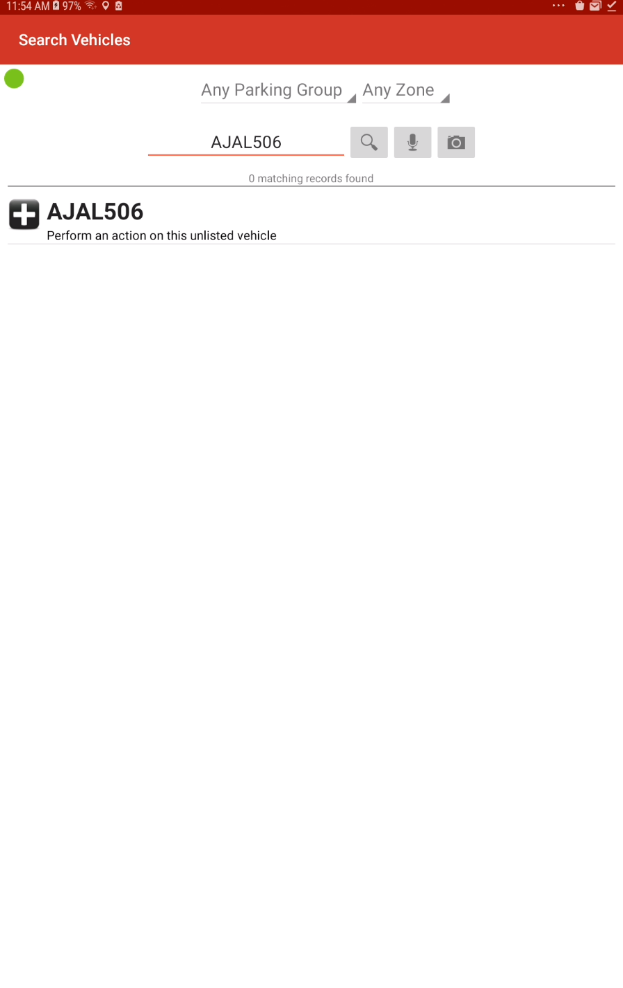
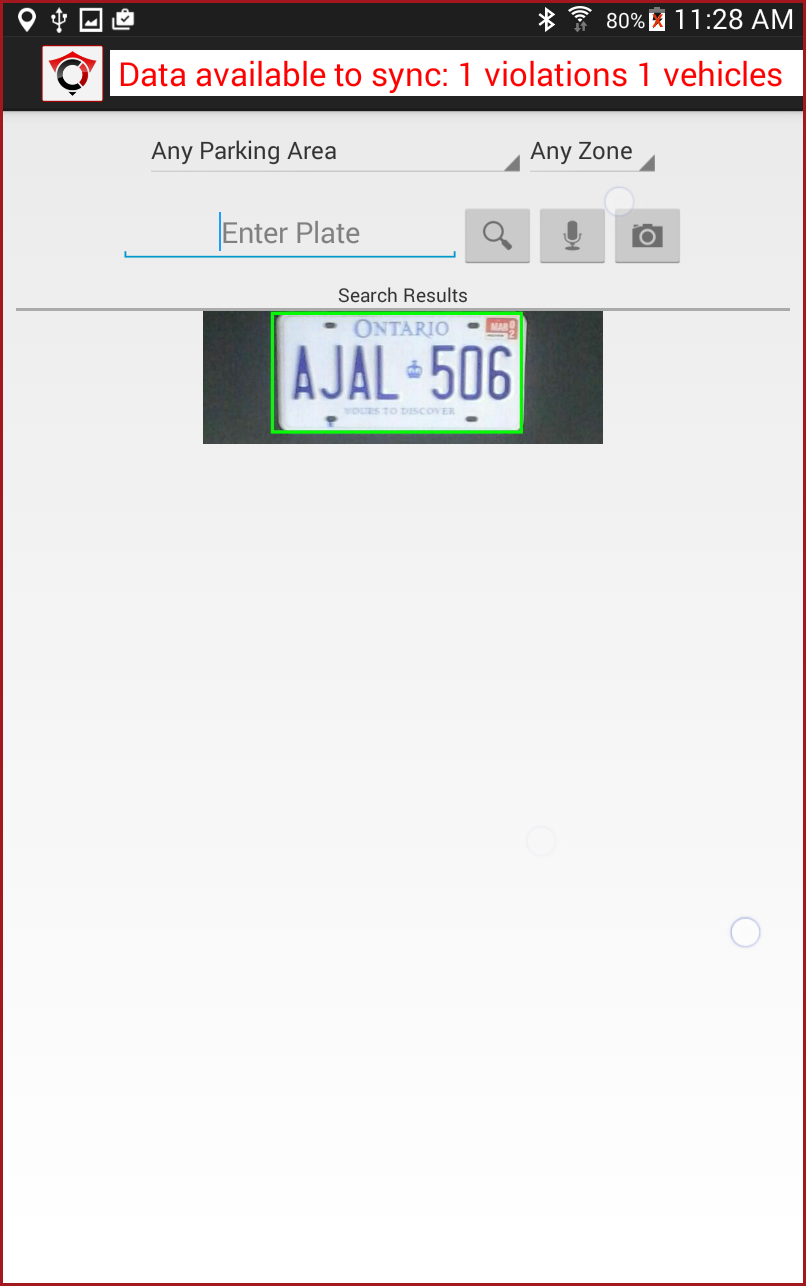
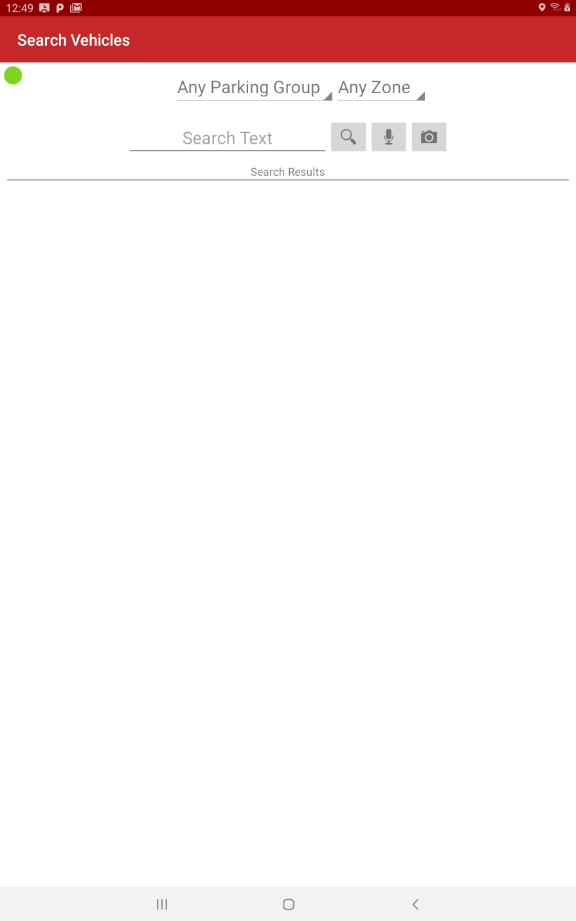
When logged into OPSCOM for Android, tap on the Search Vehicle menu.
After entering the plate number by OCR, voice or typing, the screen refreshes with a list of possible plate numbers.
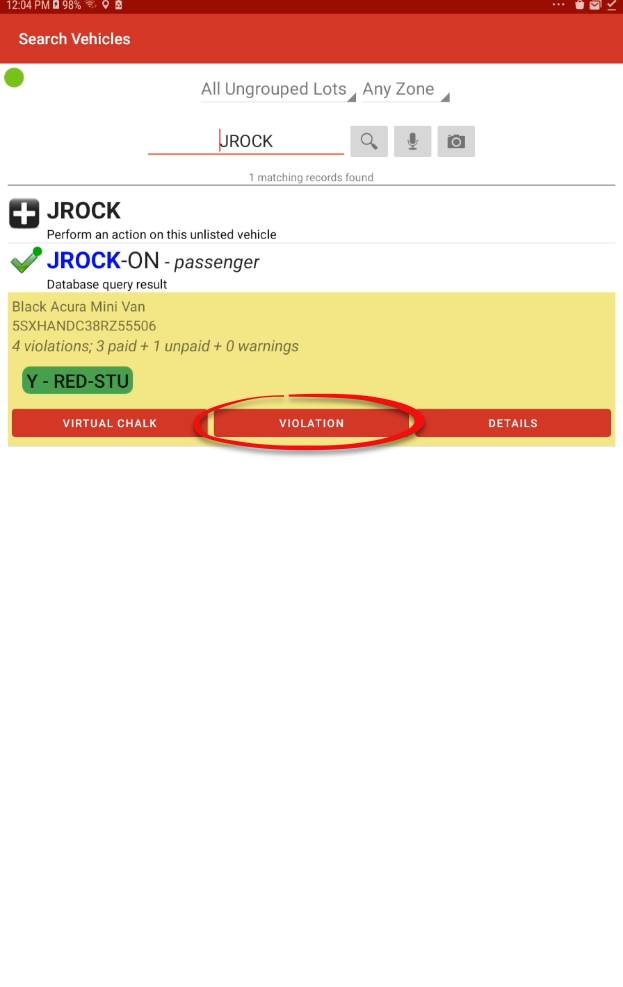
Note: The red x indicating this vehicle is in violation and the + indicates that the plate isn't in the system yet.
After searching the vehicle tap the plate that is in violation which will give you more options to perform on it such as chalking, violations, details and more.
This will take you to the Add Violation Record screen where you can add the vehicle details as well as add any images associated with the violation. If the user has a DNTT or valid permit then a warning message will appear before allowing you to write the violation.
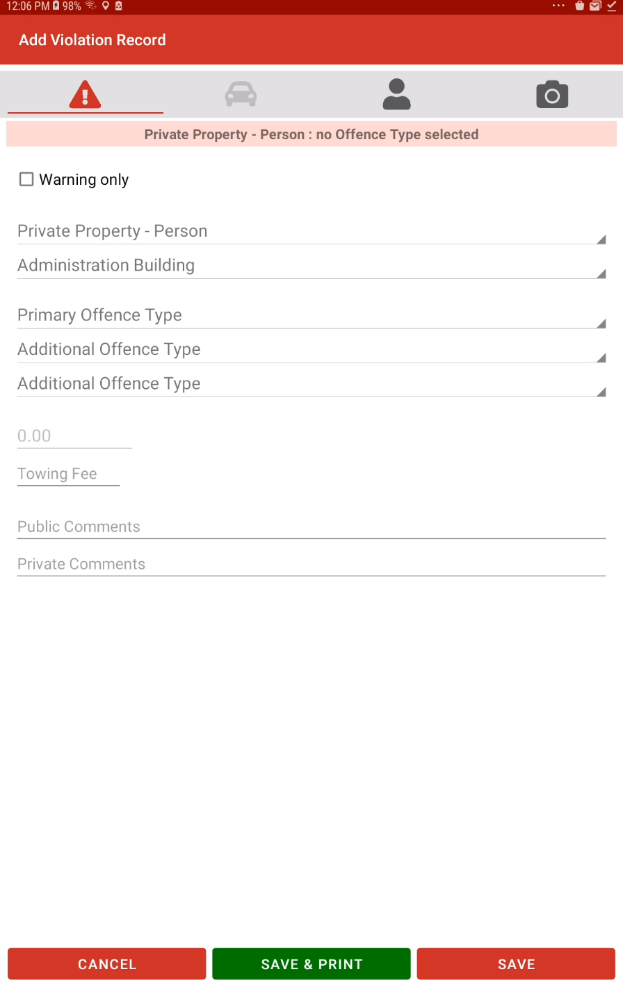
If the plate is known in the system then the vehicle information will be automatically completed and you can save or save & print the ticket.
- Tap the Select Offence Location. A drop-down menu appears for you to select the appropriate response.
- Tap to select an Offence Type, and a drop-down menu appears for you to choose the appropriate response. To change the fee from the default amount decided by the offence types you can select the fee amount.
- Tap on Towing Fee to add one if required. The cursor blinks to indicate you are in input mode. Enter an amount.
- Take pictures for proof in case of a dispute.
For an example of what the ticket would look like see New Vehicle Violations.
New Vehicle Violations
To issue a violation to an unknown vehicle you just need to make sure that you complete the vehicle information yourself. This will add them to the system the next time you sync your handheld.

To continue issuing the violation
- Add vehicle details. Tap to add a vehicle description.
- Tap the Select Offence Location. A drop-down menu appears for you to select the appropriate response.
- Tap to select an Offence Type, and a drop-down menu appears for you to choose the appropriate response. To change the fee from the default amount decided by the offence types you can select the fee amount.
- Tap on Towing Fee to add one if required. The cursor blinks to indicate you are in input mode. Enter an amount.
- Take pictures for proof in case of a dispute.
Tap Save and Print. Ensure that the printer is powered on and connected. A Ticket will print, and the handheld device will return to the Vehicle Search screen.
If a violation is entered on a plate, the VIN number will not appear on the ticket unless the vehicle only has a VIN number, then the VIN number will appear on the ticket in the license plate field.

After printing you are able to add additional images to the vehicle record this can be useful for when an image of the ticket on the windshield is needed.
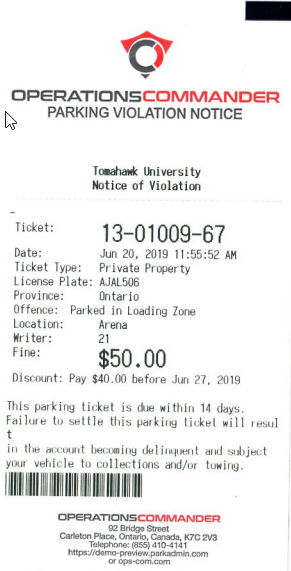
Explanation of the Front of the Ticket/Warning
Ticket Number - This is a system assigned number that identifies each individual violation/warning.
Date - This is the date that the violation/warning was issued on.
Ticket Type - This identifies the type of violation that occurred (broad range category).
License Plate - This is the license plate number for the vehicle that incurred the violation.
Province - This is the province that the license plate is issued in.
Offense Type - This identifies the specific violation that occurred.
Location - This identifies the location where the violation occurred.
Writer - This is a system assigned number that identifies the enforcement officer that issued the violation. Each enforcement officer has their own unique number and can be verified by administrators. The writer is identified by a unique identifier to provide security to the enforcement officer. If you require more information about the ticket writer you can search the violation on the admin side and get an actual name for the person who wrote the ticket.
Fine - This is the amount owed for the particular violation. Note, on the warning ticket the amount is followed by "*Warning". This indicates that the amount on the ticket is not owing, but this is the amount that would be due if a ticket for the same violation was issued.
Towing - This is the amount due if the vehicle that incurred the violation had to be towed.
Comments - This section includes any additional notes that the enforcement officer wants to include.
Explanation of the Back of the Ticket/Warning
The back of the ticket provides details about the organization that issued the ticket and the policies and procedures regarding the ticket. The back clearly identifies how the violator can pay or appeal the ticket with a section for the violator to identify themselves and sign off on the ticket. The back also identifies where to find additional information on the organization and the office hours.
Important Note:
Best Practice TipNote the reminder at the top of the screen indicating there is data to sync. This is especially important at the end of a shift. You don't have to sync when you see the flashing bar immediately. |
|
|---|
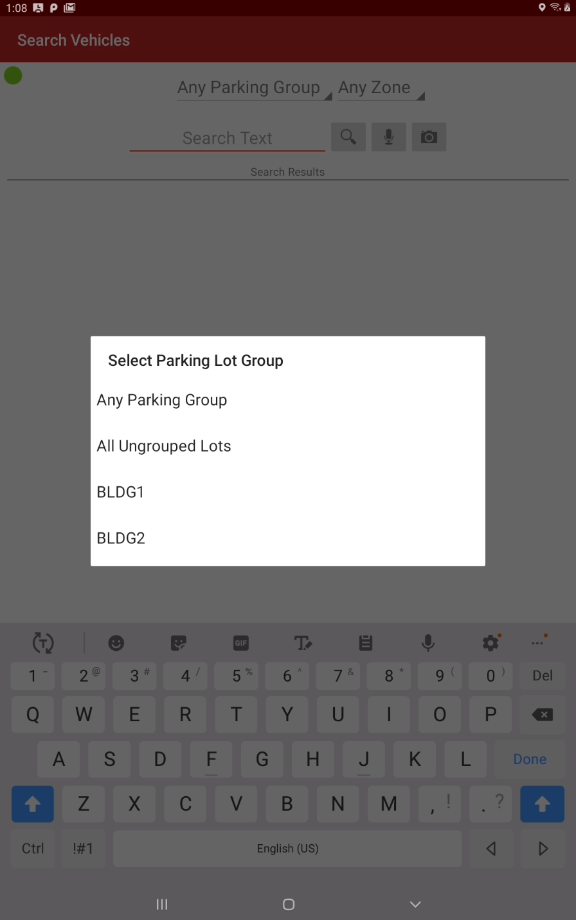
Using Groups and Zones
Plate searching and vetting can be focused on using groups and zones.
When using virtual lots, you can specify groups and specific zones within the group.
For example, there may be parking available closer to a building that could be reserved for specific groups of people.
In our example Building, 1 has spots for Day Care parking.
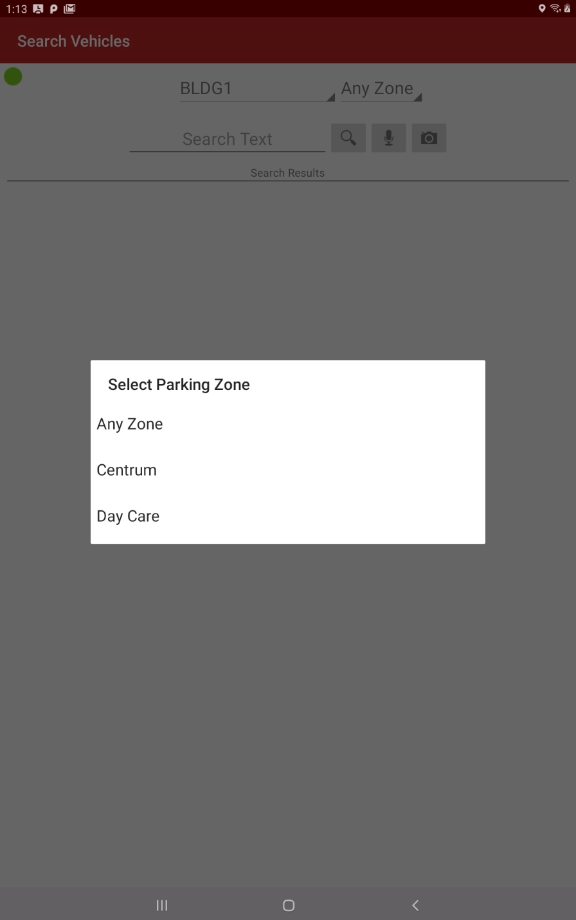
Tap on Any Parking Group to access a list of groups. Here we select BLDG1 for example.
Tap Any Zone to select the specific zone you are patrolling. In this example we are going to patrol the Day Care zone.
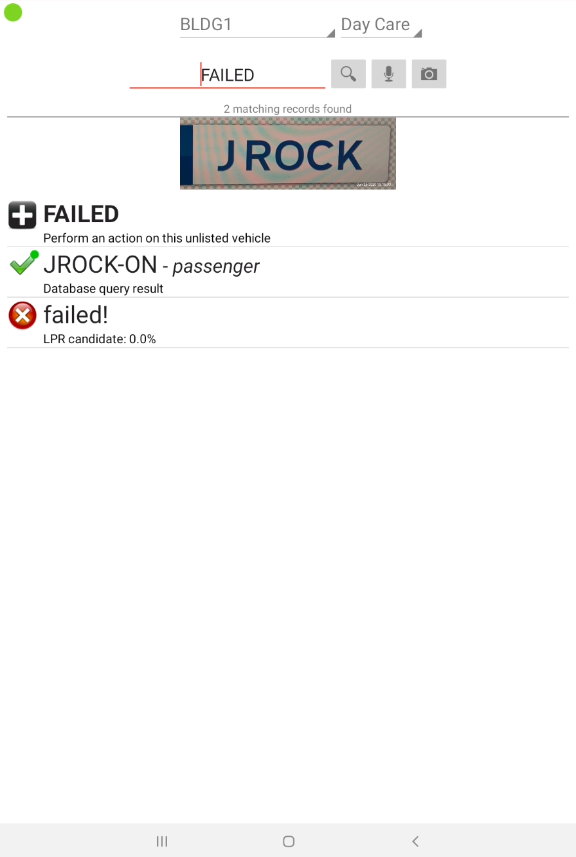
The following is an example of a vehicle permitted to use daycare parking after 12:00 pm.
With the handheld unit set up as described above the plate was scanned using the LPR/OCR functionality.
The Green Check Mark indicating the vehicle is permitted to park in the specified Group and Zone.
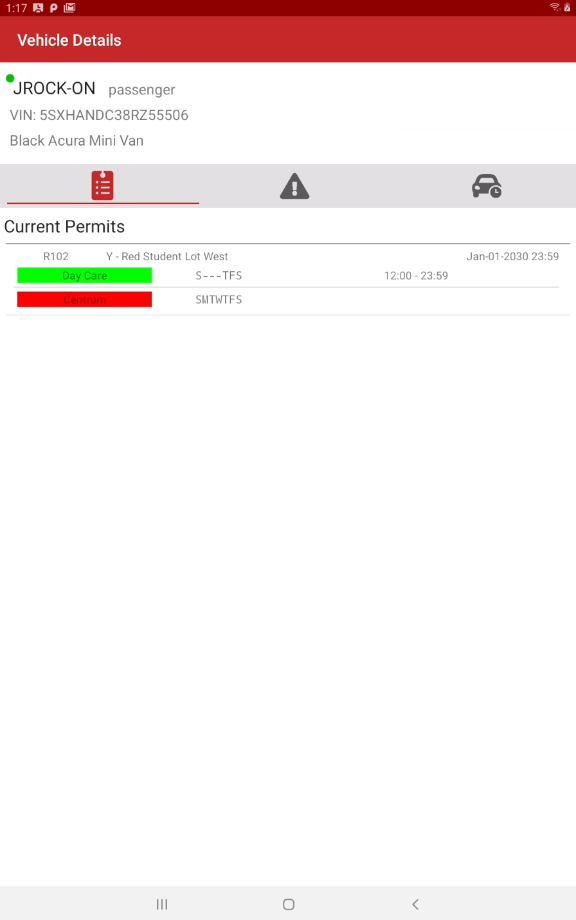
Tapping the vehicle and viewing the Vehicle Details shows you extended permit information.
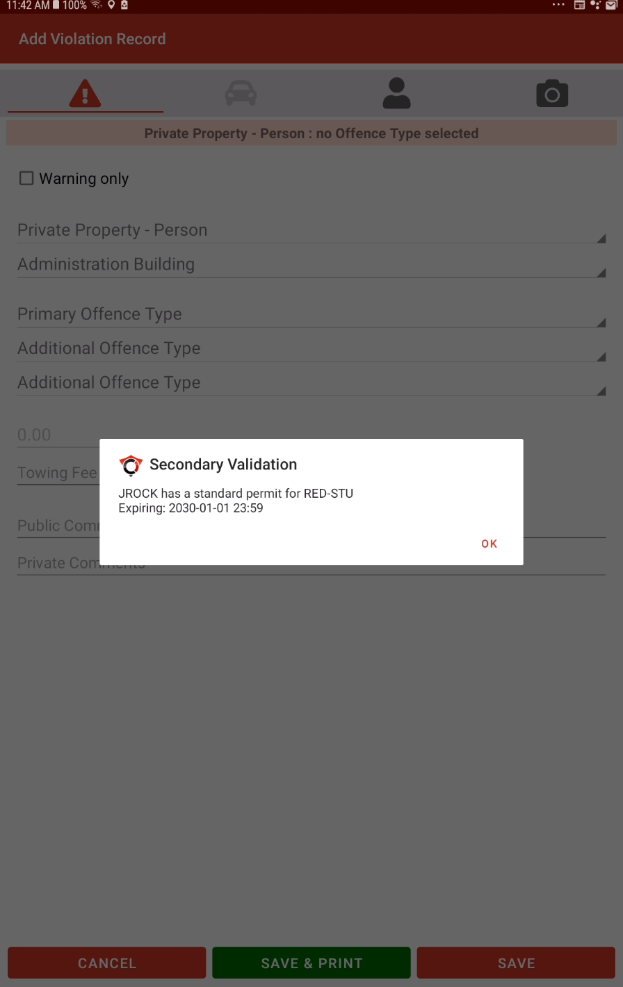
Secondary Check On Permit Validity
When creating violations, the handheld units will perform a secondary check on the vehicle to alert the patrol officer if the plate has a valid permit.
In our example, the plate JROCK has a valid monthly permit in the Red Student Lot Yearly (Y-RED-STU).
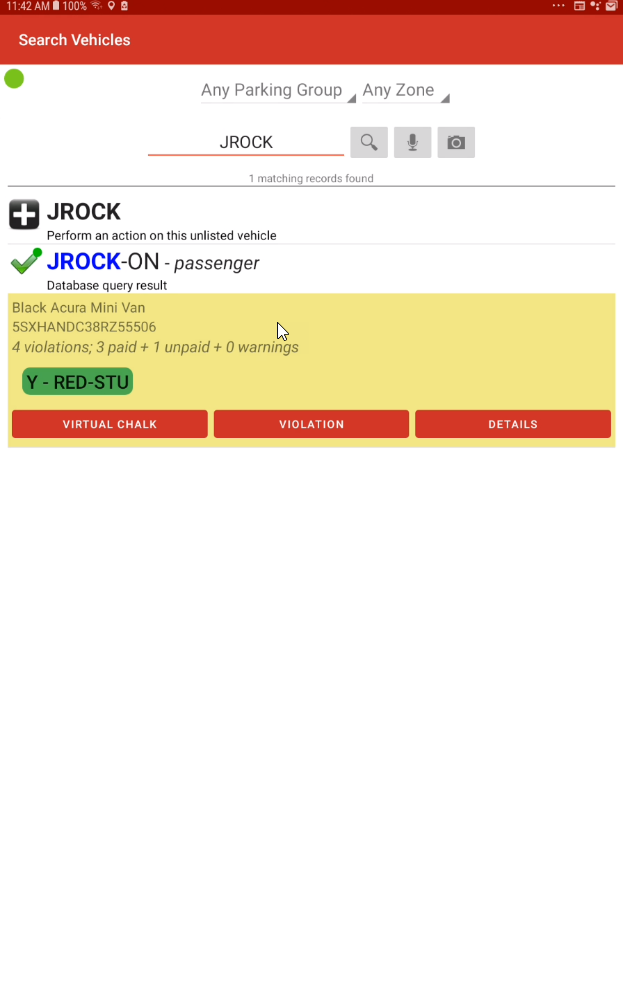
If the officer proceeds to Issue a Violation the unit will issue a warning that the plate has a valid permit. It will still allow a violation to be created at the officer's discretion in the case that the violation is for something other than a valid permit.