Accepting a Student Account Payment from the Admin Portal
Accepting a Student Account Payment
To Begin lets select a permit to purchase. In this case the admin is assigning a permit to a student and taking payment via Student Account.
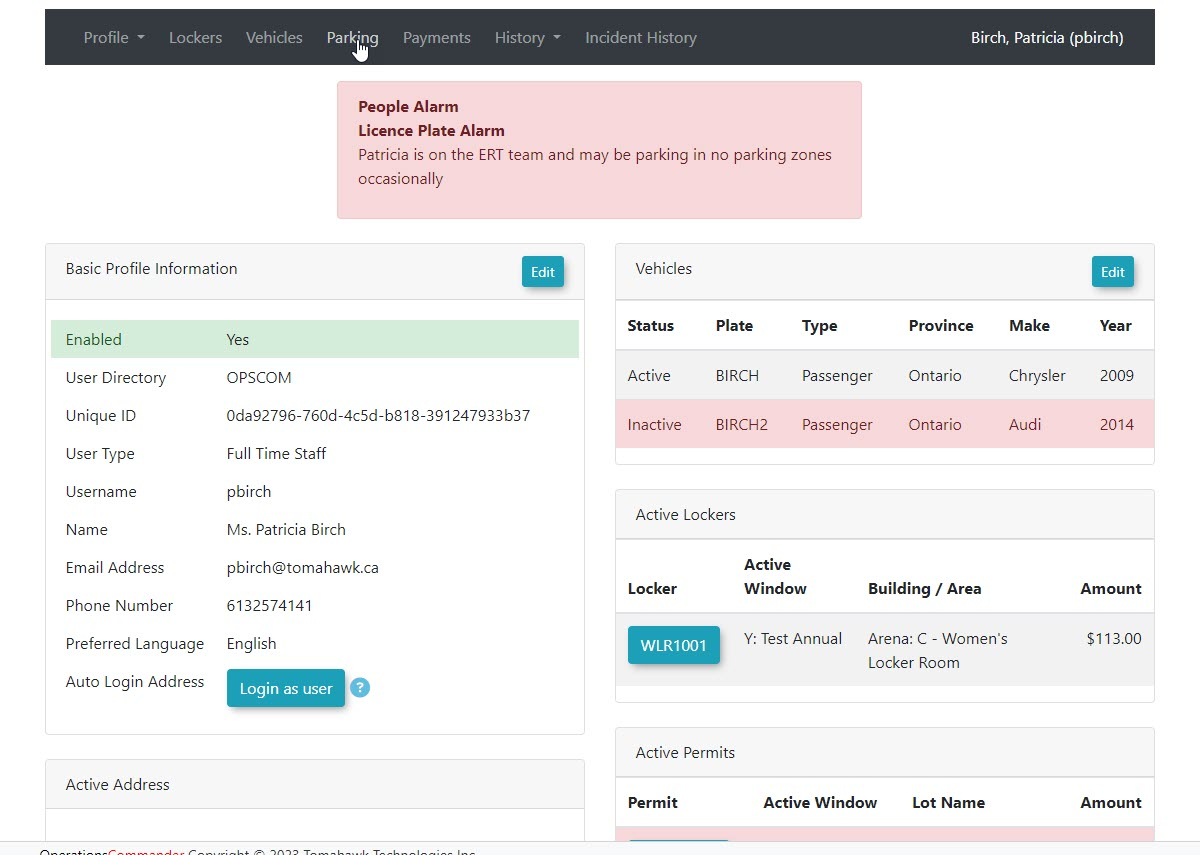
In this example we are purchasing a permit in the General Monthly Lot for Patricia Birch.
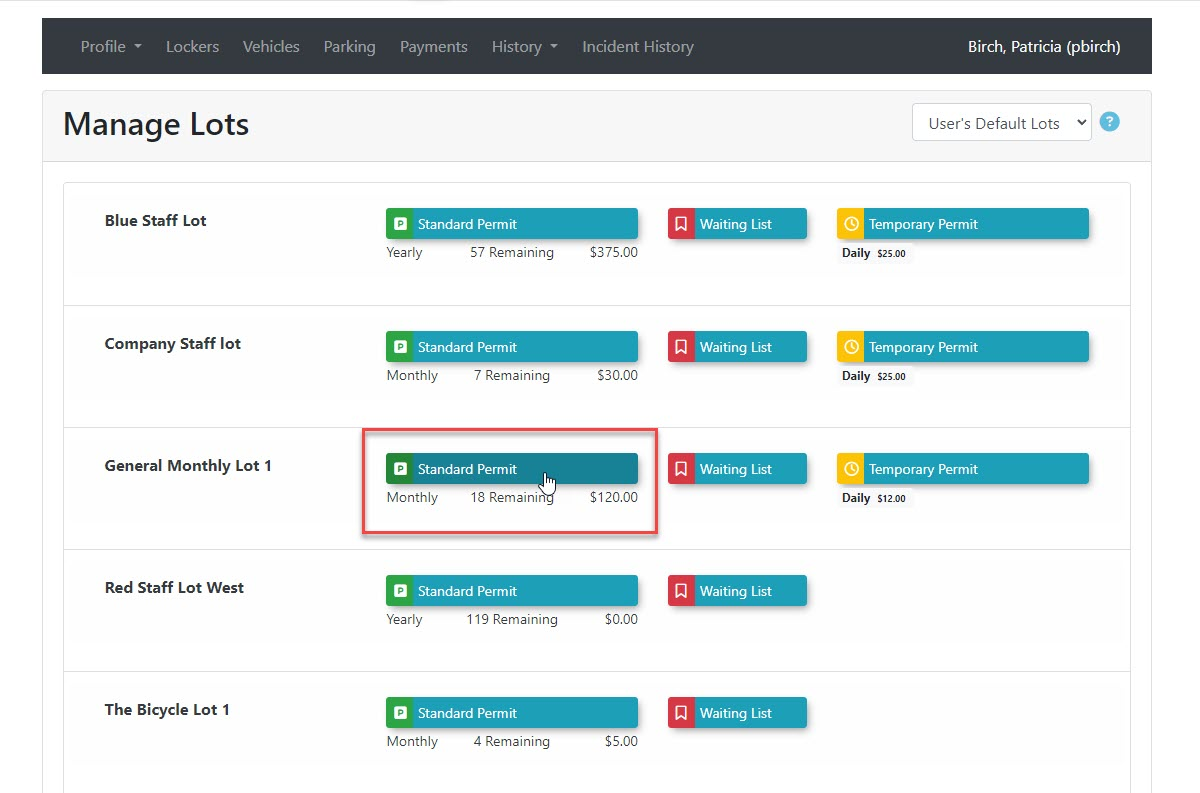
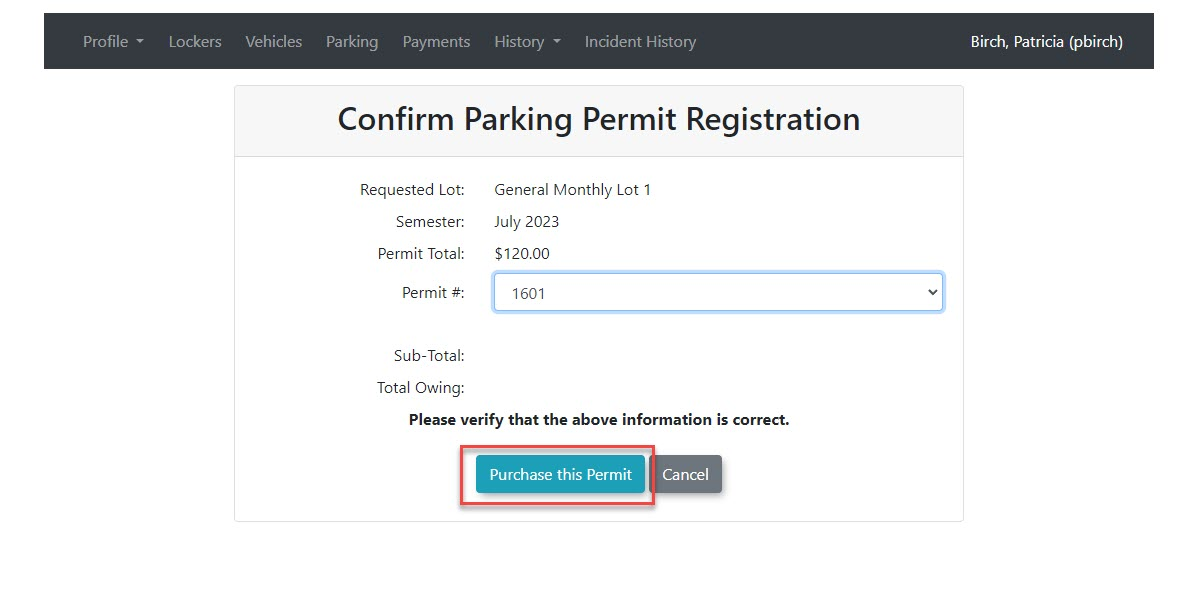
Once the lot has been selected, the admin can then choose a permit to assign to the user. Click on Purchase this Permit to continue.
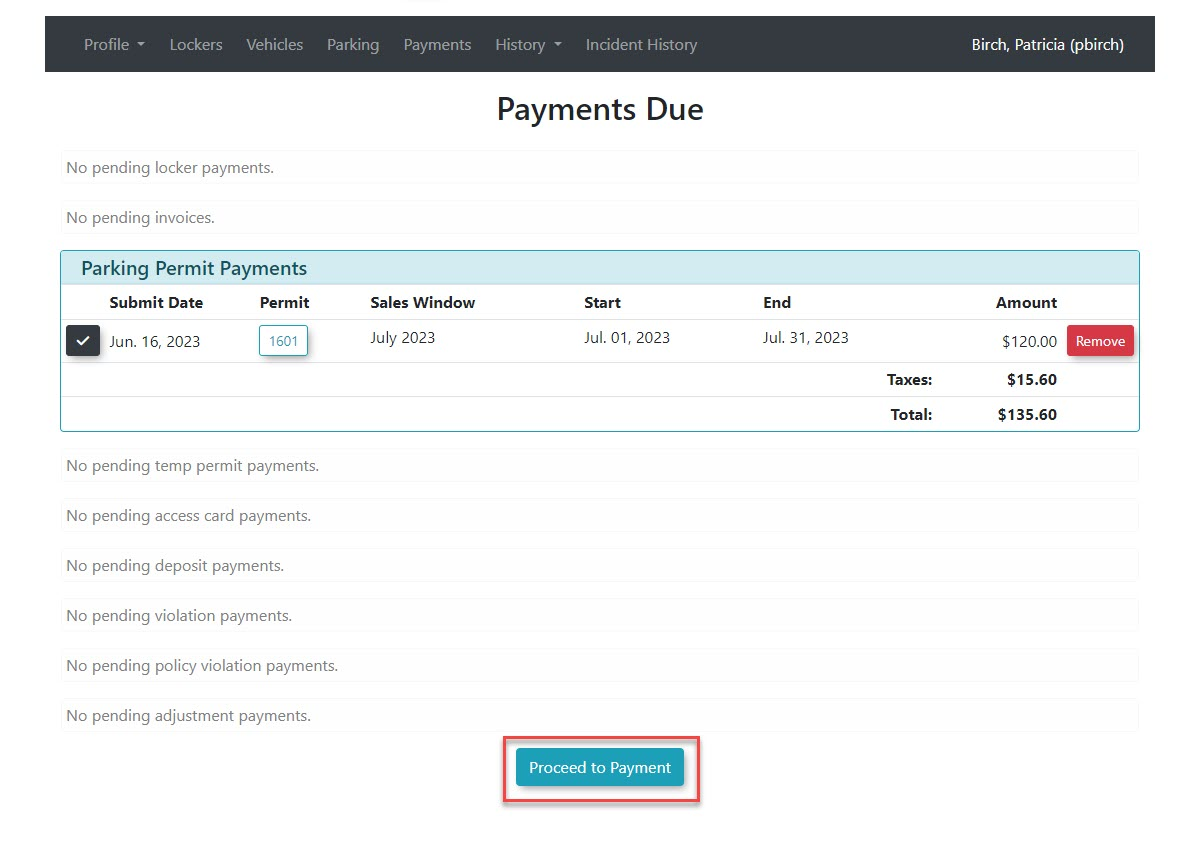
The payment due page will appear. Click on Proceed to Payment to continue.
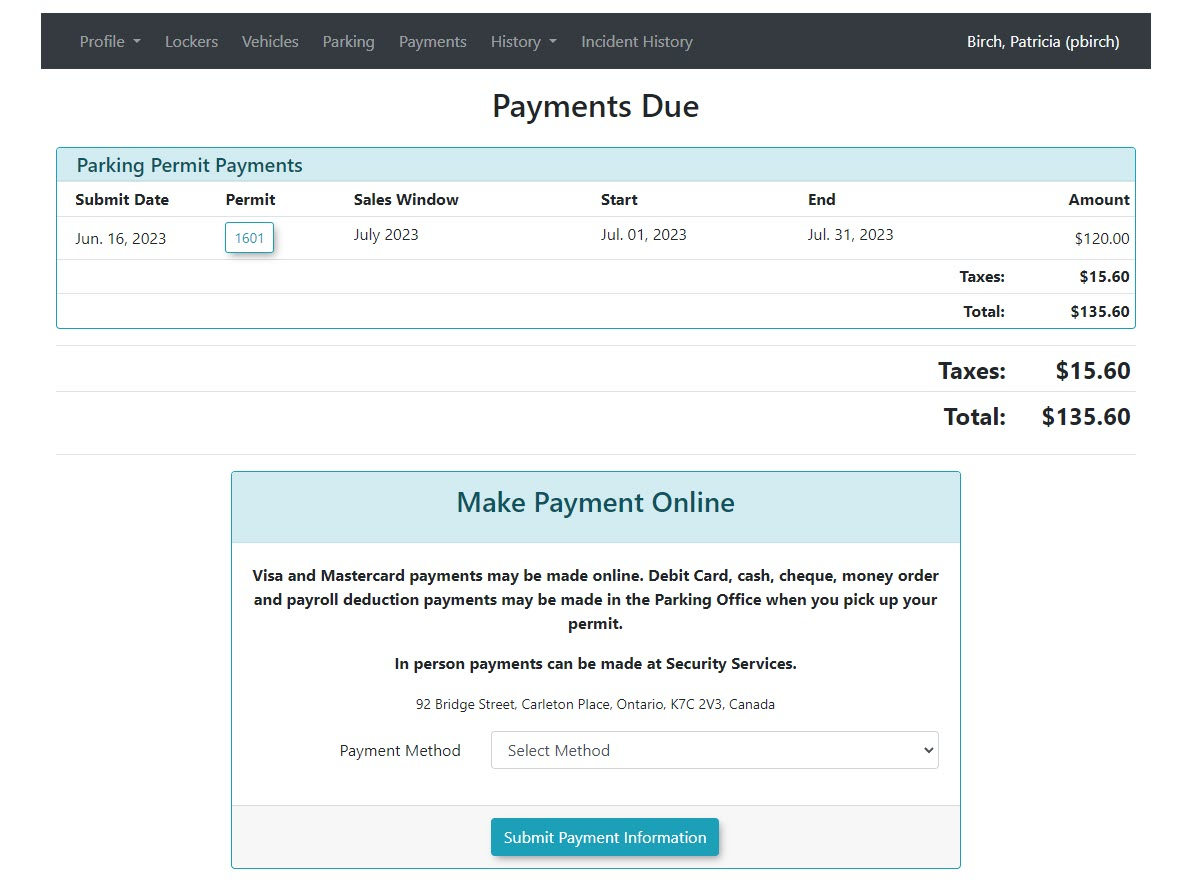
The screen will refresh and the admin will be presented with the Payment Selection section of the process.
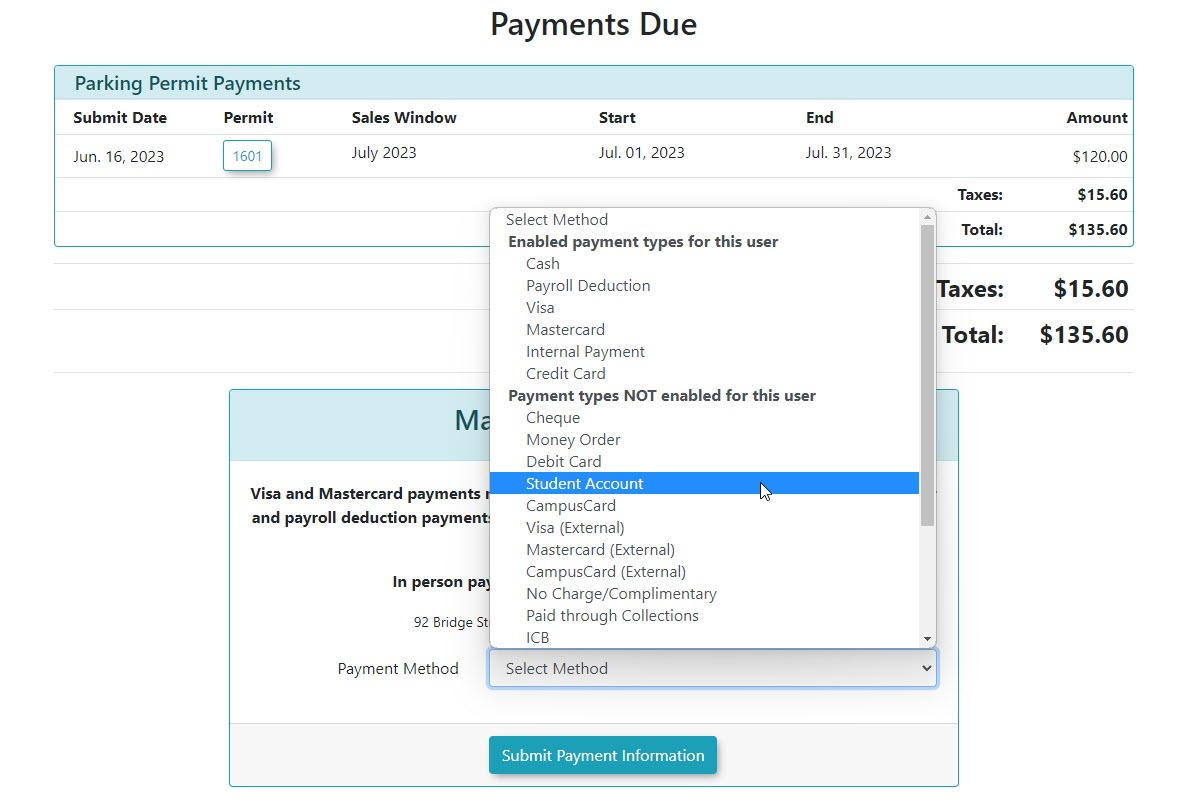
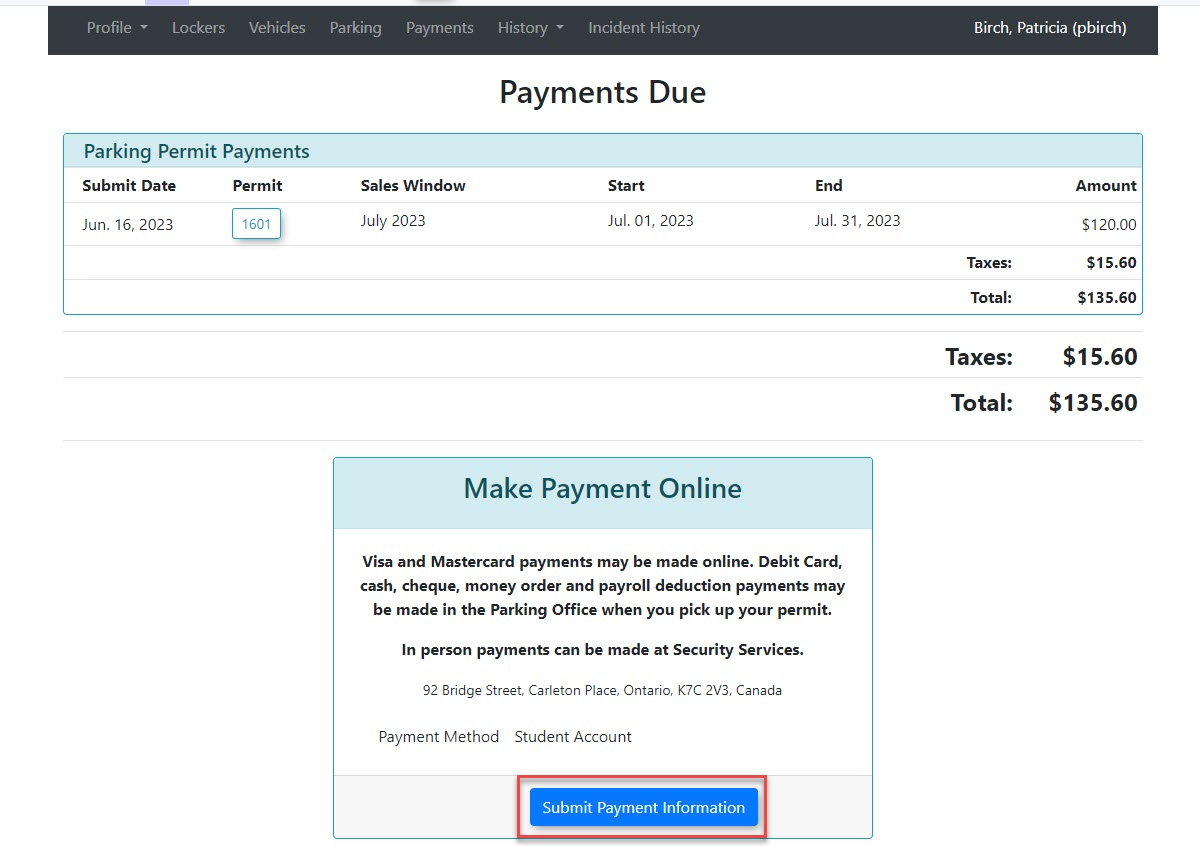
In this case we have selected a Student Account payment. Click Submit Payment to continue.
The screen will refresh and the admin will be presented with the Payment Selection section of the process. In this case we have selected a cash payment. Click Submit Payment to continue.
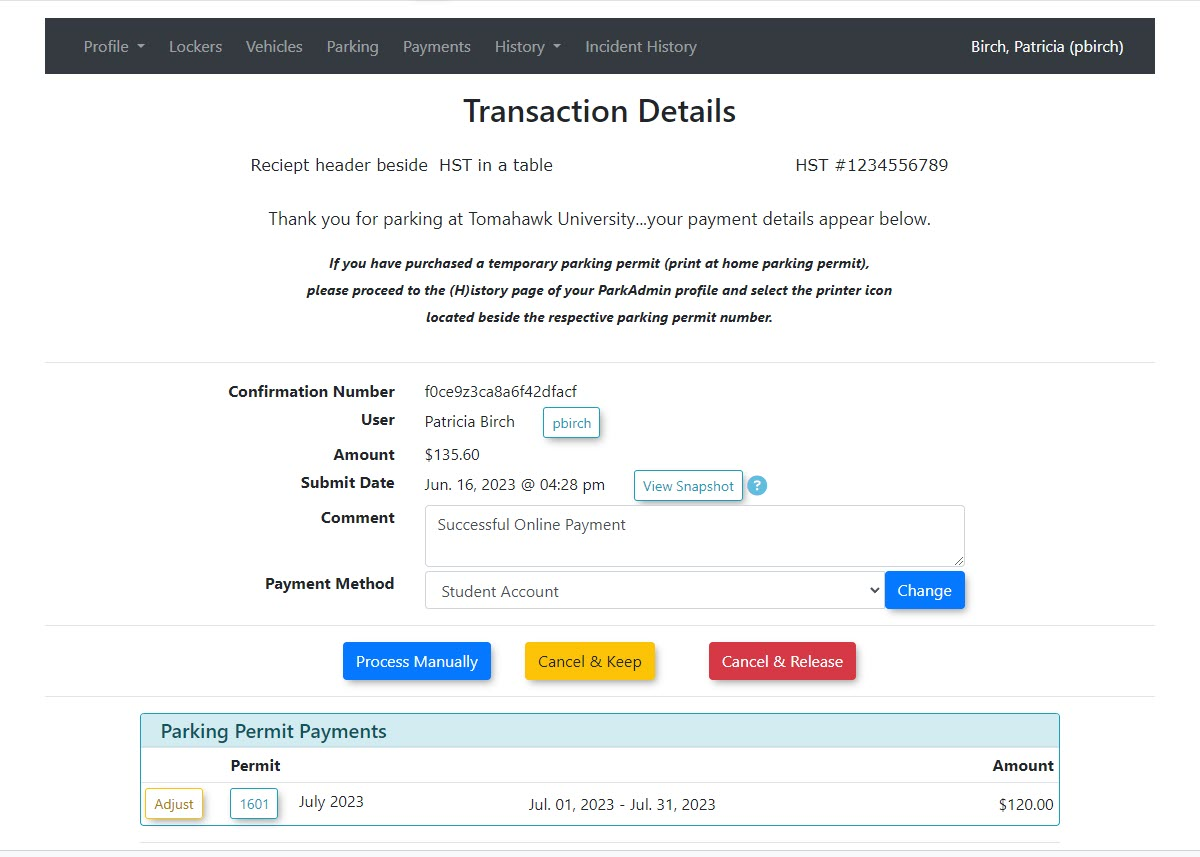
The Transaction Details screen will appear. There are three choices available.
- Process Manually which will complete the transaction
- Cancel and Keep which will terminate the transaction but return the locker to awaiting payment status
- Cancel and Release which will also terminate the transaction and release the locker back into the pool of available lockers to rent.
IN our example we will select Process Manually to complete the transaction.
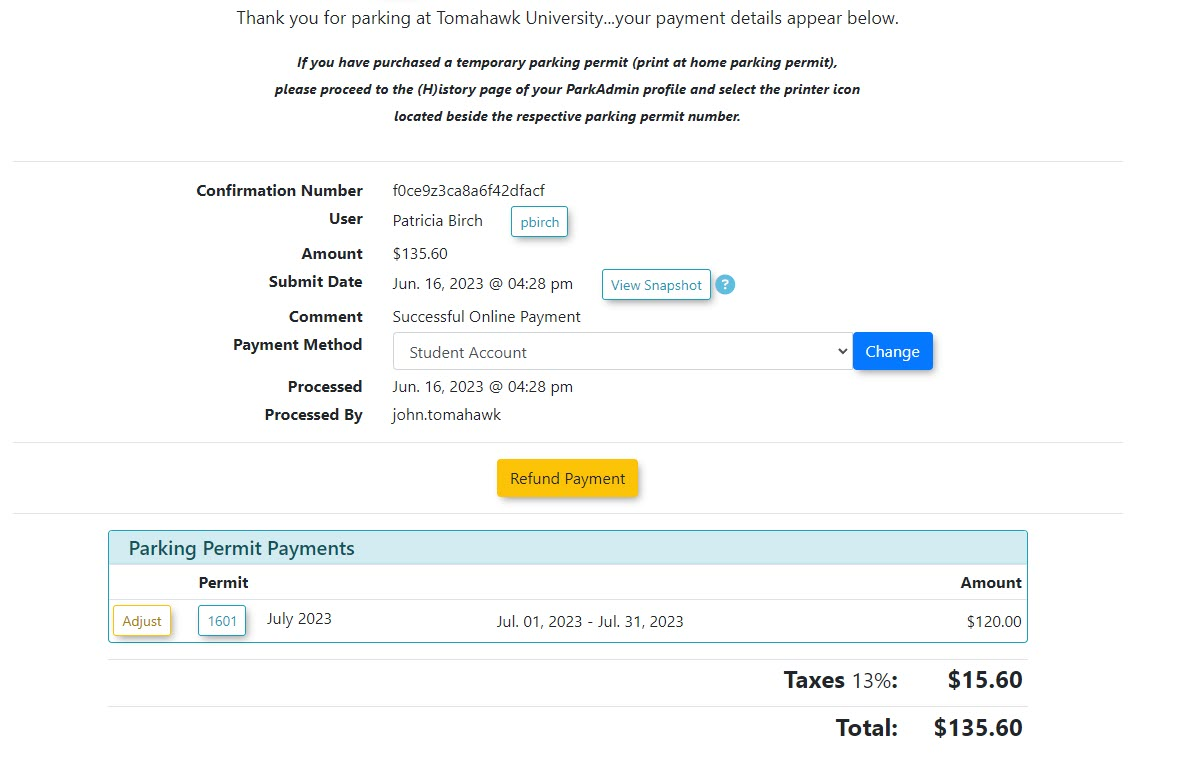
The payment will be processed and the Transaction Details screen will display a receipt. Because the payment method is Student Account the item will be marked as paid by student account.
A report can be run of daily payments filtered by Student Account. This report can be provided to the financial department to allow finance to retrieve the funds from the student account.