
Payment for a locker from the Admin Portal
The Locker Payment feature allows administrators to assign a locker and process the associated payment on behalf of a user directly from the administrative portal. Its primary purpose is to seamlessly facilitate locker rentals and handle in-person transactions, ensuring accurate inventory and financial tracking. This article is intended for OPSCOM administrators.
Setup and Configuration
There is no specific system configuration required to use this feature, provided your locker inventory and payment methods are already established. Processing a locker payment is a standard administrative action available to users with the appropriate user management and payment processing permissions enabled on their account profile.
Using this Feature
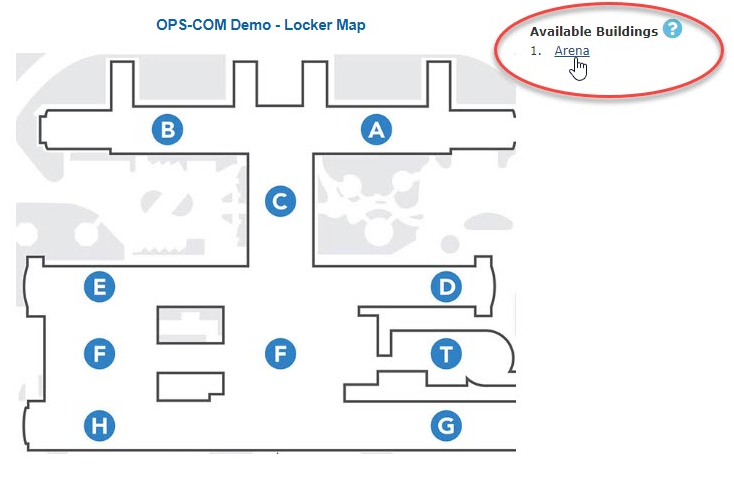
Administrators can navigate the assignment and checkout process for a locker in just a few steps from a user's profile.
Visual Cues and Status Indicators
-
Receipt Generation: Once the payment is successfully processed manually, the final Transaction Details screen will refresh to display a detailed receipt, confirming the locker assignment and the logged payment.
Best Practices and Considerations
Managing Incomplete Transactions: If a user forgets their wallet or needs to step away during an in-person transaction, use the Cancel and Keep button. This safely holds the specific locker under their profile for future payment without forcing you to restart the entire assignment process when they return.
-
Verify the User Profile: Always verify you are processing the transaction on the correct user profile before clicking the final process button to prevent assigning inventory or logging manual payments to the wrong account.
-
Releasing Inventory: If a user changes their mind at the final checkout step and no longer wants the locker, ensure you click the Cancel and Release button so that the locker immediately becomes available for other users to rent.