
Clearing Items Awaiting Payment
Clearing Items Awaiting Payment and its associated system tasks allow administrators to view and automatically clear unpaid permits and lockers sitting in user shopping carts. Its primary purpose is to free up unpaid inventory by returning items to the system after a specified timeframe. This article is intended for OPSCOM administrators responsible for inventory management and system configuration.
How the Clearing Process Works:
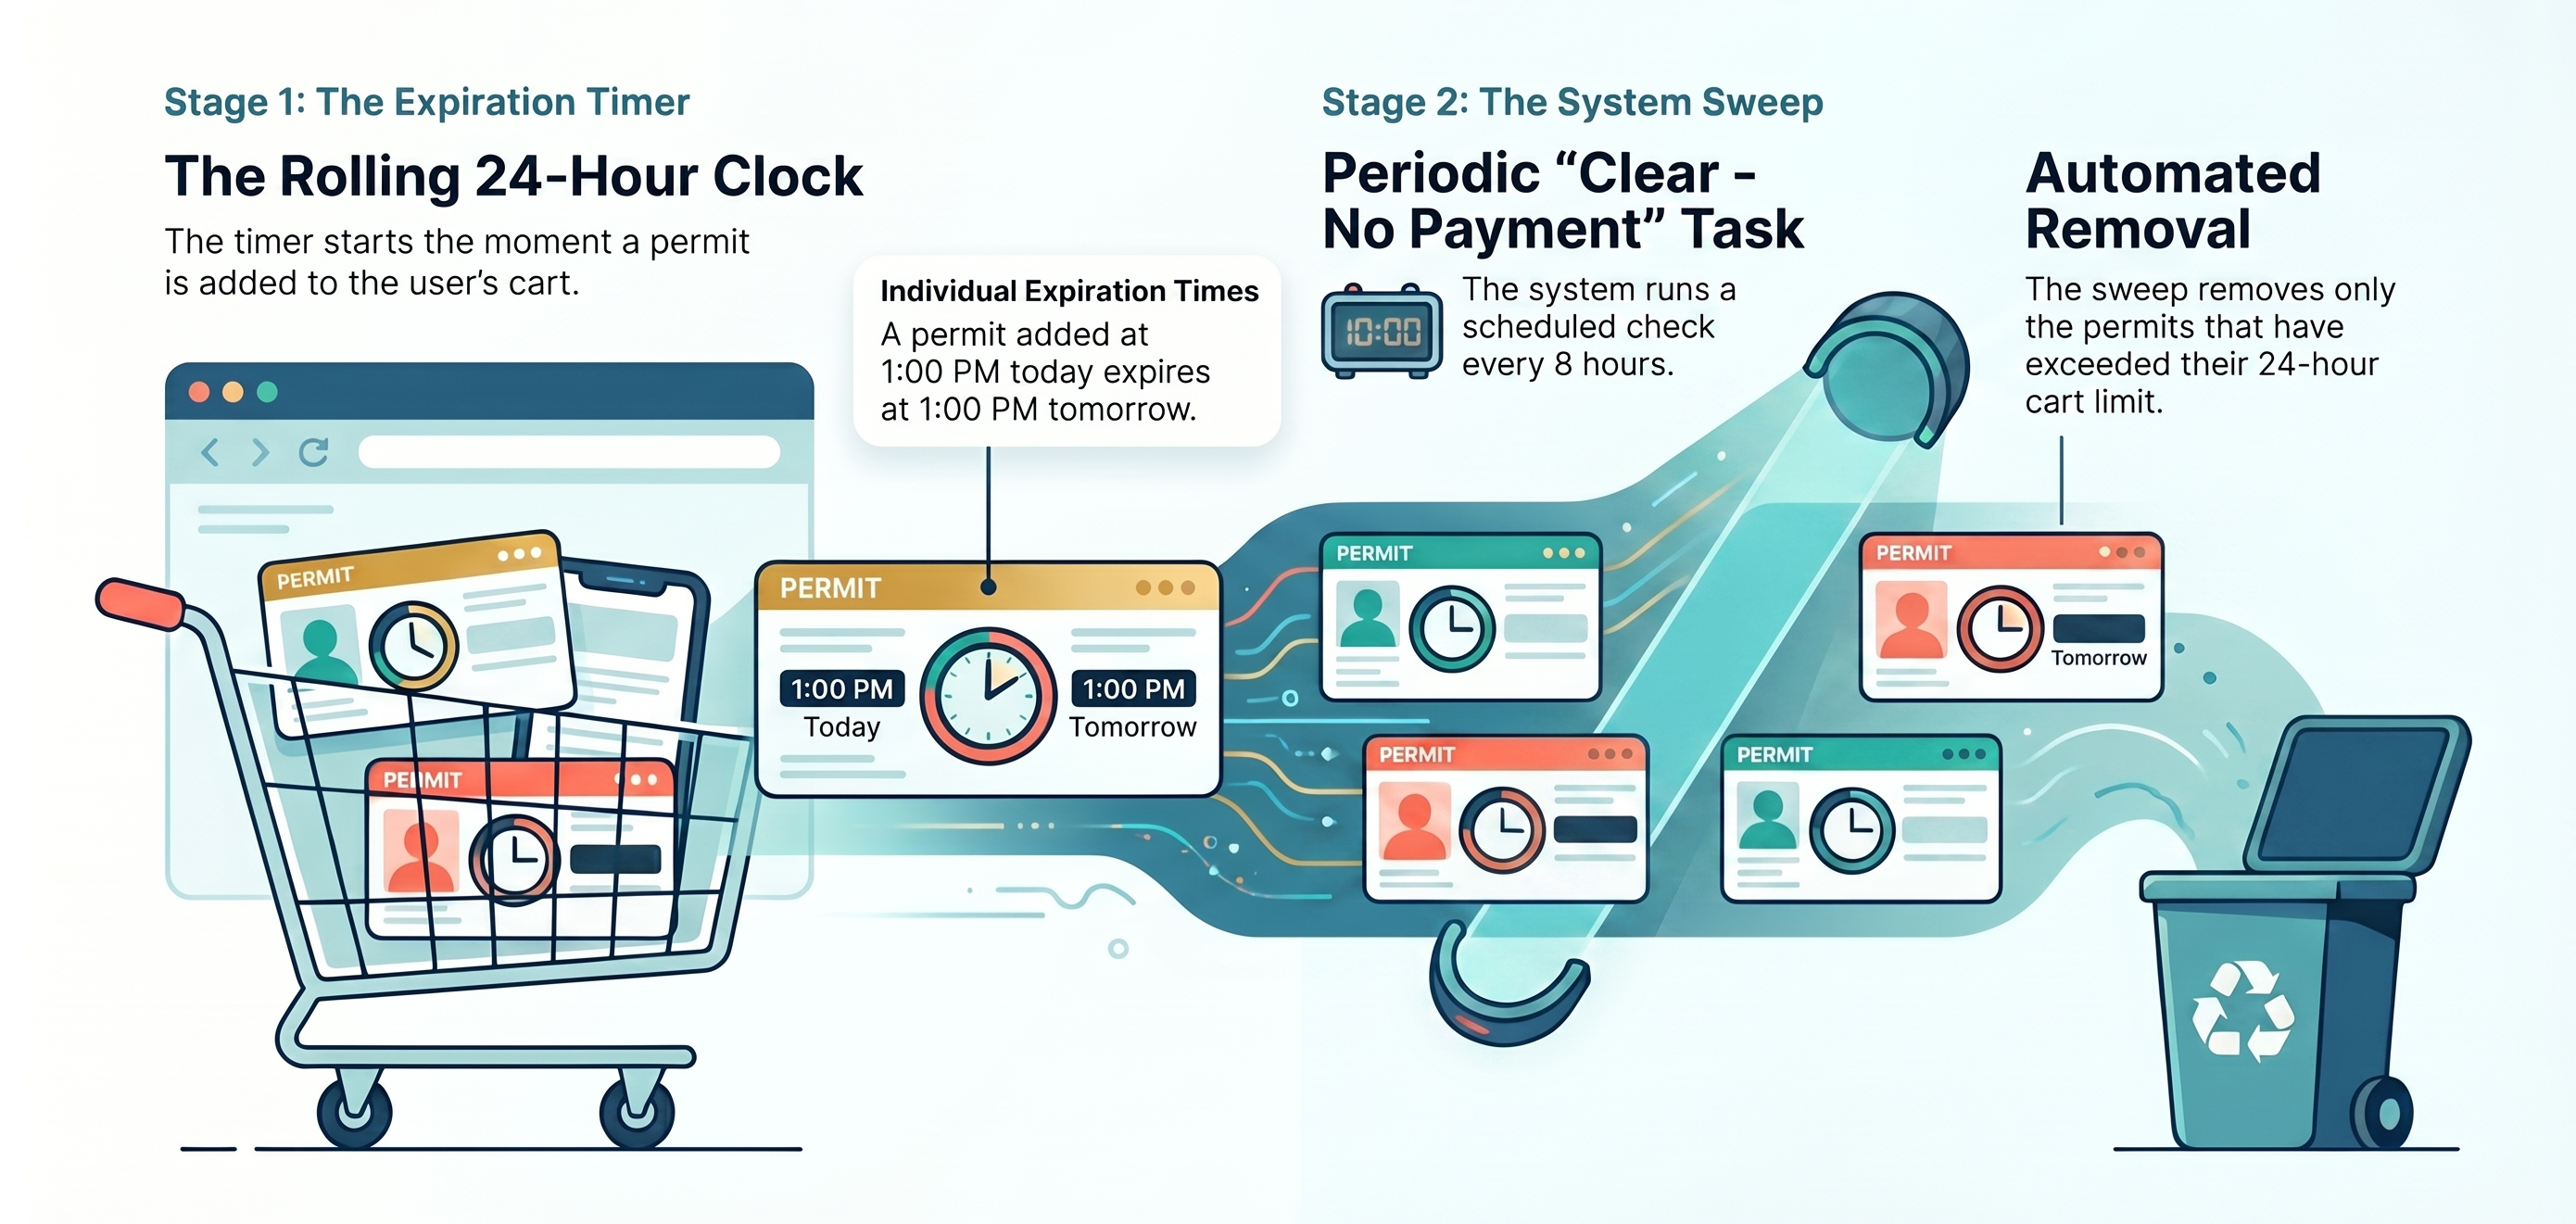
The automated clearing process operates in two distinct stages to ensure unpaid inventory is returned to the system:
-
Individual Item Expiration (The Timer): The moment an item (permit or locker) is added to a user's cart, a rolling clock starts. The item expires based on the duration set in the Clear Payments After X Hours setting (for example, an item added at 1:00 PM with a 24-hour setting will expire at 1:00 PM the following day).
-
Periodic System Sweeps (The Task): The Clear - No Payment scheduled task runs periodically based on your configured schedule. When the task executes, it scans all active shopping carts and automatically removes only the items whose individual expiration timers have passed. Unexpired items remain in carts until the next scheduled sweep.
Setup and Configuration
To enable the automated clearing process for permits or lockers, contact support@ops-com.com to have the initial backend settings enabled for your environment (requires Primary Admin authorization). OPSCOM Support will configure the Clear Unpaid Permits toggle, Clear Unpaid Lockers at Midnight toggle, and the Clear Payments After X Hours timeframe on your behalf.
Once Support has enabled these underlying settings, administrators can manage and schedule the clearing task directly within the portal:
Once Support has enabled these underlying settings, administrators can manage and schedule the clearing task directly within the portal:
-
Click Tools, and then click View System Task Logs.
-
Locate the Clear - No Payment task.
-
Click the toggle switch to set it to Enabled.
-
Click the pencil (edit) icon next to the task to open the Edit schedule — Clear - No Payment pop-up modal.
-
Select your desired Schedule type (e.g., Daily at a set time) and set the execution time in the Run at field.
-
Click Save.
Using this Feature
Administrators can manually review the Midnight List for both permits and lockers to see which items are pending removal.
Viewing Permits without Payments
-
Hover over Parking Management, click Reports, and then click Midnight List.
-
Review the report displaying all users with permits in their cart that do not have an associated payment.
Viewing Lockers without Payments
-
Hover over Locker Management and click Midnight List.
-
Review the report displaying all users with lockers in their cart that do not have an associated payment.
Available Actions
From either Midnight List report, you can perform the following actions:
-
See items to be cleared: View the specific inventory sitting in the user's cart.
-
Email the affected users: Send a communication to users reminding them to complete their purchase.
-
Clear their flag: Remove the user from the Midnight List and update the queue.
Best Practices and Considerations
-
Excluded Inventory: Permits that have been rolled over (renewed) or assigned through a managed waitlist are excluded from the automated clearing process. These must be managed manually.
-
Zero Dollar Items: Zero-dollar items cannot be cleared using the Midnight List task. Instead, you must use the Mark Items as Paid functionality to clear these specific transactions from a user's cart.